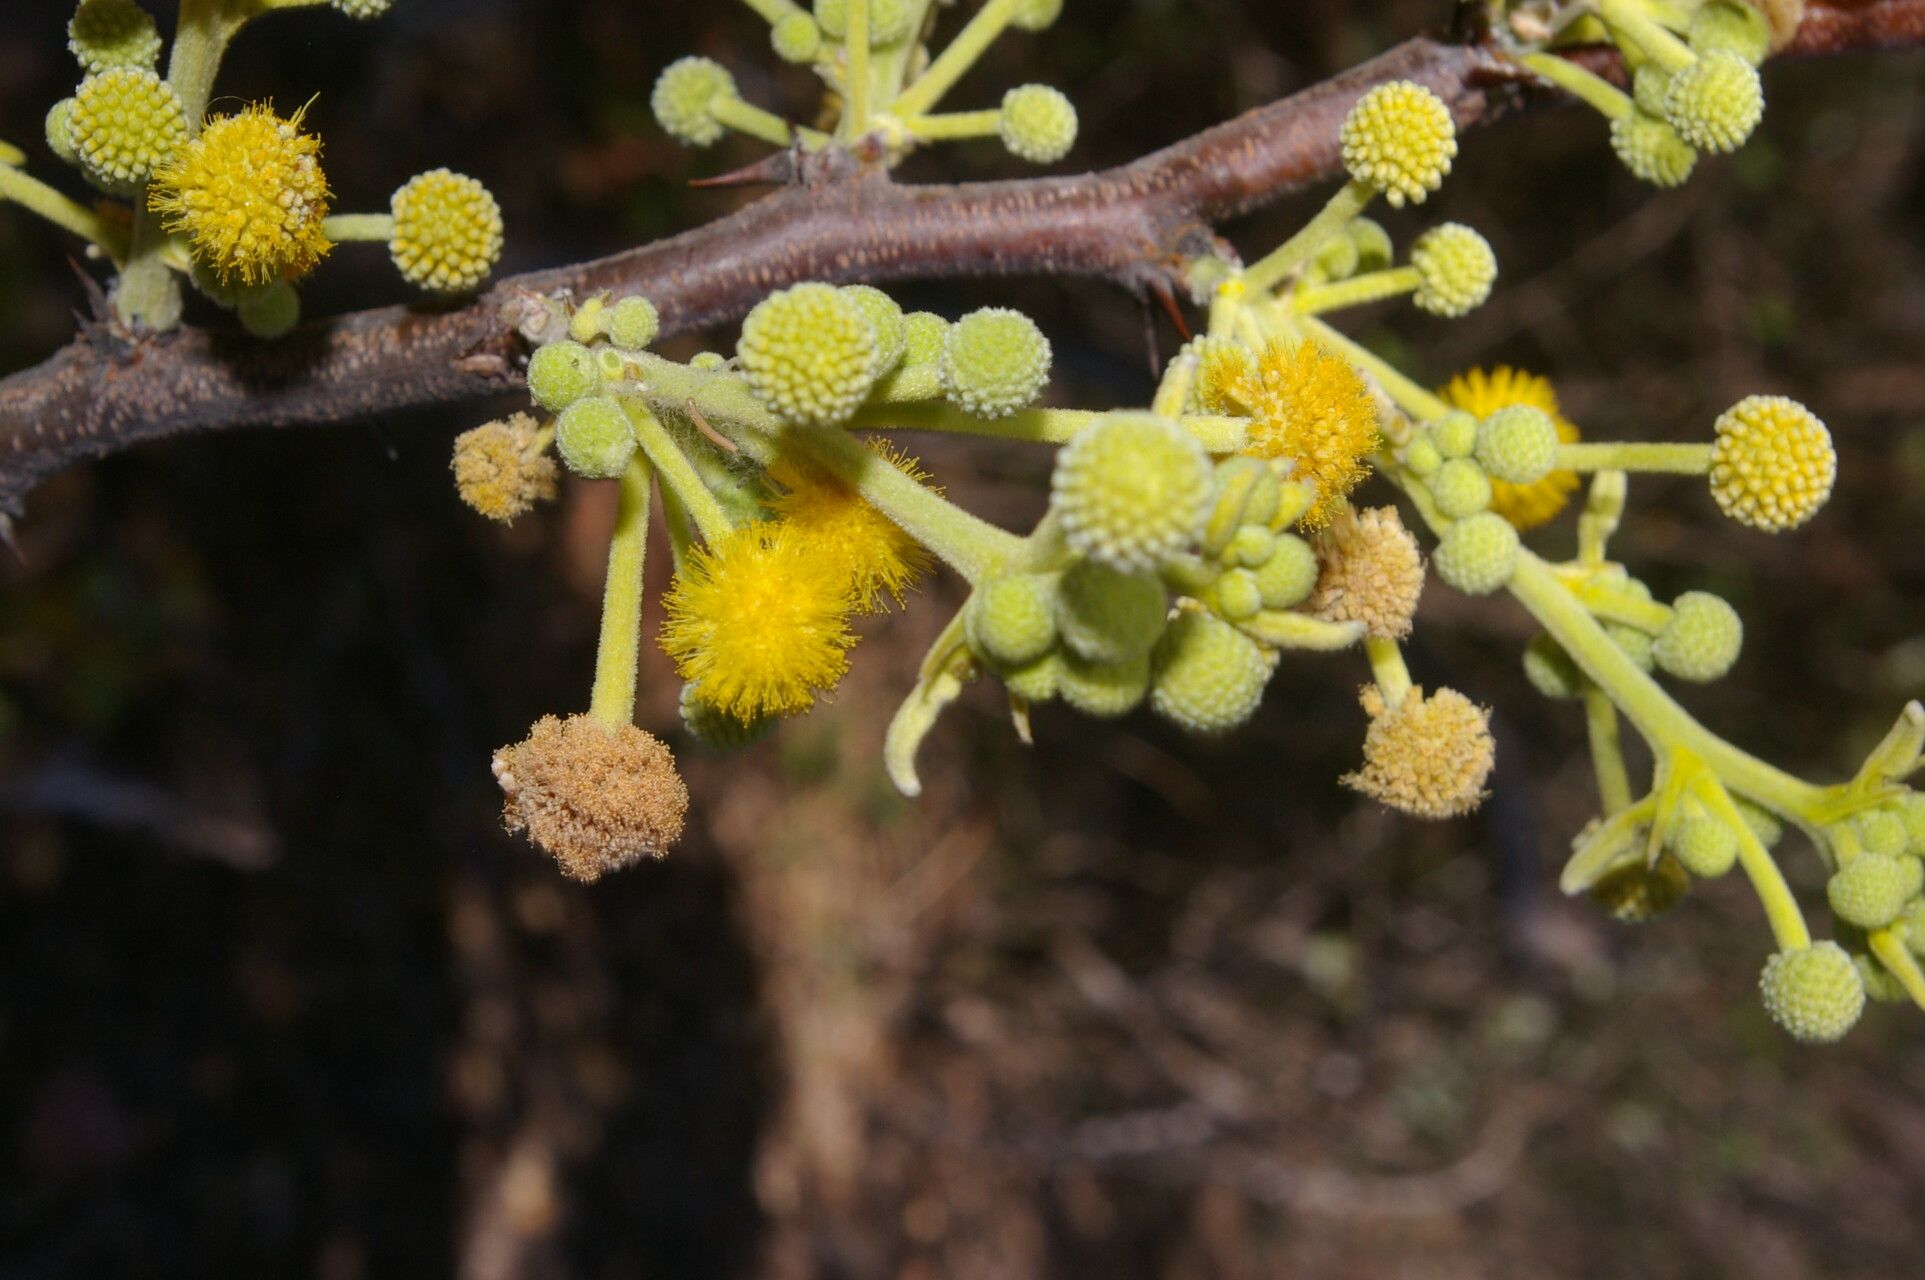
Hello, fellow garden enthusiasts! Today, I want to chat about a plant that brings a unique charm to any space – Vachellia pennatula, sometimes known as the Feathery Acacia. Its delicate, fern-like foliage and, if you’re lucky, lovely little flower spikes, are a real treat. And the best part? You can easily multiply this beauty to share with friends or fill your own garden with more of its airy grace! I find it to be a wonderfully rewarding plant to propagate, and while no plant is completely foolproof, I think you’ll find Vachellia pennatula quite approachable, even if you’re just starting your propagation journey.
The Best Time to Start
For the highest success rate, I always recommend propagating Vachellia pennatula during its active growing season. This typically falls in late spring or early summer. The plant is bursting with energy then, which translates to faster rooting and a better chance of your cuttings taking off. You’re looking for stems that are healthy and vigorous, not woody old growth, and definitely not flowers.
Supplies You’ll Need
Gathering your tools beforehand makes the whole process smoother. Here’s what I usually have on hand:
- Sharp Pruning Shears or a Craft Knife: Clean cuts are crucial!
- Rooting Hormone: A good quality liquid or powder rooting hormone is your friend. It really gives cuttings a boost.
- Well-Draining Potting Mix: I like a blend of equal parts perlite, vermiculite, and a peat-free potting soil. You want it airy and quick-drying.
- Small Pots or Seed Trays: With good drainage holes, of course.
- Clear Plastic Bags or a Propagator Lid: To create a humid environment.
- Water: For misting and watering.
- Labels: Don’t forget to label your cuttings!
Propagation Methods: Stem Cuttings
This is hands-down my favorite and most successful method for Vachellia pennatula.
- Select Your Cuttings: Look for healthy, current-season growth. You want stems that are semi-hardwood – they should snap when bent slightly, not bend limply or snap too easily. Aim for cuttings that are about 4-6 inches long.
- Prepare the Cuttings: Using your sharp shears or knife, make a clean cut just below a leaf node (where a leaf attaches to the stem). Remove the leaves from the bottom half of the cutting, leaving just a few at the top. This prevents them from rotting in the soil.
- Apply Rooting Hormone: Dip the cut end of each cutting into your rooting hormone. Tap off any excess.
- Potting Up: Fill your small pots with your well-draining potting mix. Make a pilot hole in the center of the soil with a pencil or your finger.
- Plant the Cuttings: Gently insert the treated end of the cutting into the pilot hole, ensuring the leaf nodes are buried. Firm the soil gently around the stem. Water lightly.
- Create Humidity: Place your potted cuttings in a warm spot. Cover them with a clear plastic bag or a propagator lid. I often use a stake or two to keep the bag from touching the leaves. If you don’t have a bag, you can mist the cuttings regularly instead.
The “Secret Sauce” (Pro Tips!)
Here are a couple of little tricks I’ve learned over the years that often make a big difference:
- Bottom Heat is Your Best Friend: If you can, place your pots on a heated propagator mat. This gentle warmth from below encourages root development significantly. It’s like a cozy little spa treatment for your cuttings!
- Sterilization Station: Before you begin, wipe down your pruning shears or knife with rubbing alcohol. This might seem small, but it drastically reduces the risk of transferring any nasty diseases to your parent plant or your new cuttings.
Aftercare & Troubleshooting
Once your cuttings have rooted (this could take anywhere from 4-8 weeks, depending on conditions), you’ll notice new growth appearing.
- Acclimatize: Slowly remove the plastic bag or propagator lid over a few days to allow the cuttings to adjust to normal humidity.
- Watering: Water when the top inch of soil feels dry. Avoid overwatering, as this is the most common cause of failure. Soggy soil can lead to root rot. You’ll see leaves turning yellow and mushy.
- Light: Place the new plants in bright, indirect light. Direct sun can scorch their delicate leaves.
- Troubleshooting: If a cutting wilts and turns black, it’s likely rotted. This usually means it got too much water and not enough air circulation, or it wasn’t treated with rooting hormone. Don’t be discouraged if some don’t make it; it’s part of the process!
A Gentle Nudge to Keep You Growing
Propagating plants is a journey, not a race. Be patient with your Vachellia pennatula cuttings. Sometimes it takes a little longer, and that’s perfectly okay. Savor the process, enjoy the moments of watching something new sprout and grow, and remember that every gardener, no matter how experienced, learns as they go. Happy propagating!
Resource: