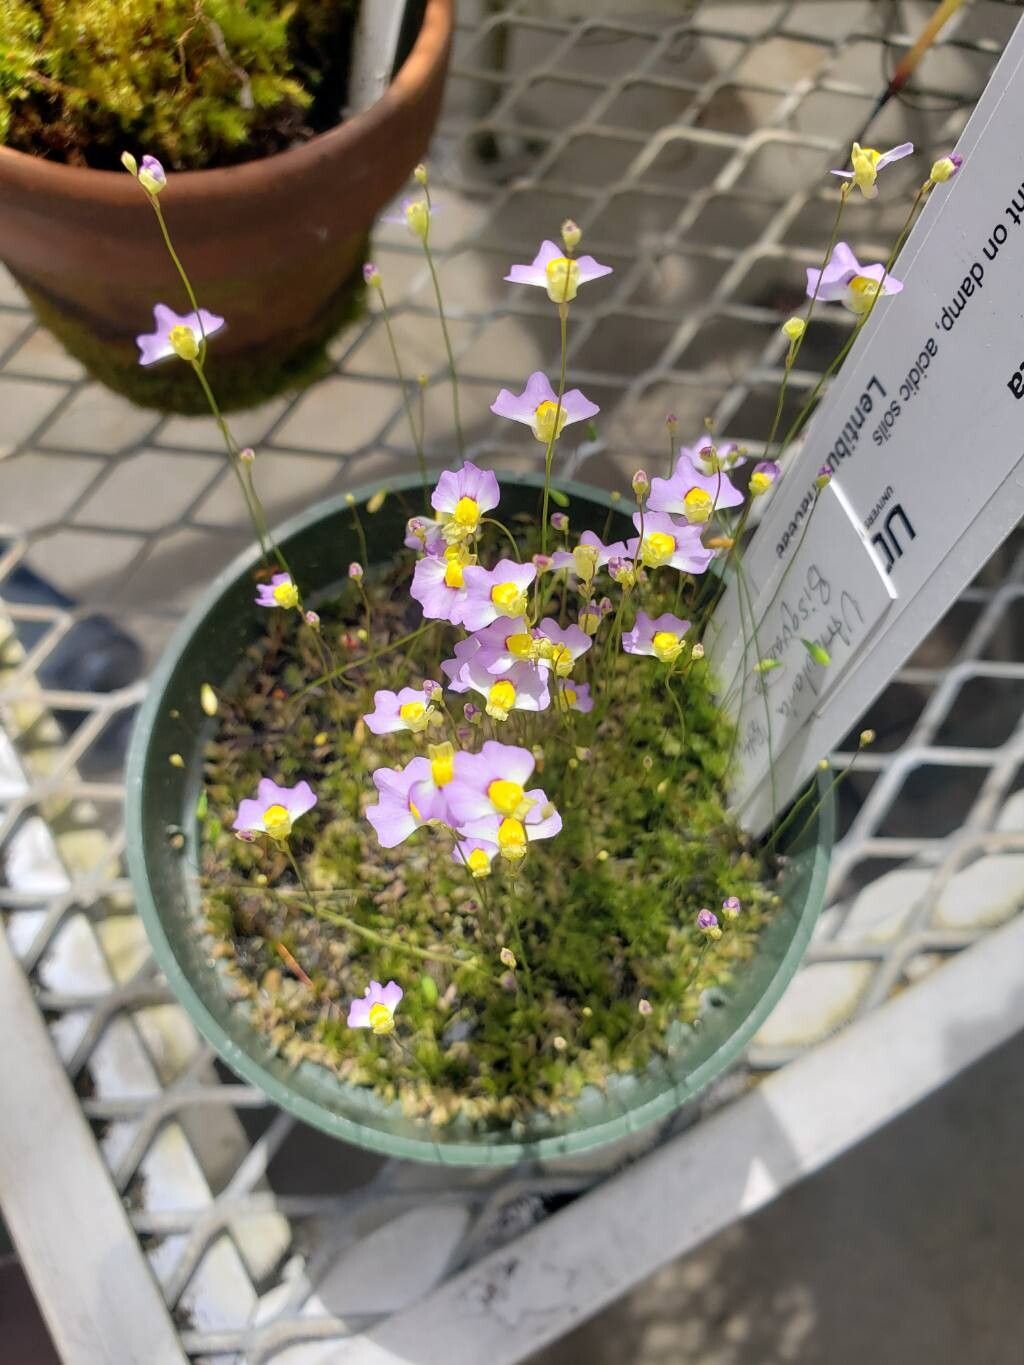
Oh, you’re interested in propagating Utricularia bisquamata? How wonderful! It’s such a charming little plant, with its delicate, whimsical flowers. If you’ve ever marveled at its tiny traps or been captivated by its bloom, you’re in for a treat. Growing more of these beauties is incredibly rewarding, and honestly, Utricularia bisquamata is quite forgiving, making it a great choice even if you’re just starting out in the world of carnivorous plants.
The Best Time to Start
The absolute best time to dive into propagating your Utricularia bisquamata is during its active growing season. For most growers, this means spring and early summer. You’ll see the most vigorous growth then, meaning your plant will have plenty of energy to put into those new cuttings. Think of it as starting when your plant is feeling its most robust and ready to share its bounty!
Supplies You’ll Need
Here’s a little toolkit to get you started:
- Well-draining potting mix: A classic carnivorous plant mix is perfect. I usually do a 50/50 blend of peat moss and perlite or horticultural sand.
- Small pots or trays: These don’t need to be big, just enough to house your new plantlets. Seedling trays or tiny individual pots work beautifully.
- Sharp scissors or a clean razor blade: Sterilize them with rubbing alcohol, please! We want clean cuts to prevent disease.
- Distilled water, reverse osmosis (RO) water, or rainwater: These plants are sensitive to minerals in tap water, so use only pure water.
- Optional: Humidity dome or plastic bag: This helps keep things nice and moist while your cuttings establish.
- Your happy, healthy Utricularia bisquamata mother plant!
Propagation Methods
Utricularia bisquamata is wonderfully easy to propagate, primarily through two simple methods:
1. Stem Cuttings
This is my go-to, as it’s so reliable.
- Take your cutting: Look for a healthy, leafy stem that’s growing well. Using your sterilized scissors or razor blade, snip off a piece that’s about 1-2 inches long. Try to get a bit of the stem with a couple of leaves on it.
- Prepare the cutting: Gently remove any lower leaves that might end up submerged in water or soil. This helps prevent rot.
- Planting:
- In potting mix: Moisten your potting mix thoroughly. Make a small hole with your finger and gently insert the cut end of the stem into the mix. Pat the soil lightly around it to provide support.
- In water: You can also place the cutting in a small container of pure water. Make sure only the cut end and possibly a tiny bit of the stem are submerged.
- Provide humidity: If you’re using a potting mix, pop the pot into a plastic bag or cover it with a humidity dome. For water propagation, ensure the container is in a humid spot or loosely covered.
2. Division
This is wonderful when your plant is looking a bit crowded.
- Gently remove the plant from its pot: Try not to disturb the roots too much.
- Identify distinct sections: Look for areas where the plant seems to have naturally formed separate clumps, often with their own roots.
- Separate gently: Using your fingers or a clean tool, carefully pull or tease apart the clumps. You want to ensure each division has some roots attached.
- Repot: Plant each division into its own small pot with fresh, moist potting mix.
The “Secret Sauce” (Pro Tips)
Here are a couple of tricks I’ve learned over the years that really give your cuttings a boost:
- Don’t let the leaves touch the water if propagating in water. I know it sounds simple, but it’s a game-changer. If the leaves are constantly submerged, they are much more prone to rotting before roots even have a chance to form. Just let the stem dip in.
- Bottom heat is your friend! If you have a bit of space, placing your pots or trays on a gentle seedling heat mat can dramatically speed up root development. It mimics the warmth of summer soil and gives those little root structures a kickstart. Aim for a mild warmth, not hot!
Aftercare & Troubleshooting
Once your cuttings have taken root – you’ll start to see new growth or, if in water, tiny rootlets – it’s time to give them a little extra love.
- Gradually introduce to normal conditions: If you used a humidity dome, start opening it up a little each day over a week or so. Transition them from a shaded spot to bright, indirect light.
- Keep the soil consistently moist: Always use pure water, and don’t let the potting mix dry out completely. They love a good damp environment.
- Troubleshooting: The most common issue you’ll face is rot. This usually happens if the cuttings are too wet, not getting enough air circulation, or if you’re using tap water. If you see a cutting turning brown and mushy, unfortunately, it’s likely beyond saving. Remove it immediately to prevent it from affecting other cuttings. Another sign of stress can be wilting, but don’t panic unless it persists, as they can bounce back with consistent moisture and humidity.
A Encouraging Closing
Propagating Utricularia bisquamata is a journey of patience and observation. Don’t be discouraged if a few don’t make it – that’s just part of the learning process! Celebrate every sprout and new root you see. Enjoy the satisfaction of growing your own little carnivorous wonders. Happy propagating!
Resource:
https://identify.plantnet.org/k-world-flora/species/Utricularia%20bisquamata%20Schrank/data