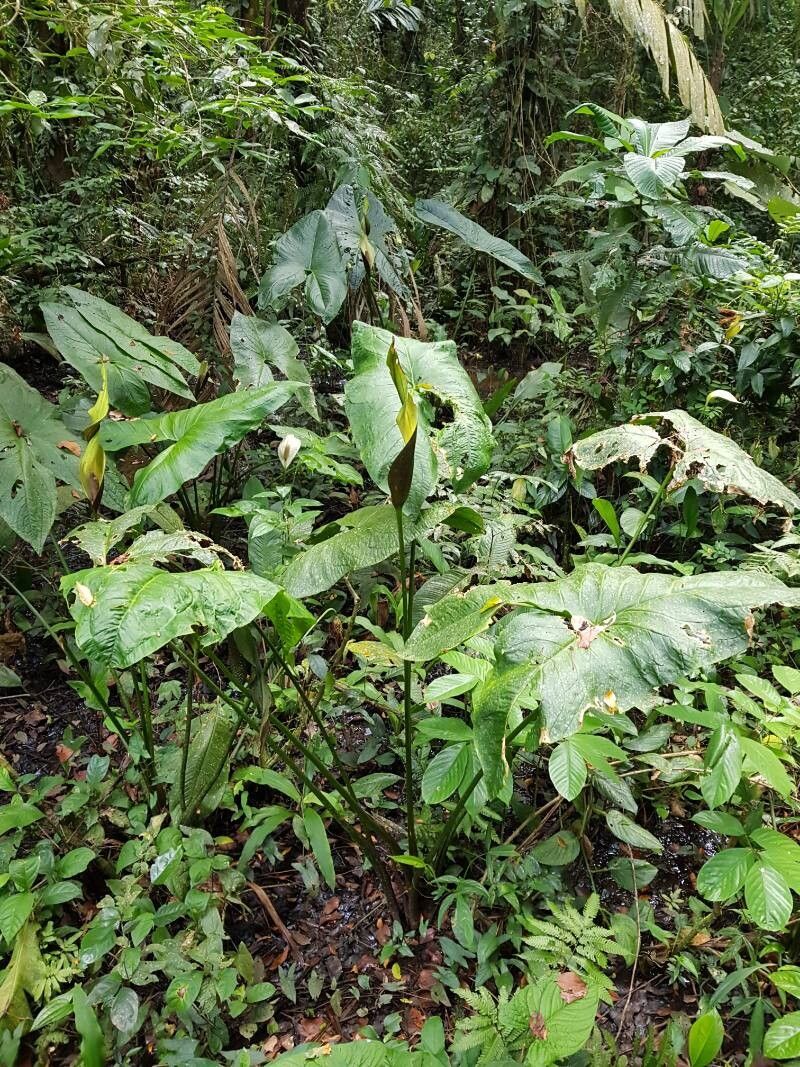
Ah, Urospatha grandis! If you’ve ever marveled at its dramatic, arrow-shaped leaves and wondered about bringing that lushness into more corners of your home or garden, you’re in for a treat. Propagating this beauty is a wonderfully rewarding endeavor. It’s one of those plants that feels a little exotic, but in my experience, it’s quite forgiving and a great one for those just starting to dip their toes into the world of plant propagation. Seeing a tiny new sprout emerge from a piece you’ve nurtured is pure gardening joy!
The Best Time to Start
For Urospatha grandis, I’ve found that spring and early summer are your golden tickets. This is when the plant is really hitting its stride, pushing out new growth and bursting with energy. Starting your propagation during this active growth period means your cuttings or divisions have the best chance of establishing themselves quickly. Avoid trying to propagate when the plant is dormant or during the harsh chill of winter.
Supplies You’ll Need
Gathering your supplies beforehand makes the whole process so much smoother. Here’s what I generally keep on hand:
- Sharp Pruning Shears or a Clean Knife: For making clean cuts. A dull tool can bruise the stem.
- Potting Mix: A well-draining mix is crucial. I often use a blend of peat moss or coco coir, perlite, and a bit of orchid bark. You want it to hold some moisture but not become waterlogged.
- Small Pots or Containers: Terra cotta pots are lovely because they breathe, but plastic works too. Make sure they have drainage holes!
- Rooting Hormone (Optional but Recommended): A powder or gel can really give your cuttings a boost.
- Watering Can or Spray Bottle: For gentle watering.
- Plastic Bags or a Clear Dome: To create a humid environment for cuttings.
- A Small Trowel or Dibber: For making holes in the soil.
Propagation Methods
Urospatha grandis is a master of a couple of propagation techniques. Let’s dive in!
Stem Cuttings
This is my go-to method for Urospatha grandis. It’s efficient, and you can usually get multiple plants from a single parent stem.
- Select a Healthy Stem: Look for a mature stem that has at least two or three healthy leaves. Avoid old, woody stems or those with new, floppy growth.
- Make the Cut: Using your sterilized pruning shears or knife, cut the stem about an inch below a leaf node. A leaf node is where a leaf attaches to the stem; this is where new roots will emerge.
- Prepare the Cutting: Gently remove the lower leaves, leaving one or two at the very top. This prevents them from rotting in the soil. If the leaves are very large, you can even cut them in half to reduce water loss.
- Apply Rooting Hormone (Optional): Dip the cut end of the stem into rooting hormone. Tap off any excess.
- Plant the Cutting: Fill your pot with your well-draining potting mix. Make a small hole with a trowel or your finger and insert the stem up to the lowest leaf node. Gently firm the soil around the stem.
- Water Gently: Water thoroughly but carefully, ensuring the soil is moist but not soggy.
- Create Humidity: Place a plastic bag loosely over the pot, or cover it with a clear dome. This traps moisture and creates a mini-greenhouse effect, which is vital for cuttings to develop roots. Open it for a few minutes each day to allow for air circulation and prevent mold.
Division
If your Urospatha grandis has grown into a larger, clumping plant, division is a fantastic way to get new plants and give your mother plant a bit of a refresh.
- Remove from Pot: Gently remove the entire plant from its container.
- Examine the Root Ball: Gently shake off excess soil to expose the roots and identify where the plant naturally divides into separate growths. You’re looking for sections that have their own root system and at least one or two healthy shoots.
- Make the Division: Using a clean, sharp knife or spade, carefully split the root ball into smaller sections. Try to ensure each division has a good amount of roots and some healthy foliage. It’s okay if some roots are slightly damaged; the plant will recover.
- Pot Up Divisions: Place each division into its own pot filled with your well-draining potting mix. Ensure the top of the root ball is level with the soil surface.
- Water and Place: Water each pot well and place them in a location with bright, indirect light.
The “Secret Sauce” (Pro Tips)
Here are a few tricks I’ve learned over the years that really help boost success rates:
- Don’t Let Those Leaves Touch the Water: If you opt for water propagation for a section of stem (less common for Urospatha but possible), make sure absolutely no leaves are submerged. Any foliage dipping into the water will rot, and that’s a sure way to lose your cutting. Only the bare stem should be in contact with the water.
- Bottom Heat is Your Friend: For stem cuttings, placing the pots on a seedling heat mat can make a remarkable difference. The gentle warmth encourages root development from below, speeding up the process significantly. Just make sure the heat mat is on a low setting.
- The “Jiggle Test”: After a few weeks, when you suspect roots have formed, resist the urge to yank the cutting out of the pot to check. Instead, give the stem a very gentle tug. If you feel little resistance, it’s a good sign roots have anchored it. You can also look for new leaf growth as an indicator.
Aftercare & Troubleshooting
Once your Urospatha grandis has developed a good root system (you’ll see roots emerging from the drainage holes or notice the plant feels more stable when gently tugged), it’s time for some tender loving care.
- Transition Carefully: Gradually acclimate your new plant to its new environment. If it’s been under a dome or plastic bag, start by opening it for longer periods each day before removing it entirely.
- Watering: Water when the top inch of soil feels dry. Always err on the side of underwatering rather than overwatering a young plant.
- Light: Keep it in bright, indirect light. Direct sun can scorch delicate new leaves.
- Troubleshooting:
- Yellowing Leaves: This can be a sign of overwatering or a lack of light. Check your watering schedule and ensure it’s getting enough bright, indirect light.
- Rotting Stem Base: This is the most common issue and is almost always due to too much moisture and poor drainage. Make sure your potting mix is airy, and your pots have good drainage. If you see rot, you may need to discard the cutting and start again, being more careful with watering.
- No Root Development: Sometimes, patience is key! If it’s been weeks and nothing seems to be happening, ensure your environment is humid and warm. If you used rooting hormone, it should help. Don’t give up too soon!
A Little Encouragement for Your Gardening Journey
Propagating plants is a dance between nature and nurture. There will be times when a cutting doesn’t make it, and that’s perfectly okay! Each attempt is a learning experience. Be patient with your Urospatha grandis, celebrate the small victories, and most importantly, enjoy the process of growing something beautiful from its parent. Happy propagating!
Resource:
https://identify.plantnet.org/k-world-flora/species/Urospatha%20grandis%20Schott/data