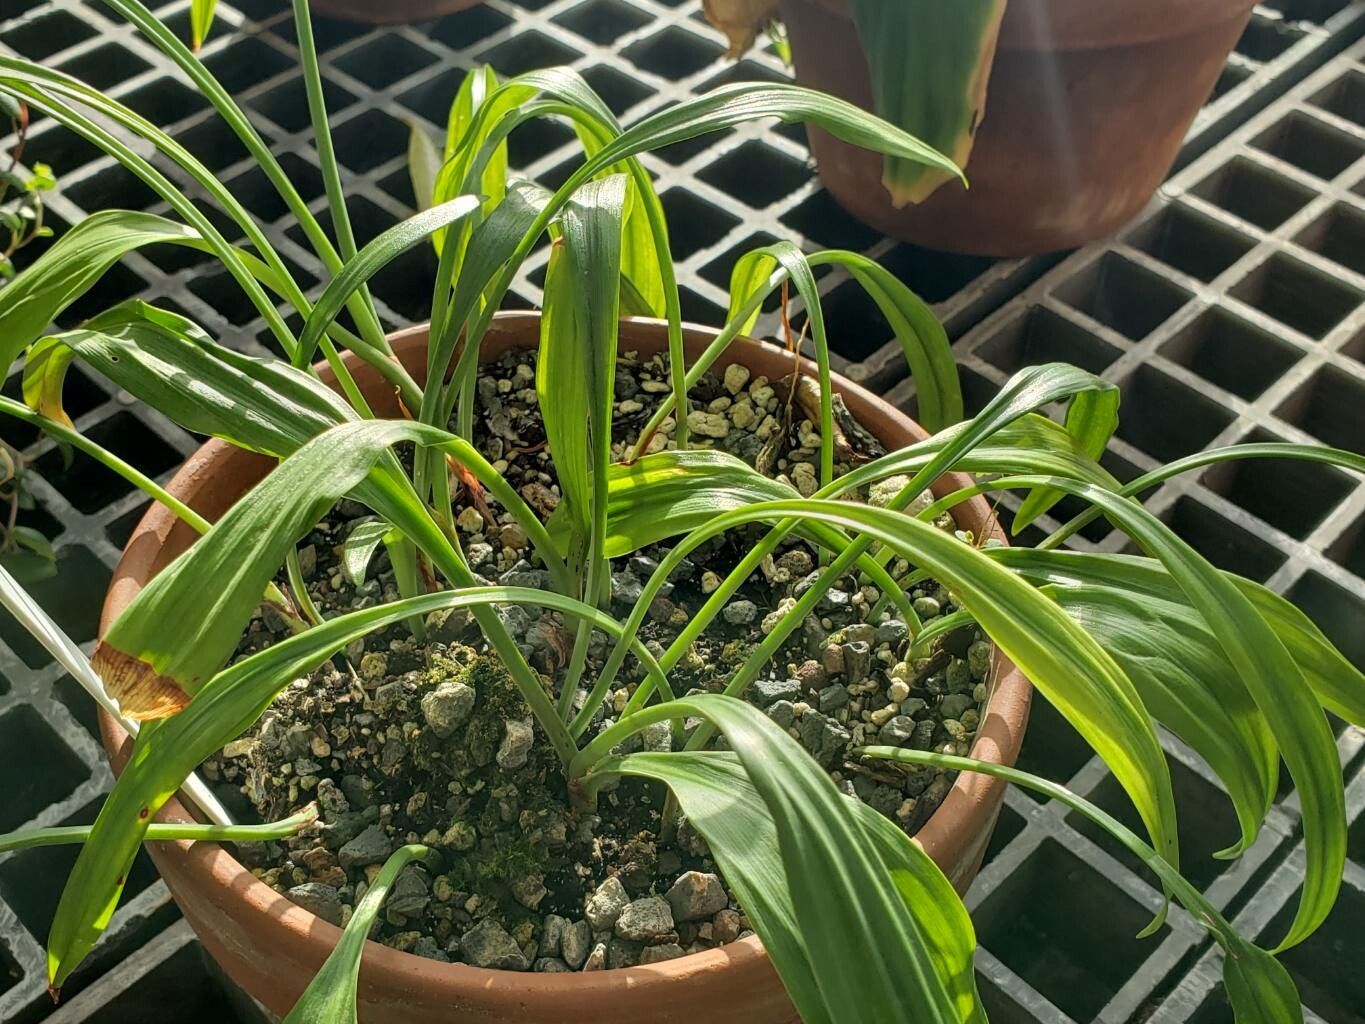
Oh, Urceolina candida! If you’re looking for a plant that brings a touch of elegance to your garden or home, this is a gem. Those creamy white, bell-shaped flowers are just stunning, aren’t they? They hang down so gracefully, almost like tiny lanterns. And the best part? You can multiply this beauty yourself! Propagating Urceolina candida might sound a little intimidating at first, but I promise you, it’s a truly rewarding experience. For those of you just dipping your toes into propagation, I’d say it falls somewhere between a casual stroll and a gentle hike – definitely achievable with a little care.
The Best Time to Start
When it comes to Urceolina candida, the absolute sweet spot for propagation is during its active growing season. Think late spring through summer. This is when the plant has plenty of energy stored up and is primed to produce new growth. You’ll see the most vigor, making your efforts much more likely to pay off. Trying to propagate when the plant is dormant is like asking a sleepy bear to run a marathon – it’s just not going to happen!
Supplies You’ll Need
Before we roll up our sleeves, let’s gather our tools. Having everything ready makes the process so much smoother.
- Healthy Parent Plant: This is your starting point, so choose a robust Urceolina candida.
- Sharp Pruning Shears or a Clean Knife: For making clean cuts. Sterilize them with rubbing alcohol to prevent disease.
- Well-Draining Potting Mix: I like a blend of potting soil, perlite, and a bit of orchid bark. This ensures good aeration. You can find specialized mixes for bulbs too.
- Small Pots or Trays: Clean pots with drainage holes are essential.
- Rooting Hormone (Optional but Recommended): A rooting hormone can give your cuttings a helpful boost. Look for one formulated for bulbs or stem cuttings.
- Watering Can or Spray Bottle: For gentle watering.
- Labels: To keep track of what you’ve planted and when!
Propagation Methods
For Urceolina candida, we’ll focus on the division of bulbs, as this is generally the most successful and straightforward method.
Bulb Division: Creating New Life from Underneath
Urceolina candida, being a bulbous plant, reproduces naturally through offsets, which are essentially baby bulbs that grow around the main bulb.
- Gently Excavate: The best time to do this is when the plant is dormant, usually after flowering and when the foliage has started to yellow and die back. Carefully dig around the base of your Urceolina candida. You want to expose the root ball and bulbs without damaging them. A small trowel or even your hands can work here.
- Identify and Separate Offsets: Look for smaller bulbs attached to the mother bulb. They might be nestled right alongside it or connected by a small bit of root tissue.
- Careful Separation: Using your clean fingers or a small, sharp knife, gently detach the offsets. If there’s a significant root connection, try to take a few roots along with the offset bulb. It’s okay if it’s not perfect; the offset has its own energy reserves.
- Inspect for Health: If any offsets look diseased, mushy, or damaged, it’s best to discard them to prevent any potential spread to your healthy divisions.
- Handle with Care: Once separated, you can let the divisions air dry for a few hours to a day. This helps any cut surfaces callus over, reducing the risk of rot.
- Planting Time: Fill your clean pots with your well-draining potting mix. Make a small hole in the center of the soil and place the offset bulb with the pointed end facing upwards. Plant it at a depth where the top of the bulb is just slightly above or level with the soil surface.
- Watering Gently: Water the newly planted bulbs lightly. You want the soil to be moist, not soggy.
The “Secret Sauce” (Pro Tips)
Here are a few things I’ve learned over the years that can really make a difference.
- Don’t Rush the Dormancy: Seriously, wait for that foliage to die back. Trying to dig up bulbs when they’re actively growing is asking for trouble. You’ll stress the plant and might damage new growth that’s crucial for its energy storage.
- A Touch of Cinnamon: After separating bulbs, I sometimes dust the cut surfaces with a little ground cinnamon. It’s a natural antifungal and can help prevent rot from setting in. Just a light dusting is all you need.
- Patience is Key with Bulbs: Unlike a quick stem cutting, bulbs take their time. Don’t be discouraged if you don’t see immediate top growth. They need to establish their root system first. I’ve had bulbs that took months to show signs of life, and they turned out to be gorgeous specimens!
Aftercare & Troubleshooting
Once your Urceolina candida divisions are planted, it’s time for a little tender loving care. Keep the soil consistently moist but never waterlogged. Think of it like a well-wrung-out sponge. Place the pots in a spot where they’ll receive bright, indirect light. As they begin to grow, gradually introduce them to more sunlight, but be mindful of scorching them if they’re not used to it.
The most common issue you might face is rot. If you notice the bulb becoming soft, mushy, or developing black spots, it’s usually a sign of overwatering or poor drainage. If you catch it early, you might be able to save it by removing the rotten parts, dusting with cinnamon, and repotting in fresh, dry soil. Unfortunately, if the rot is extensive, it might be too late. Keep an eye out for lack of growth too; this could mean the bulb isn’t viable or needs more time to establish roots.
A Encouraging Closing
Propagating Urceolina candida is a journey, not a race. Be patient with your new little bulbs. Celebrate every new leaf that unfurls, every tiny root that emerges. You’re not just creating more plants; you’re learning to understand the life cycles of these beautiful things. So gather your supplies, find a cozy spot, and enjoy the quiet magic of growing something wonderful from what you already have. Happy gardening!
Resource: