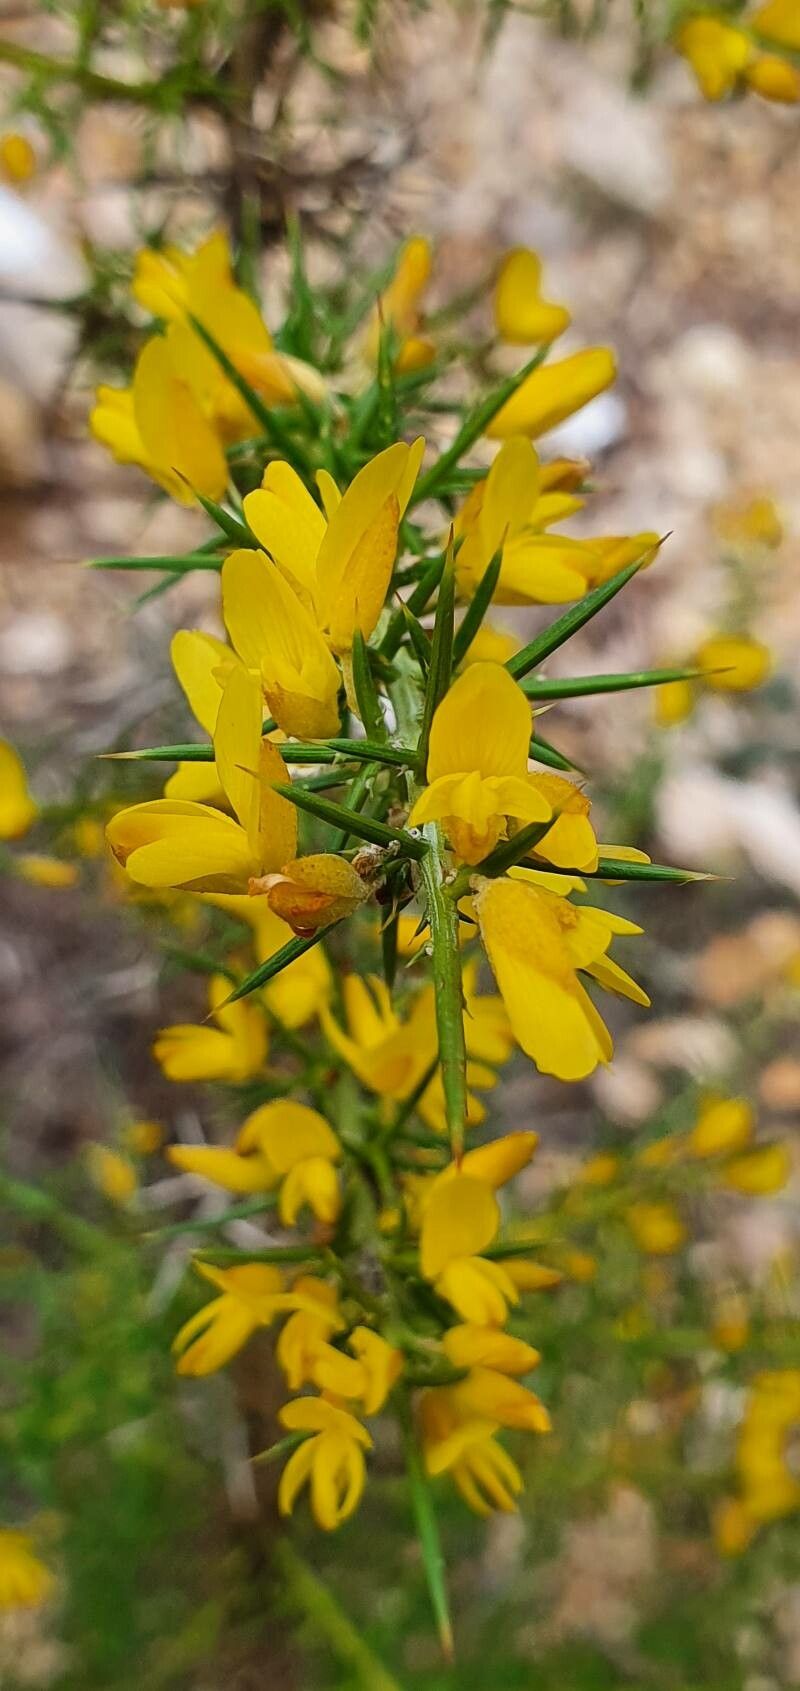
Oh, hello there, fellow plant lover! It’s so lovely to have you joining me today. We’re going to talk about something truly special: Ulex parviflorus, also known as Mediterranean Gorse. If you’ve ever seen these sunshine-yellow beauties dotting the landscape, you know their charm. They’re absolutely bursting with life and a splash of vibrant color, even in challenging spots. And the best part? Getting more of them yourself is incredibly rewarding.
Now, for the curious beginner, propagating Ulex parviflorus might seem a tad daunting. It’s not quite as straightforward as sticking a Geranium cutting in water, but with a little know-how and patience, you’ll be well on your way to success. It’s a plant that asks for a bit of respect, and I promise, the effort is worth it.
The Best Time to Start
My personal favorite time to get started with Ulex parviflorus propagation is in the late spring or early summer. This is when the plant is actively growing, and you’ll find the most vigorous, healthy new shoots that make for the best cuttings. Look for stems that are firm but not yet woody. They should have a bit of give, like a firm pencil.
Supplies You’ll Need
Before we dive in, let’s gather our tools. Having everything ready makes the whole process smoother.
- Sharp Pruning Shears or a Craft Knife: For clean cuts that heal well. Sterilize them between cuts if you’re taking many!
- Rooting Hormone: A good quality rooting powder or gel will give your cuttings a helpful boost.
- Seedling Potting Mix: A well-draining blend is crucial. I often use a mix of peat, perlite, and coarse sand.
- Small Pots or Trays: Clean, unglazed terracotta pots are excellent, or you can use seedling trays with good drainage.
- Watering Can or Spray Bottle: For gentle watering.
- Plastic Bags or a propagator: To create a humid environment for your cuttings.
- Gravel or Perlite: For added drainage in the pots.
Propagation Methods
While Ulex parviflorus can be grown from seed, I find stem cuttings to be the most reliable and fastest route for replicating those gorgeous blooms.
Stem Cuttings:
- Take the Cuttings: In late spring or early summer, select healthy, non-flowering shoots from your Ulex parviflorus. Aim for cuttings about 4-6 inches long. Make a clean cut just below a leaf node (where a leaf meets the stem).
- Prepare the Cuttings: Gently remove the lower leaves from the cutting, leaving just a few at the top. This prevents them from rotting in the soil and encourages root development.
- Apply Rooting Hormone: Dip the cut end of each stem into rooting hormone, tapping off any excess.
- Plant the Cuttings: Fill your pots with your well-draining potting mix. Create a small hole in the center with a pencil or your finger. Insert the cutting, ensuring the wounded end is in contact with the soil. Gently firm the soil around the base.
- Water Gently: Water thoroughly but gently, making sure the soil is moist but not waterlogged.
- Create Humidity: Place the potted cuttings inside a clear plastic bag, forming a mini-greenhouse. You can tie the bag loosely or use stakes to keep it off the leaves. Alternatively, use a propagator with a lid.
The “Secret Sauce” (Pro Tips)
Now for a couple of little tricks I’ve learned over the years. These often make the difference between a struggling cutting and a thriving young plant.
- The “Dry Dip” Trick: After dipping your cuttings in rooting hormone, I like to let them air-dry for about 15-20 minutes on a paper towel before planting. This allows the hormone to form a slight seal, which can help prevent rot and encourage stronger root formation for woody stemmed plants like this.
- Bottom Heat is Your Friend: If you have the space and the inclination, placing your cuttings on a gentle heat mat can significantly speed up root development. Just ensure the heat isn’t too intense; a nice warm soil temperature is what we’re aiming for, not to cook them!
Aftercare & Troubleshooting
Once your cuttings are potted and cozy, they need consistent care. Keep them in a bright spot out of direct sunlight. Water them when the top inch of soil feels dry. The plastic bag or propagator will help maintain humidity, but open the bag daily for a few minutes to allow for air circulation and prevent fungal issues.
You’ll know your cuttings are taking root when you see new leaf growth appearing. This usually takes several weeks, sometimes a couple of months for woody plants. Gently tugging on a cutting will reveal resistance if roots have formed. Once they’re well-rooted, it’s time to gradually acclimatize them to normal conditions by slowly reducing the humidity and exposing them to more light. Transplant them into individual pots when they’re a good size.
What if things don’t go as planned? The most common culprit is rot. If your cuttings are yellowing, going soft and mushy, or developing black spots, it’s usually a sign of too much moisture and not enough air circulation. Don’t despair! Remove the affected cuttings and check your watering and ventilation. Sometimes, even with the best intentions, not every cutting will make it. It’s all part of the learning process for any gardener.
A Encouraging Closing
Growing new plants is such a joy, isn’t it? Seeing a tiny cutting transform into a robust plant is incredibly satisfying. Be patient with your Ulex parviflorus cuttings. They might take their time, but with a little consistent care and these tips, you’ll soon be rewarded with your very own bursts of sunshine. Happy propagating, and may your garden be ever more beautiful!
Resource:
https://identify.plantnet.org/k-world-flora/species/Ulex%20parviflorus%20Pourr./data