Hello fellow garden enthusiasts! Today, I want to chat about a plant that has truly captured my heart over the years: Ulex jussiaei. There’s something so incredibly satisfying about coaxing new life from an existing one, and with this prickly beauty, it’s a particularly rewarding endeavor.
A Prickly Gem Worth Cultivating
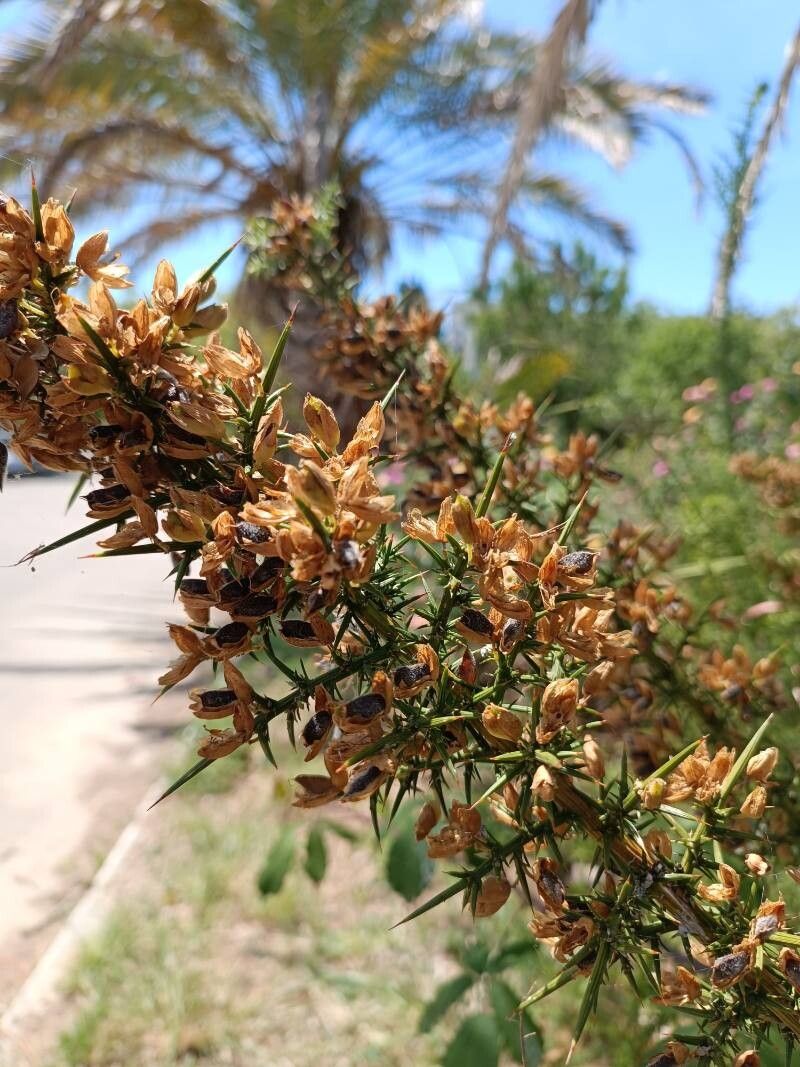
Ulex jussiaei, often called the Spanish Gorse, is a delightful shrub that brings a burst of vibrant color to the garden. Its masses of golden-yellow flowers are a welcome sight, especially in late winter and early spring when not much else is blooming. Plus, it’s wonderfully resilient and can add a touch of Mediterranean charm to many landscapes. Now, is it a walk in the park for absolute beginners? Honestly, it can be a little on the challenging side for your very first propagation attempt, but with a bit of care and this guide, you’ll be well on your way!
When to Get Your Hands Dirty
The absolute best time to propagate Ulex jussiaei is generally in late spring or early summer, after the plant has finished its main flowering period. You’re looking for semi-hardwood cuttings, which means you want stems that are starting to firm up but haven’t become completely woody. Think of it as the “just right” stage – not too soft and floppy, and not too hard and brittle.
Your Propagation Toolkit
Gathering the right supplies makes all the difference. Here’s what you’ll want to have on hand:
- Sharp Pruning Shears or Secateurs: Clean cuts are crucial for healthy healing.
- Rooting Hormone: A good quality powder or gel will give your cuttings a significant boost.
- Potting Mix: A well-draining mix is non-negotiable. I like a blend of equal parts peat moss or coco coir and perlite. Some gardeners even add a bit of coarse sand.
- Small Pots or Trays: Clean pots with drainage holes are essential.
- Clear Plastic Bags or a Propagation Dome: To create a humid environment.
- Gravel or Perlite (optional): For the bottom of the pots to improve drainage.
- Watering Can with a Fine Rose: For gentle watering.
- Marker Pen and Labels: To keep track of what you’ve planted.
Bringing New Life Forth: Stem Cuttings
This is my go-to method for Ulex jussiaei. It’s reliable and usually yields the best results.
- Take Your Cuttings: On a mild morning, select healthy, vigorous stems from your parent plant. Using your clean pruners, take cuttings that are 4-6 inches long. Make a clean cut just below a leaf node (where a leaf attaches to the stem).
- Prepare the Cuttings: Gently remove the lower leaves from the bottom half of each cutting. This prevents them from rotting when buried. If the remaining leaves are very large, you can optionally trim them in half to reduce water loss through transpiration.
- Apply Rooting Hormone: Dip the cut end of each prepared cutting into your rooting hormone, following the product’s instructions. Tap off any excess.
- Plant Your Cuttings: Fill your small pots or trays with your well-draining potting mix. Make a small hole in the center of the mix with a pencil or your finger. Insert the rooting hormone-coated end of the cutting into the hole, ensuring that at least one leaf node is below the soil surface. Gently firm the soil around the cutting.
- Water Gently: Water the pots thoroughly but gently, making sure the soil is moist but not waterlogged.
- Create a Humid Environment: This is key! Cover each pot with a clear plastic bag (try to ensure the bag doesn’t touch the leaves) or place them under a propagation dome. Insert a few stakes if needed to keep the bag from collapsing onto the cuttings.
The “Secret Sauce” from My Greenhouse
Here are a few little tricks I’ve picked up that really help with those stubborn propagations:
- Bottom Heat is Your Friend: Ulex jussiaei roots develop best with a little warmth from below. If you have a heated propagator mat, place your pots on it. If not, even just placing them in a warm spot in your house, away from drafts, can help.
- Don’t Over-Water: It’s a fine line. You want the soil to be consistently moist, but never soggy. Overwatering is the quickest way to rot your cuttings before they even have a chance to root. I check the soil moisture by gently poking my finger in every couple of days.
- Patience, Dear Gardener! Gorse can be a bit slow to root, especially compared to some other plants. Don’t get discouraged if you don’t see progress for several weeks. I often leave my cuttings for 8-12 weeks before I start to get too worried.
Aftercare and What to Watch For
Once you start to see new leaf growth or feel a slight resistance when you gently tug on a cutting (indicating roots have formed), it’s time to start acclimating them to drier air. Gradually remove the plastic bag for longer periods each day over a week or two.
When they have a good root system – you can often see roots coming out of the drainage holes – gently transplant your new Ulex jussiaei into slightly larger pots. Continue to keep them in a bright spot with good air circulation.
If you notice your cuttings turning black and mushy, or if they simply refuse to root and wither away, it’s usually a sign of overwatering leading to rot, or simply not enough humidity. Don’t be too hard on yourself; it happens to the best of us! Just clean up, sterilize your tools, and try again, perhaps adjusting your watering or humidity levels.
Keep Planting, Keep Growing!
Propagating plants is a journey, a beautiful way to connect with nature and multiply the greenery you love. Don’t be afraid to experiment, and remember that with each attempt, you’re learning and growing as a gardener. Enjoy the process, and soon you’ll have a whole garden full of your own little Ulex jussiaei treasures! Happy propagating!
Resource:
https://identify.plantnet.org/k-world-flora/species/Ulex%20jussiaei%20Webb/data