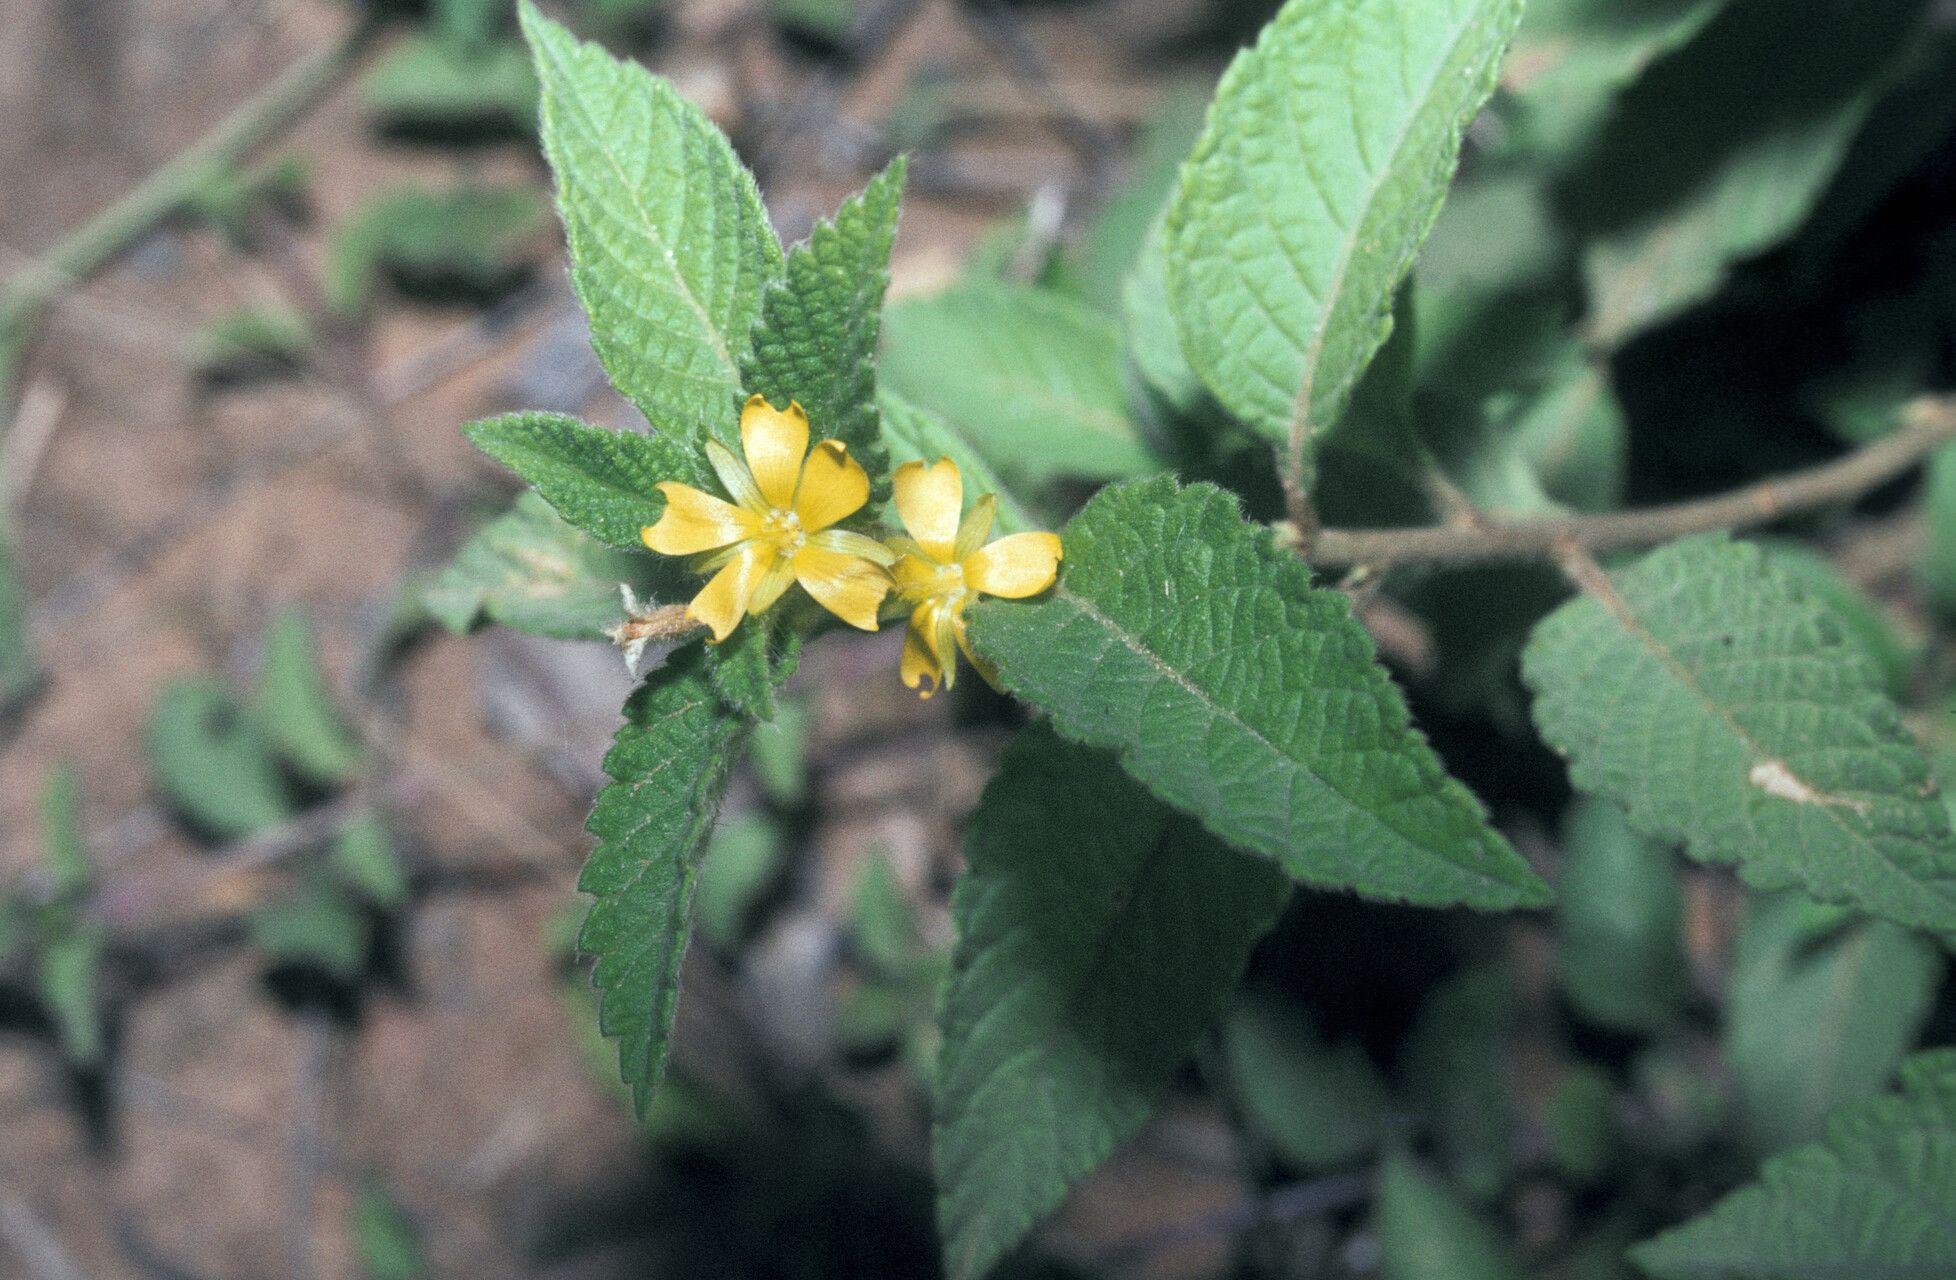
Oh, hello there! Pull up a chair and let’s chat about Turnera odorata. I remember the first time I saw this beauty in a garden – those delicate, angelic white flowers just seemed to glow. And the scent! It’s a subtle, sweet perfume that truly lives up to its name, ‘fragrant turnera.’ If you’ve ever admired this plant and thought, “I wish I had more of those!” then you’re in luck. Propagating Turnera odorata is a really rewarding process, and I’m happy to guide you through it. For the most part, I find it quite forgiving, so even if you’re relatively new to the wonderful world of plant parenthood, you can absolutely give this a go.
The Best Time to Start
Spring is really your golden ticket here, my friends. As the days start to lengthen and the plant is actively putting on new growth, it’s brimming with energy. Look for stems that are a bit firm but not woody – think of it as being in that sweet spot between a brand new, floppy shoot and an old, tough branch. Taking cuttings from actively growing, healthy plants will give you the best chance of success.
Supplies You’ll Need
Gathering your tools beforehand makes the whole process smoother. Here’s what I usually have on hand:
- Sharp Pruning Shears or a Craft Knife: Clean cuts are essential for good rooting.
- Potting Mix: A light, well-draining mix is crucial. I often use a mix of equal parts peat moss or coco coir, perlite, and a bit of compost.
- Small Pots or Trays: About 4-6 inches deep is usually sufficient. Make sure they have drainage holes!
- Rooting Hormone (Optional but Recommended): A powder or gel can help speed things up and improve root formation.
- Watering Can or Spray Bottle: For gently moistening your soil.
- Clear Plastic Bags or Domes: To create a humid environment for your cuttings.
Propagation Methods
The most straightforward way I’ve found to multiply Turnera odorata is through stem cuttings. It’s reliable and usually gives a good strike rate.
- Take Your Cuttings: Using your clean shears or knife, take 4-6 inch cuttings from healthy, non-flowering stems. Try to get a few leaf nodes on each cutting – these are the points where leaves emerge, and where roots often form. You can even make a slight angled cut at the bottom of the stem.
- Prepare the Cuttings: Gently remove the lower leaves from the cutting, leaving just a few at the top. This prevents them from rotting in the soil. If you’re using rooting hormone, dip the cut end into the powder or gel now, tapping off any excess.
- Plant Your Cuttings: Fill your pots or trays with your prepared, moistened potting mix. Make a small hole with your finger or a pencil, and carefully insert the cut end of the stem. Gently firm the soil around the cutting. You want the leaves to be well above the soil line.
- Create a Humid Environment: This is key! Water the soil lightly after planting. Then, cover the pots with a clear plastic bag (making sure the leaves don’t touch the sides) or place them under a humidity dome. This traps moisture and mimics the humid conditions these cuttings crave.
- Place in Good Light: Find a bright, indirect light spot for your cuttings. Avoid direct sunlight, which can scorch these tender new starts.
The “Secret Sauce” (Pro Tips)
Now, a little something extra from my years in the garden:
- Bottom Heat is Your Friend: If you can, placing your pots on a gentle heat mat can make a world of difference. It encourages root development from the bottom up, significantly speeding up the process. You’d be surprised how much a little warmth helps!
- Don’t Drown Them! While humidity is vital, soggy soil is a recipe for rot. Check the moisture level regularly by sticking your finger into the soil an inch or so. Water only when the top layer feels dry to the touch.
- Patience with the Paper Towel Test: When you think they might be rooted, gently tug on a cutting. If there’s resistance, congratulations – roots are forming! If it pulls out easily, give it more time.
Aftercare & Troubleshooting
Once you see signs of new growth emerging from the top of the cutting, this is a good indicator that roots are developing. You can slowly start to acclimatize them to normal air by gradually opening up the covers over a few days. Water them as you would a mature plant, allowing the soil to dry out slightly between waterings.
The most common problem you’ll encounter is rot. If your cuttings look black and mushy at the base, or if the leaves are yellowing and dropping off rapidly, it’s usually a sign of too much moisture and not enough air circulation. Unfortunately, rotted cuttings are usually a lost cause, but don’t let it discourage you! Just try again, perhaps with slightly less water or better drainage.
A Encouraging Closing
Propagating Turnera odorata is a beautiful way to expand your collection and share its charm with others. Be patient, observe your cuttings, and enjoy the journey of nurturing these new plants. You’ve got this!
Resource:
https://identify.plantnet.org/k-world-flora/species/Turnera%20odorata%20Rich./data