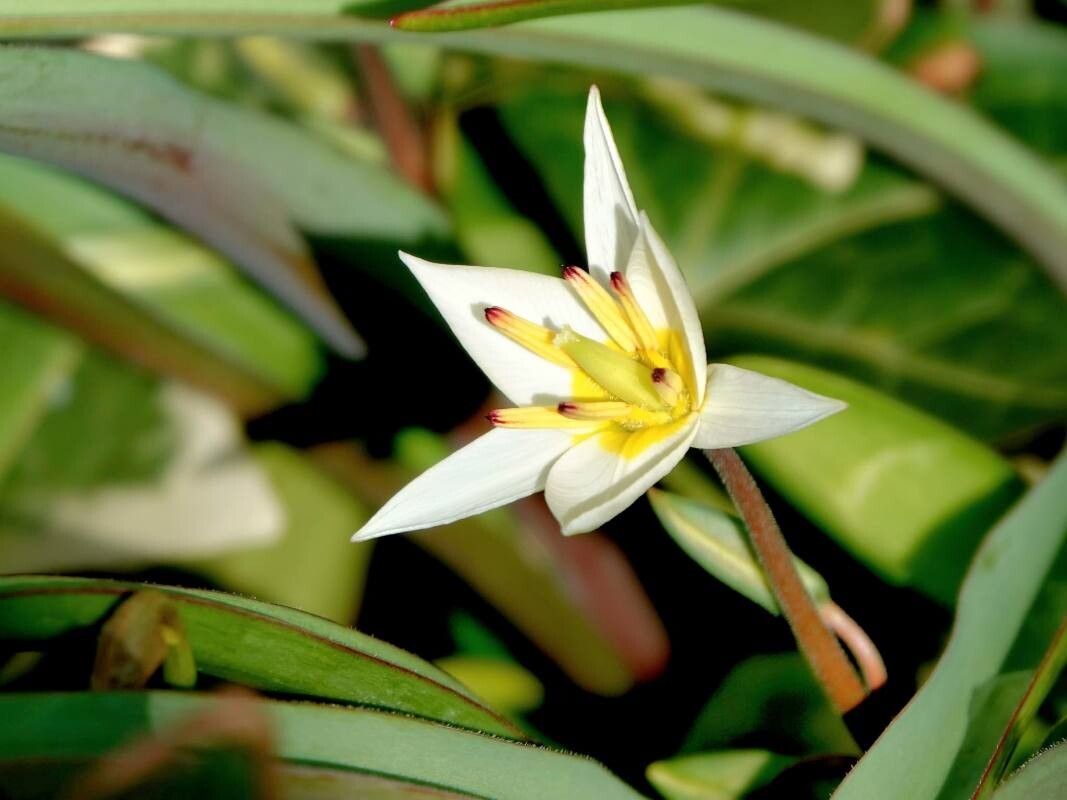
Ah, Tulipa turkestanica! What a beauty. Its star-shaped, often creamy-white flowers, sometimes with hints of yellow and lovely brown veins, really bring a delicate charm to the early spring garden. They’re like little jewels after a long winter. And the best part? Propagating them is a wonderfully rewarding way to multiply that spring joy.
While some tulips can be a bit finicky, Tulipa turkestanica is actually quite manageable. I think even most beginners will find success with it, especially if we follow a few key steps. It’s definitely not a “challenge the expert” kind of plant, and that’s a lovely thing.
The Best Time to Start
For Tulipa turkestanica, the absolute best time to think about propagation is right after they finish flowering. You’re looking for that point when the leaves are starting to yellow and die back, but haven’t completely withered away. This is when the bulb has stored up all its energy and is ready to focus on reproduction. Trying to propagate too early, when the plant is still actively growing and producing flowers, will just stress it out and reduce your chances.
Supplies You’ll Need
Here’s what you’ll want to have on hand:
- Sharp, clean trowel or a small spade: For gentle excavation.
- A good quality potting mix: Something that drains well is crucial. I like a mix with added perlite or coarse sand.
- Small pots or trays: Old yogurt containers with drainage holes poked in them work just fine!
- Rooting hormone (optional but helpful): Especially if you’re aiming for faster root development.
- Watering can with a fine rose: For gentle watering.
- Labels and a pen: To keep track of what you’ve planted.
- A shady spot: For the newly divided bulbs.
Propagation Methods
Tulipa turkestanica primarily propagates by division, which is essentially separating the baby bulbs that form around the main bulb.
- Wait for the Yellowing: As I mentioned, the key is patience. Do not dig them up while the leaves are still green and vibrant. Wait until those leaves have turned yellow and are starting to dry.
- Gentle Excavation: Use your trowel to carefully dig around the base of the plant. You want to lift the entire clump, minimizing damage to the roots and the bulb itself. Try to get under the bulbs and gently loosen the soil.
- Separate the Offsets: Once you have the clump out, you’ll likely see smaller bulbs (called offsets or bulbils) attached to the main bulb. They might look like tiny onions. Carefully twist or gently cut these offsets away from the parent bulb using your fingers or a small, clean knife. If an offset already has a tiny root attached, that’s even better!
- Inspect and Discard: Give your offsets a quick once-over. Discard any that are soft, mushy, or show signs of rot or disease. Healthy offsets will be firm.
- Planting: Fill your small pots or trays with your well-draining potting mix. Plant each offset about 2-3 inches deep, ensuring the pointy end is facing upwards. If you’re using rooting hormone, dip the base of the offset into it before planting. Water them in gently.
The “Secret Sauce” (Pro Tips)
Okay, here are a few little tricks I’ve learned over the years that can really boost your success with these little guys:
- Don’t Crowd Them: When you’re dividing, resist the urge to cram too many offsets into one pot. Give them a little space to grow. They’re working hard to establish themselves, and overcrowding can lead to competition for resources and potential rot. I like to give each offset its own small pot or plant them no more than an inch apart if using a tray.
- Embrace the Dormancy: After you plant your offsets, don’t expect immediate miracles. They need to go through their natural dormancy period. Keep the soil lightly moist but not soggy. They’ll likely stay dormant through the summer, and that’s perfectly normal. You’re essentially keeping them tucked away, waiting for the right conditions to sprout.
- A Little Warmth Helps: While not strictly necessary for Tulipa turkestanica, if you’re in a cooler climate and want to give them a gentle nudge, placing the pots in a slightly warmer spot (like a greenhouse or a bright windowsill indoors, away from direct scorching sun) can sometimes encourage quicker root development before the main growing season.
Aftercare & Troubleshooting
Once your offsets are planted, the main thing is to keep the soil lightly moist. They don’t need a lot of water while dormant, but you don’t want them to dry out completely either. Think of it as a gentle misting every now and then, especially if your storage area is dry.
The biggest issue you might encounter is rot. This is almost always due to overwatering or poor drainage. If you see an offset turning soft and mushy, or if there’s a foul smell, it’s likely rot. Remove it immediately to prevent it from spreading. Good drainage is your best friend here.
When autumn rolls around and the weather cools, your offsets should start to grow. You might see a small green shoot emerge. Treat these new little plants just like you would any other young bulb. You can gradually transition them to a brighter spot and increase watering as they establish themselves. It might take a year or two for these small offsets to mature into flowering-sized bulbs, so be patient!
A Word of Encouragement
Growing plants from offsets is such a fulfilling part of gardening. It’s like saying, “Thank you for your beauty, and here’s to many more seasons of it!” Don’t get discouraged if every single offset doesn’t make it. Gardening is a journey, and with a little care and patience, you’ll soon be enjoying even more of those delightful Tulipa turkestanica blooms. Happy planting!
Resource:
https://identify.plantnet.org/k-world-flora/species/Tulipa%20turkestanica%20(Regel)%20Regel/data