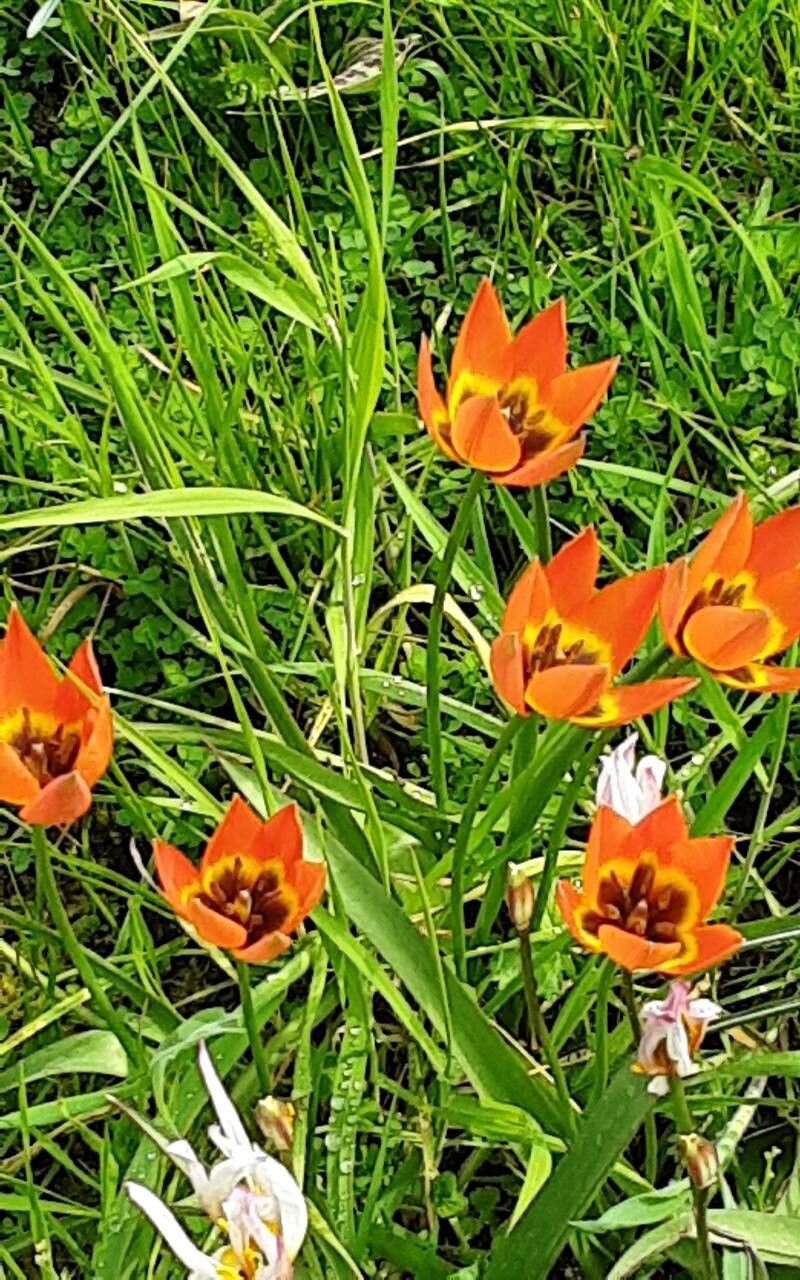
Hey there, fellow garden lovers! Grab your favorite mug, and let’s chat about a truly special bloom: Tulipa orphanidea. These little gems, often sporting gorgeous hues of apricot, rust, and deep reds, are like sunshine captured in a bulb. They bring such a unique charm to the spring garden, and there’s a special kind of joy in coaxing new life from your existing plants. If you’re new to propagation, don’t worry – we’ll tackle this together. While tulips generally aren’t the easiest to propagate from a single leaf cutting like some other plants, reproducing them from their bulbs is wonderfully rewarding and quite achievable.
The Best Time to Start
For Tulipa orphanidea, just like most tulips, the ideal time to think about propagation is as soon as the flowering season is completely over. This is usually late spring or early summer, when the foliage has started to turn yellow and is dying back naturally. This signals that the bulb has put all its energy into reproduction and is ready to be nudged into making more of itself. Trying to divide or move bulbs when they’re actively growing or still green can stress them out and reduce your success rate significantly.
Supplies You’ll Need
Before we get our hands dirty, let’s gather our tools. Think of this as prepping for a cozy afternoon project, not a complicated lab experiment!
- A sharp, clean trowel or small spade: For gently unearthing the bulbs.
- Rooting hormone powder (optional but recommended): Especially helpful for encouraging root development on any offsets.
- Good quality, well-draining potting mix: A mix designed for bulbs or a general-purpose potting mix with added perlite or sand works great. We want to avoid soggy feet!
- Small pots or trays: If your offsets are large enough to plant individually.
- Gardening gloves: To keep your hands clean and protect them.
- A label and marker: To keep track of what you’ve potted and when.
Propagation Methods
For Tulipa orphanidea, the primary and most successful method of propagation is through bulb division. Tulips don’t typically produce offsets in the same prolific way as, say, daffodils, but established clumps will often have small offsets developing at the base of the main bulb.
Here’s how we do it:
- Wait for the dieback: As I mentioned, have patience! Wait until the leaves are yellowing and have withered naturally. This is crucial.
- Gently unearth the bulbs: Using your trowel or spade, carefully dig around the original clump. Try to get underneath the bulbs and lift the entire mass gently. Avoid just yanking them out, as this can damage the bulbs and their developing offsets.
- Examine the bulbs: Gently brush away any excess soil. You’re looking for small bulbets or offsets attached to the side of the main bulb. These often look like miniature versions of the parent bulb, sometimes still connected by a thin bit of root or bulb tissue.
- Separate the offsets: If the offsets are fairly large and feel firm, you can gently twist or cut them away from the parent bulb using your clean trowel or even your fingers. If they’re very small and delicate, it might be best to leave them attached to the main bulb for this year, and they may mature on their own. We want to be as gentle as possible here.
- Prepare for planting: If you’re using rooting hormone, dip the cut end of the offset into the powder. This isn’t strictly necessary, as they can root on their own, but it can give them a good start.
- Plant the offsets: Using your well-draining potting mix, plant the offsets in small pots or trays. The rule of thumb is to plant them at a depth of about twice their height. If they are very small, plant them shallower. Ensure good contact between the bulb and the soil.
- Water gently: Give them a light watering.
The “Secret Sauce” (Pro Tips)
Now for a couple of little tricks I’ve learned over the years that can really make a difference:
- Don’t be too greedy: If an offset is tiny and feels flimsy, it’s often best to leave it attached to the mother bulb for another season. Sometimes, these will develop into full-sized bulbs on their own if left undisturbed. Trying to force separation on very small bulbets can lead to them failing.
- Think “cool and dry” storage (for any bulbs you’re not potting immediately): If you have a lot of offsets, or if you don’t get around to potting them right away, you can store them in a cool, dry, dark place like a garage or shed. Keep them in paper bags or shallow trays with a bit of dry peat moss or sawdust. This prevents them from drying out too much or rotting before you’re ready to plant them in the fall.
Aftercare & Troubleshooting
Once your little offsets are potted, keep them in a cool, bright location, out of direct, scorching sun. Water them sparingly – just enough to keep the soil lightly moist, but never soggy. The goal is to encourage root development.
If you see any signs of rot, like mushy, dark brown or black spots on the bulb, it’s usually a sign of too much moisture. Unfortunately, once rot sets in, it’s hard to save the bulb. Good drainage is your best friend here. Remove any affected bulbs immediately to prevent the rot from spreading. Don’t be discouraged if some don’t make it; propagation is a learning process!
A Encouraging Closing
Growing new bulbs from your existing Tulipa orphanidea takes a little patience and care, but the satisfaction of seeing those unique blooms emerge the following year, knowing you helped create them, is truly special. Trust your instincts, be gentle with your little bulbs, and enjoy the journey of nurturing new life in your garden. Happy propagating!
Resource:
https://identify.plantnet.org/k-world-flora/species/Tulipa%20orphanidea%20Boiss.%20ex%20Heldr./data