Hello fellow plant lovers! If you’ve ever been captivated by the elegant cascade of a Himalayan Hemlock (Tsuga dumosa), you’re in for a treat. There’s something truly special about coaxing a new life from an established beauty. It’s a process that connects you deeply to the plant world, and bringing a new Tsuga into being? Oh, that’s a rewarding kind of magic. Now, I won’t lie to you – Tsuga dumosa isn’t the easiest plant to propagate for absolute beginners. It requires a bit of patience and attention, but with a few tips, you’ll be well on your way to success.
The Best Time to Start
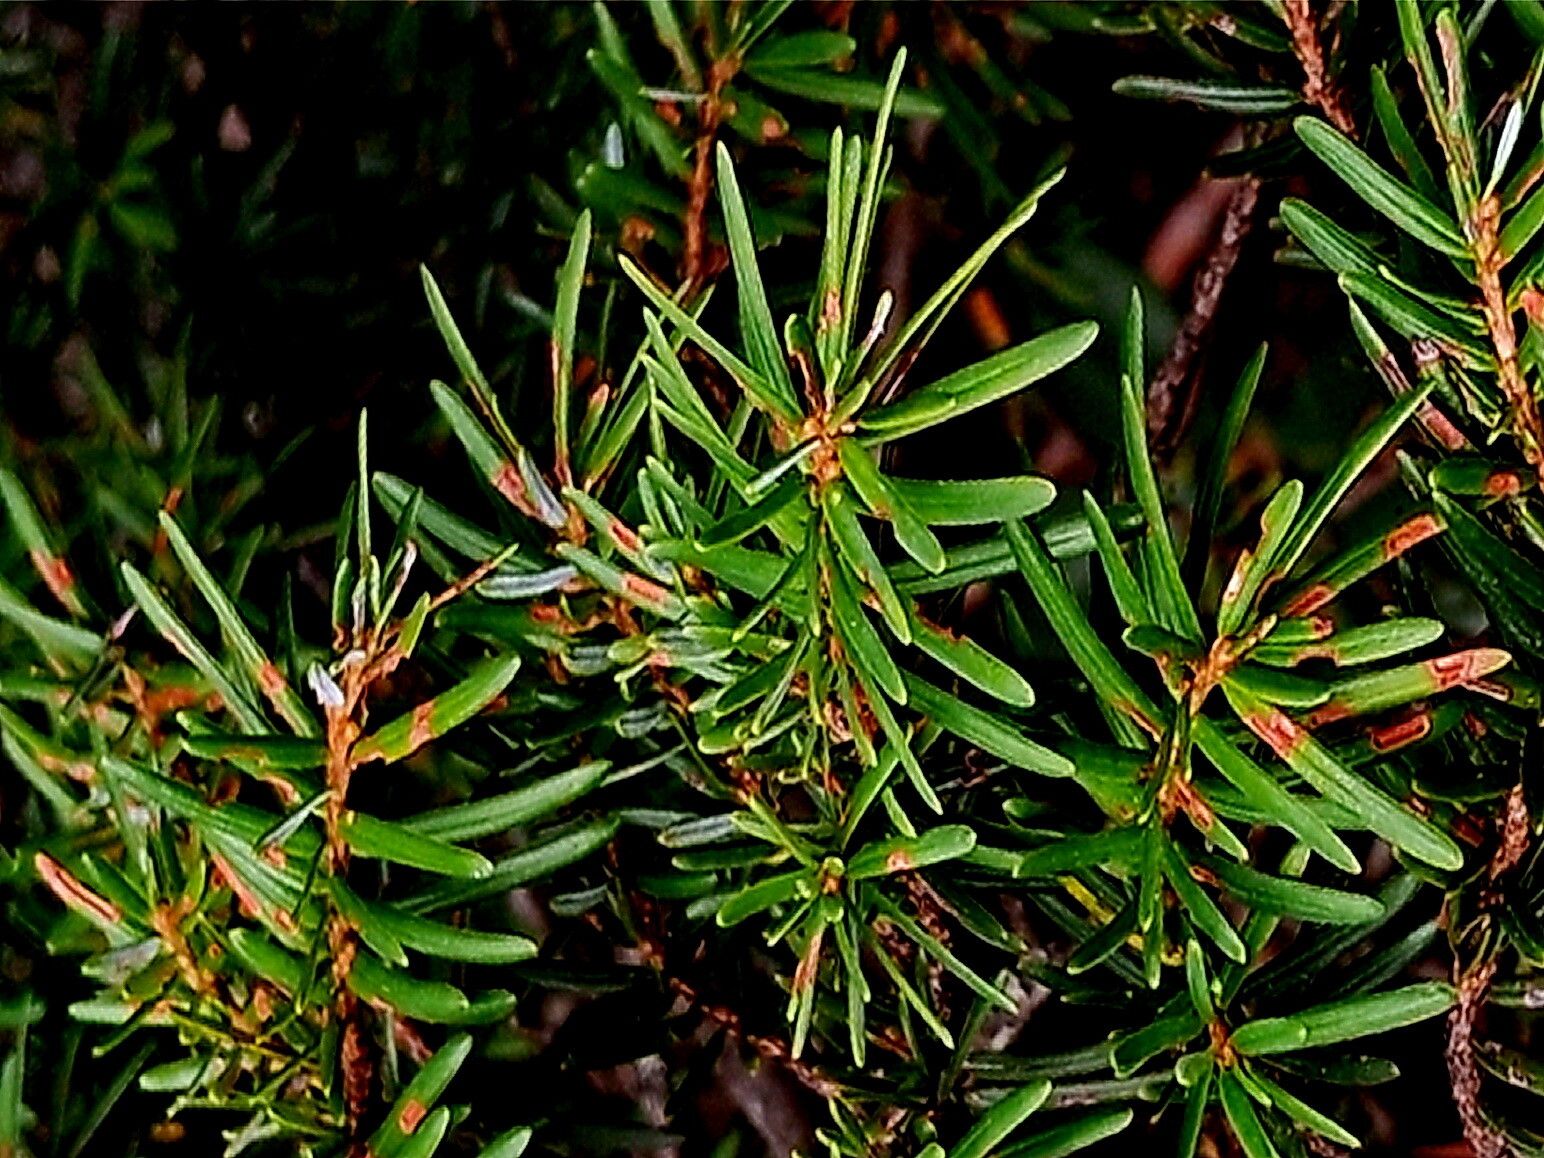
For our Himalayan Hemlock, the sweet spot for propagation is typically in the late spring to early summer. This is when the plant is actively growing and has plenty of energy to put into rooting. You want to be looking for new, relatively soft growth – what we often call “softwood cuttings.” Avoid anything that feels hard and woody, as it will be much slower to root.
Supplies You’ll Need
Gathering your tools beforehand makes the whole process smoother. Here’s what I always have on hand:
- Sharp Pruning Shears or a Craft Knife: Clean cuts are essential for healthy rooting.
- Rooting Hormone: A good quality powder or gel can make a world of difference.
- Potting Mix: A well-draining mix is crucial. I like a blend of equal parts peat moss (or coco coir), perlite, and coarse sand. Avoid heavy, dense soils that can lead to rot.
- Small Pots or Trays: Clean pots are a must! Four-inch pots are usually a good size.
- Clear Plastic Bags or a Propagation Dome: This helps maintain humidity.
- Watering Can with a Fine Rose: Gentle watering is key.
- Labels and a Marker: Don’t forget to label your cuttings!
Propagation Methods: Stem Cuttings
The most reliable method for Tsuga dumosa is taking stem cuttings. It’s hands-on and gives you the best chance of success.
- Select Your Cuttings: Gently examine your healthy Hemlock. Look for those vibrant, new shoots that are about 4-6 inches long. Using your clean pruners or knife, make a clean cut just below a leaf node. A leaf node is where a leaf attaches to the stem; this is where the magic of rooting happens.
- Prepare the Cuttings: Gently remove the lower leaves from the cutting, leaving just a few at the very top. This prevents them from rotting when buried in the soil.
- Apply Rooting Hormone: Dip the cut end of the stem into your rooting hormone, ensuring it’s coated reasonably well. Tap off any excess.
- Plant Your Cuttings: Fill your pots with your well-draining potting mix. Make a small hole in the center with your finger or a pencil. Gently insert the hormone-coated end of the cutting into the hole, ensuring the nodes are buried. Firm the soil gently around the stem.
- Water Gently: Water the pots thoroughly, but avoid waterlogging. The soil should be moist, not soggy.
- Create a Humid Environment: Place a clear plastic bag loosely over the pot, or use a propagation dome. This traps in humidity, which is vital for cuttings to root. Secure it so it doesn’t collapse directly onto the leaves.
- Find the Right Spot: Place your pots in a bright location that receives indirect sunlight. Avoid direct sun, which can scorch the delicate cuttings.
The “Secret Sauce” (Pro Tips)
Here are a few things I’ve learned over the years that can really boost your success with Tsuga dumosa:
- Don’t Let the Leaves Touch the Water: If you’re tempted to try water propagation (which I generally don’t recommend for this plant), make absolutely sure the leaves of your cutting are never submerged. Any leaf in the water is a prime spot for rot to set in. Stick to the soil method and manage that humidity!
- Consider Bottom Heat (If Possible): A gentle warmth from below can significantly speed up root development. You can achieve this with a propagator mat, available online or at garden centers. It provides consistent, gentle warmth to the base of the cuttings without overheating the top growth.
Aftercare & Troubleshooting
The waiting game begins now! You’ll want to keep the humidity high and the soil consistently moist but never soggy. Do check your cuttings every few days. If the soil looks dry, give it a gentle watering. You might need to open the plastic bag or dome for a few minutes each day to allow for some air circulation and prevent fungal issues.
You’ll know your cuttings are rooting when you see new leaf growth appearing. This can take anywhere from 4 to 12 weeks, so patience is key! Once roots have formed (you might see them peeking out the drainage holes, or you can carefully tug on a cutting – if it resists, it has roots!), you can begin to gradually acclimate it to lower humidity.
The most common problem you’ll encounter is rot. If a cutting turns black and mushy, it’s usually a sign of too much moisture and not enough air circulation. Sadly, these are usually lost, but don’t despair – just start again with fresh cuttings and adjust your watering and ventilation.
A Final Word
Propagating Tsuga dumosa is a journey, and like any gardening endeavor, there will be learning curves. But the satisfaction of nurturing a new plant from a tiny cutting is truly immense. Be patient, trust the process, and enjoy the quiet satisfaction of watching life unfold in your hands. Happy propagating!
Resource:
https://identify.plantnet.org/k-world-flora/species/Tsuga%20dumosa%20(D.Don)%20Eichler/data