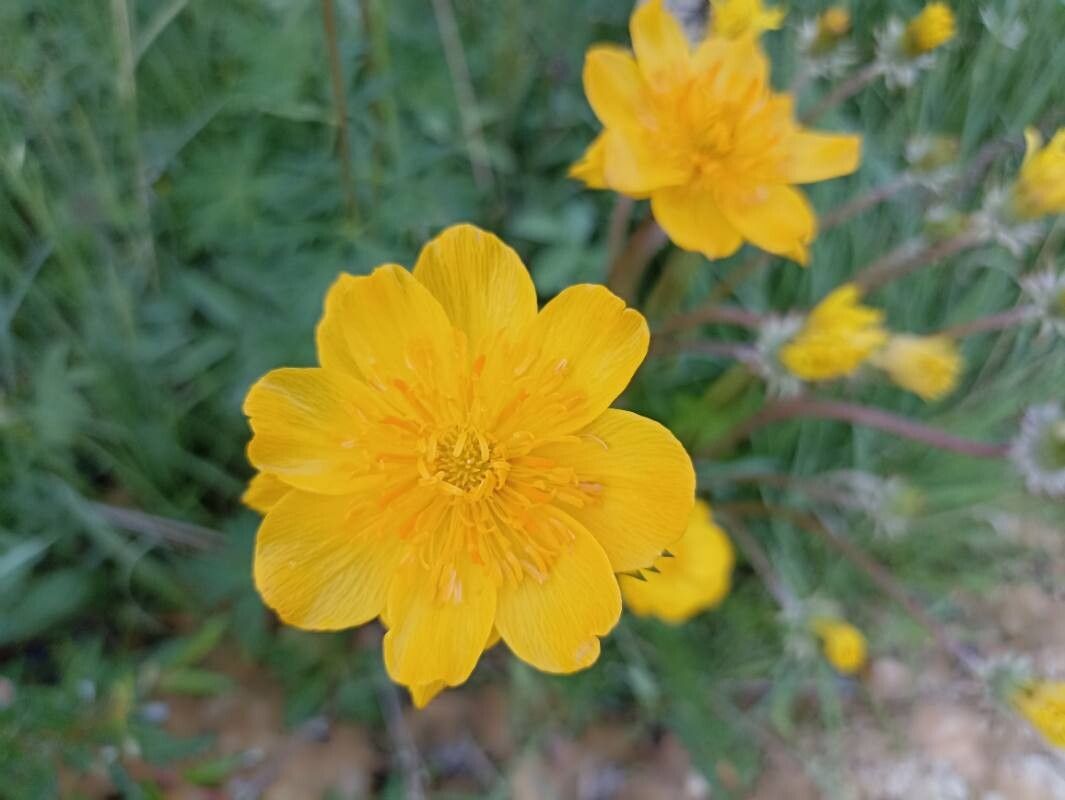
Hey there, fellow plant lovers! I’m so excited to chat with you today about a truly special bloom: Trollius sibiricus, also known as Siberian globeflower. If you’re looking for a splash of vibrant, sunny color in your garden that lasts, this is your plant. Its charming, ruffled buttercup-like flowers are simply delightful. And the best part? Sharing this beauty by propagating it is incredibly rewarding. For beginners, I’d say Trollius sibiricus is moderately easy to propagate. It’s not as fussy as some, but it does appreciate a little know-how.
The Best Time to Start
When it comes to getting new Trollius plants going, timing is everything. The ideal window for propagation is right after flowering has finished. Think late spring to early summer. This gives the new divisions or cuttings plenty of time to establish themselves before the heat of summer or the chill of fall sets in. You’re essentially working with a plant that’s got plenty of energy to spare after putting on its floral show.
Supplies You’ll Need
Gathering your tools beforehand makes the whole process smoother. Here’s what I usually have on hand:
- Sharp Pruning Shears or a Clean Knife: For making neat cuts.
- Seed Starting Mix or a Well-Draining Potting Mix: Something light and airy is key. I often mix equal parts peat moss, perlite, and compost.
- Small Pots or Trays: For your new babies.
- Rooting Hormone (Optional but Recommended): This can give your cuttings a helpful boost.
- Watering Can with a Fine Rose: Gentle watering is important.
- Labels: Because, let’s be honest, my memory isn’t what it used to be!
- A Spray Bottle: For keeping things consistently moist.
Propagation Methods
Trollius sibiricus is most commonly propagated through division, and it’s a method I highly recommend.
Division:
- Dig Up the Plant: Gently dig around the established Trollius plant, making sure to get as much of the root ball as possible. You want to lift the whole clump.
- Clean the Roots: Carefully shake off excess soil. You’ll be able to see where the clumps naturally divide.
- Separate the Divisions: Using your hands or a clean trowel, gently pull or cut the root ball into sections. Each division should have at least a few healthy roots and a couple of shoots. If a division looks weak or has very few roots, it’s probably best to discard it.
- Replant: Pot up each division into its own container filled with your prepared potting mix. Water them in well.
While less common for Trollius, you can sometimes take basal cuttings from new spring growth, but division is far more reliable. For cuttings:
- Select Shoots: Look for healthy, non-flowering shoots that have emerged from the base of the plant in early spring.
- Make the Cut: Using your sharp shears, cut a shoot close to the base. Make sure it has at least two sets of leaves.
- Prepare the Cutting: Pinch off the lower leaves. If you’re using rooting hormone, dip the cut end into it now.
- Pot Up: Insert the cutting into a pot filled with your seed-starting mix. Gently firm the soil around it.
The “Secret Sauce” (Pro Tips)
Here are a couple of things I’ve learned over the years that really make a difference:
- Don’t Drown Your Divisions: While they need consistent moisture, waterlogged soil is the quickest way to rot them. Ensure your pots have good drainage and water only when the top inch of soil feels dry.
- Give Them Shade: Newly divided Trollius, or cuttings, are delicate. Keep them in a bright spot, but out of direct, harsh sunlight for the first few weeks. A shady corner of the porch or under a taller plant works wonders. I often use a sheer curtain or shade cloth if I’m growing them on a sunny windowsill.
Aftercare & Troubleshooting
Once your new Trollius divisions are planted, keep them consistently moist but not soggy. Roots will typically form within 4-6 weeks. You’ll know they’re settling in when you see new leafy growth emerge.
The most common problem you’ll encounter is rot. If a division or cutting turns mushy and dark, it’s likely succumbed to too much moisture. Don’t be discouraged if this happens; it’s part of the learning curve! If you see signs of rot, try to remove the affected part immediately and allow the remaining healthy bits to dry out a bit more. Also, ensure good air circulation; crowded conditions can contribute to fungal issues.
A Encouraging Closing
Propagating Trollius sibiricus is a wonderful way to multiply your garden joy. Be patient with the process, observe your new plants, and don’t be afraid to experiment a little. Each successful plant you nurture will bring you immense satisfaction. Happy gardening!
Resource:
https://identify.plantnet.org/k-world-flora/species/Trollius%20sibiricus%20Schipcz./data