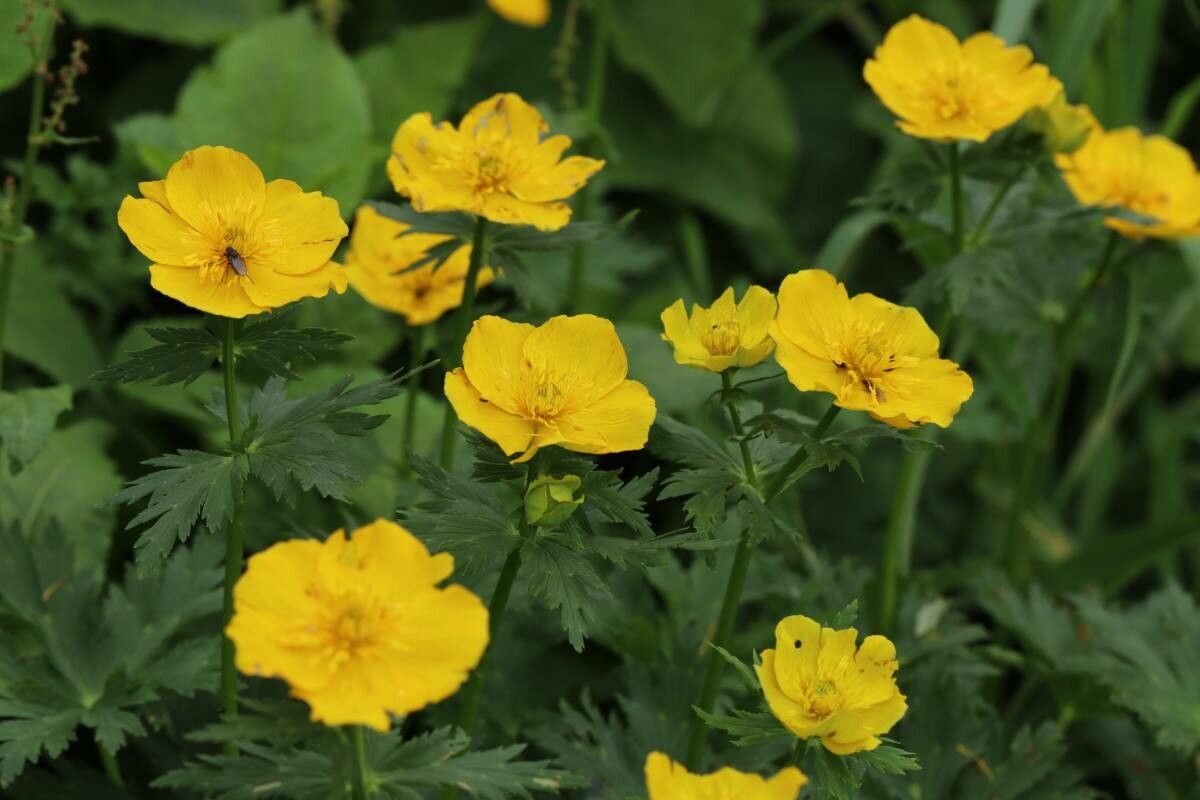
Happy Gardening, everyone! Isn’t it just a joy to have those cheerful Trollius shinanensis gracing your garden beds? Their buttercup-yellow blooms, like happy little suns, really make a statement, especially in damper corners where other things might shy away. I’ve been growing them for two decades now, and there’s something incredibly satisfying about coaxing more of these beauties into life from existing plants. If you’re just starting out with propagation, Trollius shinanensis might seem a mid-level challenge. It’s not the absolute easiest plant to take cuttings from, but with a little patience and the right approach, you’ll be rewarded with a whole troop of new plants.
The Best Time to Start
For Trollius shinanensis, late spring to early summer is your sweet spot. Think about when the plant is actively growing but before it gets too hot and stressed. This is usually after the initial flush of flowering has passed, and the plant is putting on new, vigorous growth. You want young, supple stems, not woody, old material.
Supplies You’ll Need
Here’s what I always have on hand when I’m propagating these beauties:
- Sharp pruning shears or a clean knife: For making neat cuts.
- Rooting hormone (optional, but recommended): This really gives your cuttings a boost.
- Small pots or trays with drainage holes: Anything from tiny terracotta pots to a standard seed tray works.
- A well-draining potting mix: I like a blend of peat moss, perlite, and a little compost. You can also find specific seed-starting or cutting mixes.
- A clear plastic bag or propagator lid: To create a humid microclimate.
- Labels and a permanent marker: Trust me, you’ll thank yourself later!
- Watering can or spray bottle: For gentle watering.
Propagation Methods
There are a couple of ways we can go about this. My preferred method for Trollius shinanensis is division, but stem cuttings can also work quite well if you catch them at the right stage.
Method 1: Division (My Favorite!)
This is often the most successful for Trollius. It’s best done in early spring as the plant is just waking up, or in early autumn after the heat of summer has passed.
- Gently excavate: Carefully dig up the entire clump of Trollius. I like to use a garden fork to loosen the soil around the root ball first, then lift the whole thing.
- Clean the roots: Gently shake off as much of the excess soil as you can. You want to be able to see the individual crowns and roots.
- Locate the divisions: Look for natural breaks in the clump. You’ll see where new shoots are emerging from the base.
- Separate the sections: Using your hands or a clean knife, carefully pull or slice apart the clump into smaller sections. Aim for pieces that have at least one or two healthy shoots and a good bit of root.
- Replant immediately: Pot up your divisions into their new homes. Make sure the crown (where the shoots emerge from the roots) is just at the soil surface. Water them in well.
Method 2: Stem Cuttings
This method is best done in late spring or early summer when the plant is producing soft, new growth.
- Take your cuttings: Look for healthy, non-flowering stems that are about 4-6 inches long. Using your sharp shears, make a clean cut just below a leaf node (the point where a leaf attaches to the stem). Remove the lower leaves from the cutting, leaving just the top two or three.
- Prepare the cuttings: You can dip the cut end into rooting hormone. This isn’t strictly necessary, but it can speed up the process significantly.
- Pot them up: Fill your small pots with your well-draining mix. Make a small hole in the center of each pot with a pencil or your finger. Insert the cut end of the stem into the hole, and gently firm the soil around it.
- Create humidity: Water the soil gently. Then, cover the pot with a clear plastic bag, sealing it at the base with a rubber band, or place it inside a propagator with a lid. This keeps the humidity high, which cuttings need to root.
- Place them in a bright spot: Find a location that gets bright, indirect light. Avoid direct sun, which will scorch the leaves and dry out the cuttings.
The “Secret Sauce” (Pro Tips)
Here are a few little tricks that have helped me over the years:
- Don’t let the leaves touch the water (if using water propagation): While some plants do well with stems submerged, for Trollius cuttings, I find it’s better if the leaves stay above the waterline in the pot. Excess moisture on the leaves can encourage rot.
- Use bottom heat for cuttings: If you’re serious about cuttings, invest in a small seedling heat mat. Placing your pots on a gentle heat source can dramatically speed up root development for those stem cuttings. It mimics the warmer soil temperatures that signal growth.
- Start with healthy parent plants: This might sound obvious, but the healthier your established Trollius, the more vigorous and disease-free your cuttings or divisions will be. Don’t try to propagate from a plant that looks weak or has spent-season issues.
Aftercare & Troubleshooting
Once your divisions are replanted or your cuttings have rooted (you’ll see new growth, or feel a gentle resistance when tugging lightly on a cutting), it’s time for continued care. Keep the soil consistently moist but not waterlogged. For cuttings, gradually acclimate them to lower humidity by opening the bag or lid for increasing periods over a week or two before removing it entirely.
The most common issue you might encounter is rot. This usually happens if the soil is too wet and there isn’t enough air circulation. If you see stems turning mushy or black, it’s often a sign of overwatering or poor drainage. Act quickly by removing the affected parts and ensuring better airflow and less water. For divisions, if they fail to establish, it could be due to too much stress during transplanting, or perhaps they weren’t divided cleanly. Don’t be discouraged; learn from it for next time!
A Encouraging Closing
Propagating Trollius shinanensis is a journey, a wonderful way to expand your garden and share these delightful plants. Be patient with yourself and with the process. Sometimes success comes on the first try, other times it takes a few attempts. The joy is in the learning and the nurturing. So grab your tools, get your hands in the soil, and enjoy the magic of creating new life! Happy gardening!
Resource:
https://identify.plantnet.org/k-world-flora/species/Trollius%20shinanensis%20Kadota/data