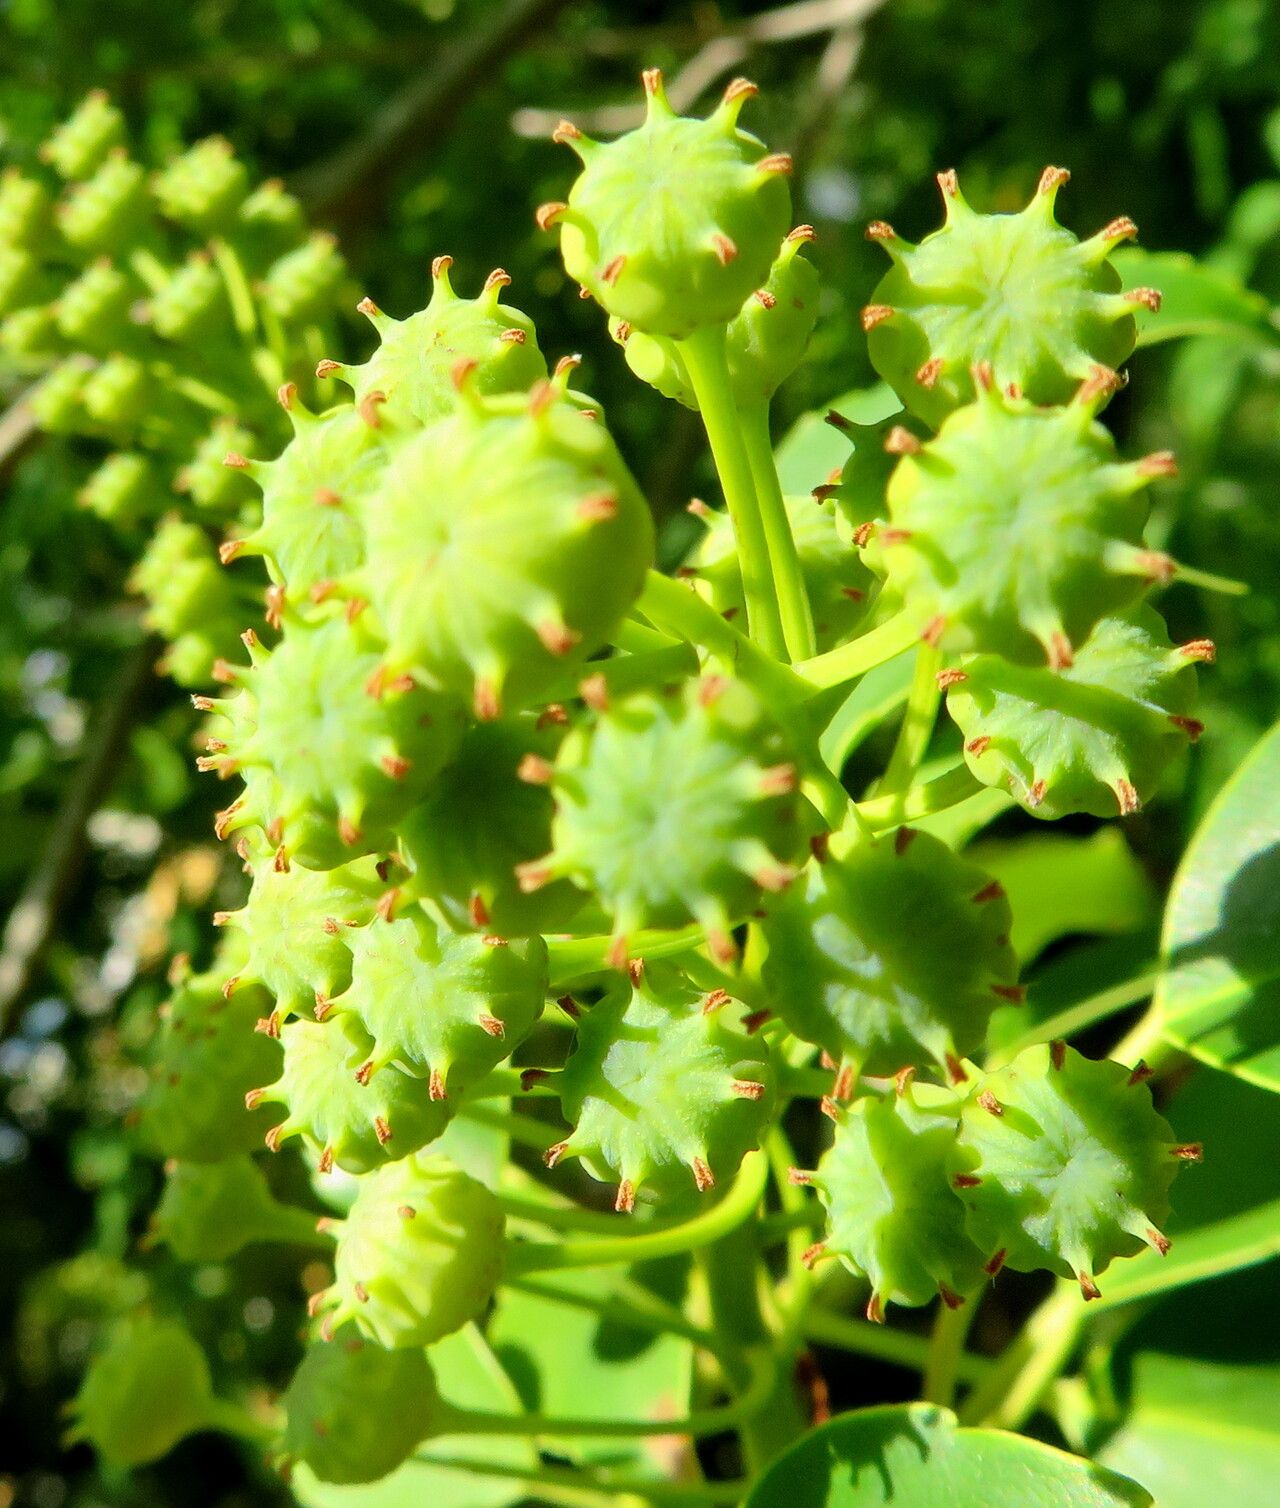
Grow Your Own Wonder Tree: A Guide to Propagating Trochodendron aralioides
Oh, the Trochodendron aralioides! If you love a plant with a bit of mystique and a whole lot of quiet charm, you’ve likely fallen for its glossy, leathery leaves and elegant, architectural form. It’s a tree that brings a touch of the Pacific Northwest’s wild beauty right into our gardens, and honestly, every time I see one, I feel a little thrill.
Now, the thought of growing your own Trochodendron from scratch can sound a bit daunting. Let me tell you, while it’s not exactly throwing seeds into the wind and hoping for the best, propagating this beauty is absolutely achievable. It might require a little patience and a few specific steps, but the reward of nurturing a new plant from a tiny piece of the parent is simply unmatched. For true beginners, I’d say it’s a medium challenge – you’ll need to pay attention, but the success is well within reach!
When to Get Your Hands Dirty
The absolute best time to try your hand at propagating Trochodendron aralioides is during the late spring or early summer. This is when the plant is in its active growth phase, meaning it’s full of vigor and ready to put its energy into forming new roots. You’re looking for stems that have new growth on them, often called softwood cuttings, but you can also have success with slightly more mature, but still pliable, growth in early summer – this is often referred to as semi-hardwood cuttings. Avoid trying this when the plant is dormant or stressed by extreme heat or cold.
Your Propagation Toolkit
Before we get started, let’s gather our supplies. Having everything ready makes the process so much smoother.
- Sharp Pruning Shears or a Clean Knife: Crucial for making clean cuts that heal better.
- Rooting Hormone: A powder or gel that encourages root development. Not strictly mandatory, but it significantly boosts your success rate.
- Small Pots or a Propagation Tray: Around 4-inch pots are usually a good size. Ensure they have drainage holes!
- Well-Draining Potting Mix: A good blend is key. I like to use a mix of equal parts perlite and peat moss, or a commercially available seed starting mix enriched with some perlite.
- Plastic Bag or Clear Dome: To create a humid environment around your cuttings.
- Spray Bottle: For misting your cuttings.
- Labels: To remember what you’ve planted and when!
Let’s Get Growing: Propagation Methods
For Trochodendron aralioides, stem cuttings are my go-to method. It’s reliable and gives you a good chance of success.
Stem Cuttings: The Most Reliable Route
- Take Your Cuttings: In late spring or early summer, select healthy, vigorous stems from your parent plant. Look for stems that are about 4-6 inches long and have at least a couple of sets of leaves. Using your sharp shears or knife, make a clean cut just below a leaf node (where a leaf attaches to the stem). This is where root-forming cells are most active.
- Prepare the Cuttings: Gently remove the lower leaves from the cutting, leaving just 2-3 sets of leaves at the top. This prevents them from rotting in the soil. If the remaining leaves are very large, you can also cut them in half to reduce water loss.
- Dip in Rooting Hormone: Moisten the cut end of the stem slightly, then dip it into your rooting hormone powder or gel, ensuring it’s coated evenly. Tap off any excess.
- Plant Your Cuttings: Fill your pots or tray with your prepared, moistened potting mix. Make a small hole with your finger or a pencil, and carefully insert the dipped end of the cutting into the hole. Gently firm the soil around the stem to ensure good contact.
- Create the Humid Environment: Water the soil gently to settle it around the cuttings. Now, cover the pots with a clear plastic bag, creating a little greenhouse. Make sure the leaves don’t touch the plastic. If you’re using a propagation tray, a clear dome works perfectly.
The “Secret Sauce” – Insider Tips
Here are a few little tricks that have helped me over the years, really giving your cuttings that extra boost:
- Bottom Heat is Your Friend: If you have one, place your propagation tray on a gentle heating mat. This bottom warmth encourages root development much faster than ambient room temperature alone. Just a slightly warmer soil temperature makes a huge difference!
- Misting, Not Drenching: While humidity is key, you don’t want soggy conditions. Mist your cuttings lightly every day or two, or whenever the soil surface feels dry. The goal is consistently moist, not waterlogged.
- Watch for the “Wiggle Test”: After a few weeks, give your cuttings a very gentle tug. If you feel resistance, that’s a good sign roots are forming and the cutting is starting to anchor itself.
Aftercare and What to Watch For
Once your cuttings have taken root – and patience is key here, it can take anywhere from 4 to 8 weeks, or even longer – it’s time for a little more attention.
- Transitioning: When you see new leaf growth appearing, it’s a sure sign your cutting has rooted. You can gradually acclimate it to lower humidity by removing the plastic bag for longer periods each day over a week or two.
- Watering: Water your new plant when the top inch of soil feels dry. Avoid letting it sit in soggy conditions.
- Troubleshooting: The most common issue you’ll encounter is rot. This usually happens when cuttings are kept too wet or have poor air circulation. If you see a cutting turning black and mushy, it’s best to discard it to prevent it from spreading. Yellowing leaves can sometimes mean it’s still struggling, or the light is too intense. Don’t give up! Sometimes giving it a bit more time in a slightly different spot can help.
Keep Planting, Keep Growing!
Propagating Trochodendron aralioides is a journey, and like all good gardening adventures, it’s one filled with learning and discovery. Don’t be discouraged if your first few attempts aren’t perfect. Keep an eye on your cuttings, adjust your approach, and celebrate every little bit of progress. Soon, you’ll have your very own handsome Trochodendron to admire and share! Happy propagating!
Resource: