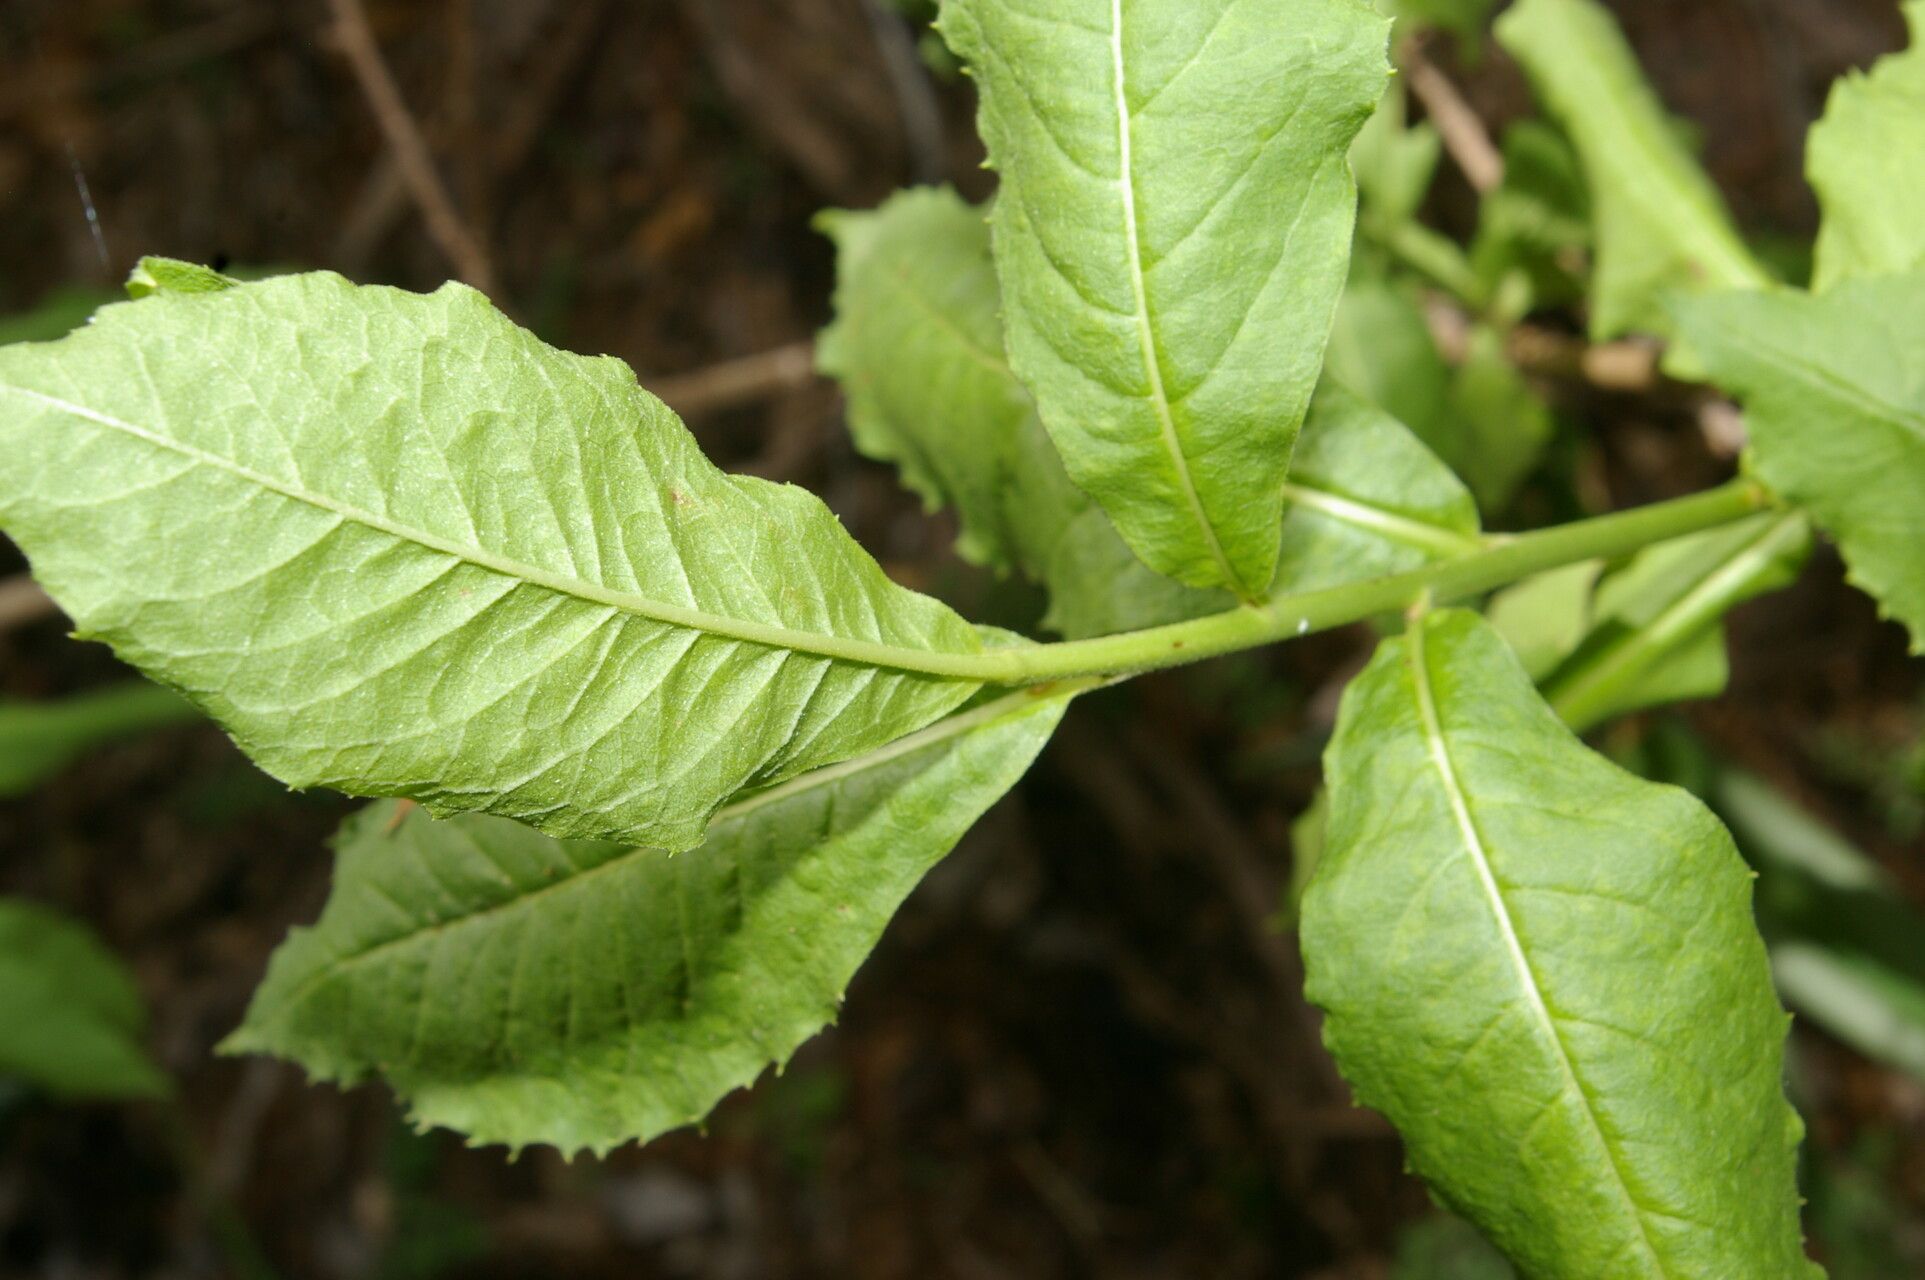
Hello fellow garden enthusiasts! I’m so excited to talk to you today about a plant that has truly captured my heart: Trixis inula. If you’ve ever seen this beauty in bloom, you’ll know why. Its vibrant, daisy-like flowers, often appearing in shades of sunny yellow or warm orange, bring such a cheerful burst of color to the garden. Plus, they attract all sorts of delightful pollinators. If you’re looking to expand your collection of these cheerful blooms, or want to share the joy with friends, you’ll be pleased to know that propagating Trixis inula is a very rewarding endeavor. It’s not the absolute easiest plant to start from scratch for a complete beginner, but with a little guidance, you’ll be well on your way to success!
The Best Time to Start
My favorite time to begin propagating Trixis inula is during its active growing season. Think late spring or early summer. This is when the plant is full of vigor, and the stems have just the right amount of energy to put into developing roots. Waiting until after a flush of new growth has hardened off a bit, but before the plant gets too stressed by intense heat, is often the sweet spot.
Supplies You’ll Need
To give your Trixis inula cuttings the best possible start, gather these items:
- Sharp pruning shears or a clean knife: For making clean cuts.
- A rooting hormone (optional but recommended): This really gives cuttings a boost.
- A well-draining potting mix: I like to use a blend of equal parts peat moss (or coco coir) and perlite or coarse sand.
- Small pots or trays: With drainage holes, of course!
- Watering can with a fine rose: To avoid disturbing your new cuttings.
- Plastic bags or a propagator lid: To create a humid environment.
- Labels: For remembering what you’ve planted.
Propagation Methods
There are a couple of wonderful ways to get more Trixis inula. I find stem cuttings to be the most reliable and straightforward.
Stem Cuttings:
- Select your cuttings: Look for healthy, non-flowering stems that are about 4-6 inches long. Gently bend a stem; if it snaps cleanly, it’s likely ready. If it’s still quite soft and floppy, it might be too young.
- Make the cut: Using your clean shears or knife, make a cut just below a leaf node (where a leaf attaches to the stem). This is where the magic happens for root formation.
- Prepare the cutting: Carefully remove the lower leaves. You want to strip off any leaves that would be below the soil line. Leave a few leaves at the top to keep the plant photosynthesizing.
- Apply rooting hormone (optional): Dip the cut end of the stem into your rooting hormone powder or gel. Tap off any excess.
- Pot up your cuttings: Fill your small pots with the prepared potting mix. Make a small hole with your finger or a pencil. Insert the cut end of the stem into the hole, making sure the leaf nodes it came from are beneath the surface. Gently firm the soil around the stem.
- Water gently: Water thoroughly but gently until water drains from the bottom of the pot.
- Create humidity: Place the potted cuttings inside a clear plastic bag, sealing it loosely, or cover them with a propagator lid. This keeps the humidity high, which is crucial for cuttings to root.
The “Secret Sauce” (Pro Tips)
Here are a few things I’ve learned over the years that really make a difference:
- Bottom heat is your friend: If you want to really speed up root development, place your pots on a heat mat designed for seedlings. It mimics the warmth of spring soil and the cuttings absolutely love it.
- Don’t let your cuttings drown (especially in water propagation!): If you do decide to try water propagation (though I find soil much more reliable for Trixis), ensure the leaves never touch the water. This leads to rot very quickly. Only the stem should be submerged.
- Air circulation is king: While humidity is vital, making sure there’s a little bit of air movement helps prevent fungal diseases. If your plastic bag is completely sealed and looking very foggy, open it for a few minutes each day to let it breathe.
Aftercare & Troubleshooting
Once your cuttings have developed a good root system – you can gently tug on them; if there’s resistance, they’ve rooted! – it’s time to transition them.
- Harden off: Gradually introduce your new little plants to drier air and less humidity. This might mean opening the plastic bag a bit more each day for a week, then removing it entirely, and finally moving them to a brighter spot.
- Transplant: Once they’re looking robust, you can pot them up into slightly larger containers or their permanent garden spots, depending on the season.
- Watch for rot: The most common sign of a failed cutting is wilting followed by a mushy, black stem. This usually indicates too much moisture and not enough air circulation. If you see this, it’s best to discard the affected cutting to prevent it from spreading. Overwatering is the usual culprit, so be sure your soil drains well and you’re not keeping it constantly soggy.
A Little Patience Goes a Long Way
Propagating plants is such a wonderful way to connect with nature and grow your garden. It takes a little patience and observation, but the feeling of success when you see those tiny roots emerge is truly unbeatable. Don’t be discouraged if some cuttings don’t make it – it’s all part of the learning process. Just keep trying, enjoy the journey, and soon you’ll have a whole new patch of cheerful Trixis inula to brighten your days! Happy gardening!
Resource:
https://identify.plantnet.org/k-world-flora/species/Trixis%20inula%20Crantz/data