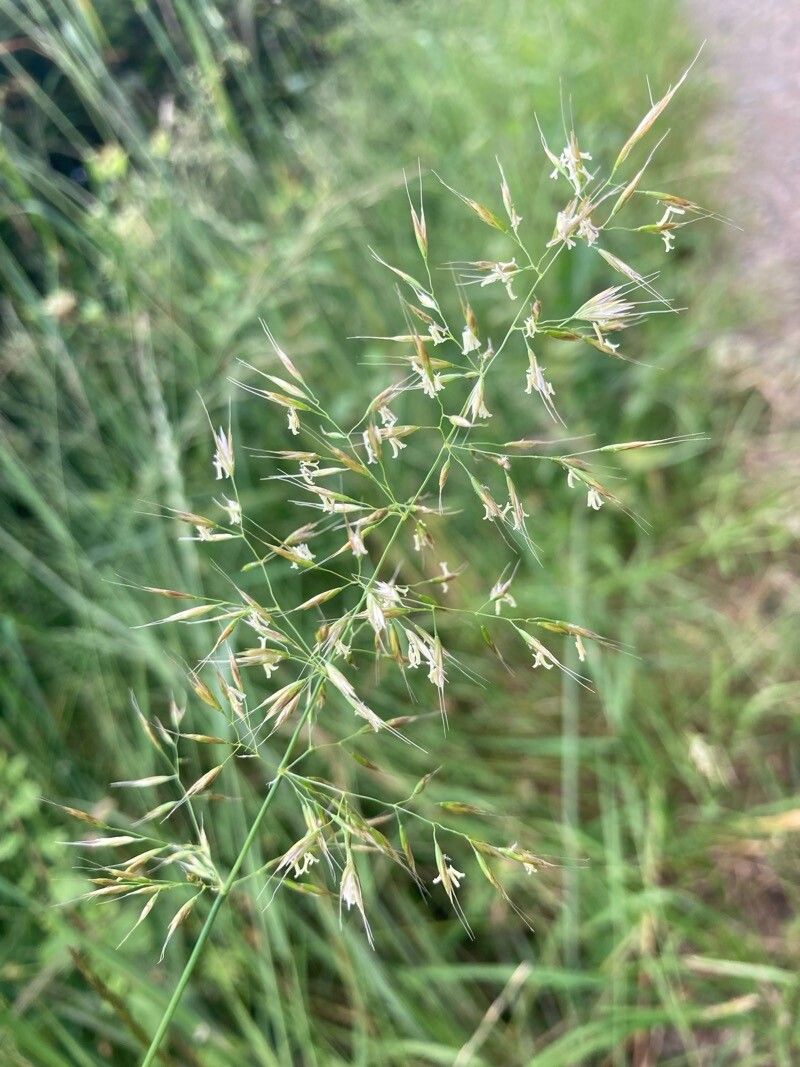
Oh, Trisetum flavescens! You know, that gorgeous golden oat grass that just lights up any garden corner with its shimmering, airy plumes. It has this wonderful way of catching the light, especially in the late afternoon sun. Growing more of it yourself? It’s a truly satisfying endeavor, like sharing a bit of your garden’s magic with your friends – or just letting it spill over into other parts of your own landscape. And the best part? It’s quite a forgiving plant to propagate, even for those of you just starting out on your green-thumb journey.
The Best Time to Start
For Trisetum flavescens, timing is definitely on your side. The absolute best time to get your propagation efforts going is in the late spring or early summer. This is when the plant is actively growing and has plenty of energy to put into developing new roots. You’re looking for healthy, vigorous growth. If you’re thinking about division, you can also do this in the early fall, provided you get them in the ground before the hard freezes arrive.
Supplies You’ll Need
Gathering your tools beforehand makes the whole process smoother. Here’s what I usually have on hand:
- A sharp, clean pruning shear or a small knife. Don’t want to mash those delicate stems!
- Small pots, trays, or even repurposed containers with drainage holes. Tiny terracotta pots are charming for this.
- A well-draining potting mix. I often use a mix of equal parts potting soil, perlite, and a bit of coco coir.
- Rooting hormone (optional, but helpful). A powder or gel can give cuttings a nice boost.
- A spray bottle for misting. Keeping things humid is key.
- For division: A garden fork or a sturdy trowel.
Propagation Methods
Trisetum flavescens is quite amenable to a couple of straightforward methods.
Division: The Easiest Route
This is hands-down the most foolproof way to increase your stock!
- Gently excavate: Dig around the base of your established Trisetum flavescens plant. You want to lift the entire root ball.
- Tease apart: With your hands or a garden fork, carefully separate the plant into smaller sections. Each section should have a good amount of roots and some leafy growth. I usually aim for clumps that are at least a couple of inches wide.
- Replant immediately: Pop these divisions into their new homes. Water them well. They’ll settle in and start growing like they’ve always been there.
Stem Cuttings: A Little More Patience
This method is rewarding as you’re essentially creating a brand-new plant from a piece of the old one.
- Take cuttings: In late spring or early summer, select healthy, non-flowering stems that are about 4-6 inches long. Use your clean shear to make a cut just below a leaf node. This is the little bump on the stem where leaves emerge – it’s where roots love to sprout.
- Prepare the cuttings: Gently remove the lower leaves, leaving just a few at the very top. If you’re using rooting hormone, dip the cut end into it now.
- Plant them up: Fill your small pots with your well-draining mix. Make a small hole with your finger or a pencil and insert the cut end of the stem, firmly pressing the soil around it.
- Create humidity: Mist the cuttings thoroughly. You can also cover the pot with a clear plastic bag or a clear dome to create a mini-greenhouse effect. Ensure the leaves don’t touch the plastic.
The “Secret Sauce” (Pro Tips)
Here are a few little things I’ve learned over the years that really seem to make a difference:
- Don’t dunk your leaves! When you’re watering your cuttings, make sure the water lands on the soil, not the foliage. Excess moisture on the leaves can encourage rot, and that’s the last thing we want.
- Bottom heat is your friend: If you have a seedling heat mat, placing your pots of cuttings on it can significantly speed up root development. The warmth encourages those roots to get going. Just make sure it’s not too hot; warm to the touch is perfect.
- Patience with the ‘pull test’: For cuttings, resist the urge to yank them out to check for roots every day. When you do feel a gentle resistance if you very lightly tug, that’s your signal they’re ready to transplant into individual pots.
Aftercare & Troubleshooting
Once your divisions are planted, just keep them consistently watered, especially during dry spells. For cuttings, once you see new leaf growth appearing, you know they’ve rooted! Gradually acclimate them to drier air by opening the plastic bag a little more each day over the course of a week. Then, transplant them into slightly larger pots.
The most common issue you might encounter is rot. If your cuttings turn mushy or black, it’s usually because they’re staying too wet. If a division looks like it’s wilting and not recovering after a good watering, it might be struggling to establish its root system. Don’t be disheartened; sometimes, it just takes a few tries.
A Little Encouragement
Propagation is a journey, and every gardener experiences the occasional setback. The joy of watching a tiny cutting develop roots or seeing a divided clump burst into new growth is immeasurable. Be patient with your Trisetum flavescens, offer them a bit of care, and enjoy the simple pleasure of growing more of this beautiful grass. Happy gardening!
Resource:
https://identify.plantnet.org/k-world-flora/species/Trisetum%20flavescens%20(L.)%20P.Beauv./data