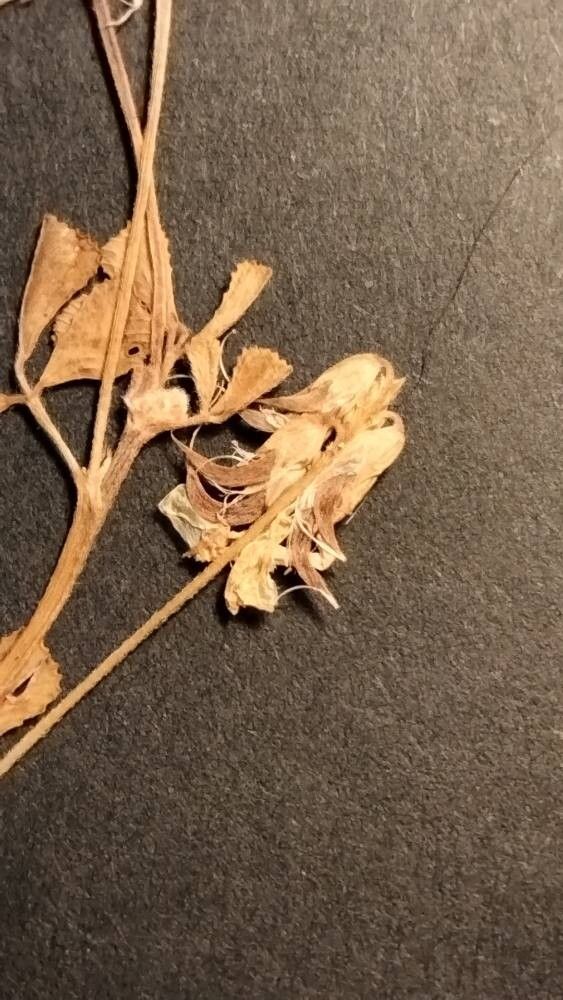
Oh, hello there, fellow plant enthusiast! It’s so lovely to have you join me for a chat. Today, we’re diving into the wonderful world of Trigonella lycica, a plant that has a quiet charm all its own. Its delicate foliage and sometimes unexpected pops of color make it a delightful addition to any garden or indoor display. Propagating it is a truly rewarding experience, like watching little sparks of life take hold. And let me tell you, for those just dipping their toes into the propagation pool, Trigonella lycica is generally quite forgiving, which is always a lovely bonus!
The Best Time to Start
When it comes to giving your Trigonella lycica the best chance at life, spring is truly your golden ticket. Look for new, vigorous growth. This is when the plant is bursting with energy, and cuttings taken now are brimming with the hormones needed to encourage root development. Waiting until the plant has actively started growing after its dormancy period makes all the difference.
Supplies You’ll Need
Gathering your tools before you begin will make the whole process so much smoother. Here’s what I like to have on hand:
- Sharp, clean pruning shears or a craft knife: For making those precise cuts.
- Rooting hormone (optional but recommended): Helps give your cuttings a little boost.
- A well-draining potting mix: I prefer a blend of perlite, peat moss, and a little bit of compost.
- Small pots or seed trays: Clean ones are a must to prevent any lingering diseases.
- A mister or spray bottle: For keeping things nicely humid.
- Clear plastic bags or domes: To create a mini greenhouse effect.
- Labels and a marker: You’ll want to remember what you’ve planted where!
Propagation Methods
We’ll focus on two of the most straightforward and successful methods for Trigonella lycica.
Stem Cuttings
This is likely where you’ll have the most success. Take cuttings from healthy, non-flowering stems.
- Select your stem: Look for a stem that’s about 4-6 inches long and has at least two sets of leaves.
- Make the cut: Using your sterilized pruning shears or knife, make a clean cut just below a leaf node. A leaf node is that little bump where a leaf joins the stem.
- Prepare the cutting: Gently remove the lower leaves, leaving just a couple at the very top. This prevents them from rotting in the soil.
- Apply rooting hormone: If you’re using it, dip the cut end into the rooting hormone, tapping off any excess.
- Plant the cutting: Moisten your potting mix slightly and then make a small hole with a pencil or your finger. Insert the cutting into the hole, ensuring the leaf node where you removed the lower leaves is below the soil line. Gently firm the soil around the stem.
- Create humidity: Water the soil gently and then cover the pot with a plastic bag or dome to trap moisture. Make sure the leaves aren’t touching the sides of the bag if possible.
Water Propagation
This method is wonderfully visual and can be very satisfying to watch.
- Prepare the cutting: Follow steps 1-3 from the stem cuttings method – take a 4-6 inch cutting and remove the lower leaves.
- Place in water: Find a clean jar or glass. Fill it with fresh, room-temperature water.
- Submerge the stem: Place the cutting in the water, making sure the leaf nodes where you removed the leaves are submerged. The leaves themselves should be above the waterline.
- Find a good spot: Place the jar in a bright location with indirect sunlight.
- Change the water: Change the water every 2-3 days to keep it fresh and oxygenated.
The “Secret Sauce” (Pro Tips)
Here are a few little things I’ve learned over the years that can really give you that extra edge:
- Bottom Heat is Your Friend: If you’re using stem cuttings, placing the pots on a heated propagation mat can significantly speed up root development. It mimics the warmth of the soil in spring and gives those nascent roots a real nudge.
- Don’t Over-Water: This is crucial! Soggy soil is a recipe for rot. The soil should be consistently moist but never waterlogged. If you see water pooling on the surface after watering, you’ve likely added too much.
- Patience is a Virtue (and a Necessity!): Some plants are quick to show their roots, while others take their sweet time. Trigonella lycica can be a bit of a patient grower. Don’t despair if you don’t see much action for a few weeks. Just keep the conditions steady and trust the process.
Aftercare & Troubleshooting
Once you start seeing signs of roots (you might notice new growth or gently tugging the cutting should offer slight resistance), it’s time to transition your new plant.
- For water cuttings: When the roots are about an inch long, carefully pot them up into your well-draining potting mix. Continue to keep the soil consistently moist for the first week or two.
- For soil cuttings: When you see good root development, remove the plastic cover gradually. Start by opening it for a few hours each day, then remove it completely. Continue to water as needed, letting the soil dry out slightly between waterings.
Now, on the flip side, what if things don’t go as planned? The most common culprits are rot – that mushy, dark stem is a sure sign – and drying out. If your cutting turns black and mushy, it’s usually too much moisture and poor air circulation. If it simply wilts and looks papery, it’s likely too dry. Don’t be discouraged if you have a few failures; it happens to all of us! Just learn from it and try again.
A Little Encouragement to Finish
See? Propagating Trigonella lycica is entirely achievable, and I truly believe you’ll find joy in nurturing these little beginnings. Remember to be gentle, observant, and most importantly, enjoy the journey. Happy propagating!
Resource:
https://identify.plantnet.org/k-world-flora/species/Trigonella%20lycica%20Hub.-Mor./data