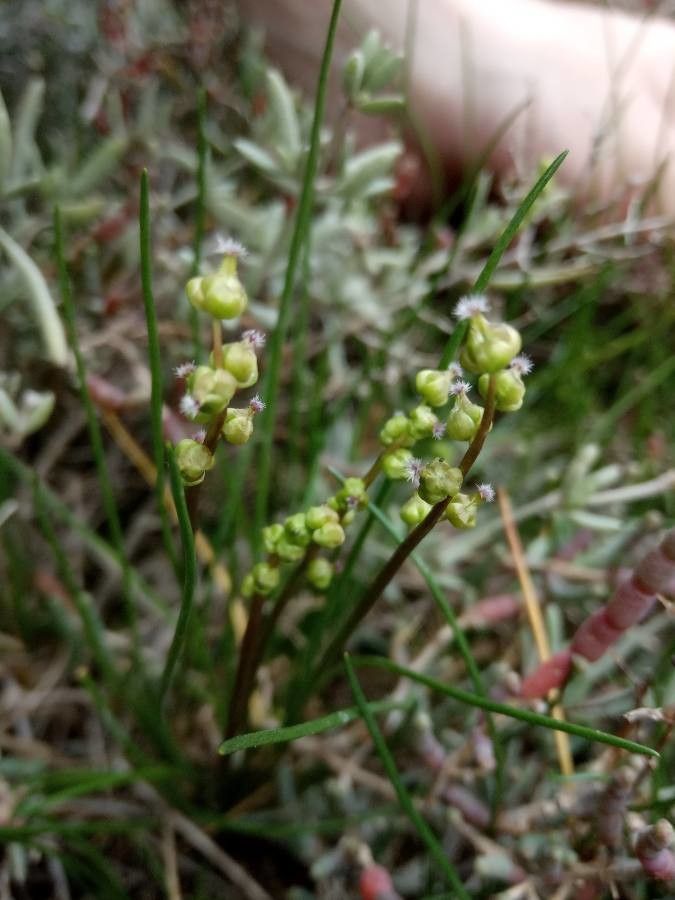
Hello fellow plant lovers! Today, we’re diving into the wonderful world of Triglochin bulbosa, also known as bulbous arrowgrass. If you’re looking for a unique addition to your bog garden or water feature, this is it! Its delicate, grass-like foliage and intriguing little flower stalks bring a touch of wild charm. Propagating it yourself is incredibly satisfying, giving you more of these beauties to share or expand your collection. Now, I’ll be honest, Triglochin bulbosa isn’t always the easiest plant for absolute beginners. It has specific needs, but with a little patience and the right approach, you’ll absolutely be able to succeed.
The Best Time to Start
Spring is your best friend when it comes to propagating Triglochin bulbosa. Think of it as the plant waking up from its winter slumber, full of energy and ready to grow. Starting in early to mid-spring, as new growth becomes vigorous, gives your cuttings or divisions the longest growing season to establish themselves before cooler weather arrives.
Supplies You’ll Need
- Sharp, clean pruning shears or a small knife: For taking clean cuts.
- Small pots or trays: With drainage holes, of course!
- Propagation substrate: A mix of coarse sand and perlite is excellent. You can also use a well-draining potting mix designed for bog plants. Avoid heavy garden soil.
- Rooting hormone (optional, but recommended): A gel or powder can give cuttings a helpful boost.
- Watering can with a fine rose: For gentle watering.
- Plastic bags or a propagation dome: To maintain humidity.
- Labels: To keep track of your efforts!
Propagation Methods
The most reliable way to propagate Triglochin bulbosa is through division. This plant forms small bulbs underground, and these can be carefully separated.
Division Steps:
- Gently excavate: In spring, when you see new growth emerging, carefully dig up your Triglochin bulbosa plant from its container or spot. Be as gentle as possible to avoid damaging the bulbs.
- Shake off excess soil: Loosen the excess soil from the root ball. You’ll likely see small bulblets clustered around the main plant.
- Identify natural divisions: Look for where the plant naturally wants to separate. You can usually see small bulbs already forming their own roots.
- Separate the divisions: Using your fingers or a clean knife, carefully separate these smaller bulblets from the parent plant. Each division should have a few small roots attached.
- Pot them up: Plant each division into its own small pot filled with your chosen propagation substrate. Ensure the top of the bulb is just at or slightly below the soil surface.
- Water gently: Water thoroughly but also gently. You want the soil to be consistently moist but not waterlogged.
- Create a humid environment: Place the pots in a bright, indirect light location. Cover them with a plastic bag or propagation dome to keep the humidity high.
The “Secret Sauce” (Pro Tips)
- Don’t overwater the parent plant before division: While Triglochin bulbosa loves moisture, a overly saturated parent plant can make digging and separation messier and increase the risk of rot on the newly divided bulbs. Aim for consistently moist soil for a week or two prior.
- Mimic its natural habitat: These plants thrive in boggy conditions. When you pot up your divisions, try to replicate that environment. The substrate should retain moisture, and you can even place the pots in a shallow tray of water. Just ensure the water level stays below the surface of the soil itself, preventing the bulb from sitting in standing water constantly, which can lead to rot.
- Patience with emergence: It can take a few weeks for new growth to appear on your divisions. Don’t despair if you don’t see immediate results. Keep them consistently moist and in the right light, and they’ll surprise you!
Aftercare & Troubleshooting
Once your divisions start showing strong new growth and you see signs of a healthy root system developing (you might see roots poking out of the drainage holes), it’s time for more regular care.
Continue to keep the soil consistently moist. You can gradually introduce them to more sunlight as they get stronger, but always avoid harsh, direct afternoon sun initially. If you transplanted them into larger pots, treat them as you would a mature Triglochin bulbosa.
The most common issue you might encounter is rot. This is almost always due to overwatering or poor drainage. If your division looks mushy, smells off, or has turned dark and slimy, it’s likely rotted. Unfortunately, there’s usually no coming back from this. Prevention is key: ensure good air circulation around your pots and don’t let them sit in stagnant water for extended periods. Another sign of trouble is a lack of growth; if after several weeks with no apparent new leaves or roots, and the bulb looks shriveled, it might have failed to establish.
A Encouraging Closing
Propagating plants is a journey, and with Triglochin bulbosa, it’s a rewarding one. Each new bulblet you nurture into a thriving plant is a testament to your growing skills. Be patient with the process, observe your plants, and enjoy the journey of bringing more of these lovely marsh dwellers into your garden. Happy propagating!
Resource:
https://identify.plantnet.org/k-world-flora/species/Triglochin%20bulbosa%20L./data