Bringing More Clover Love Home: Your Guide to Propagating Trifolium ligusticum
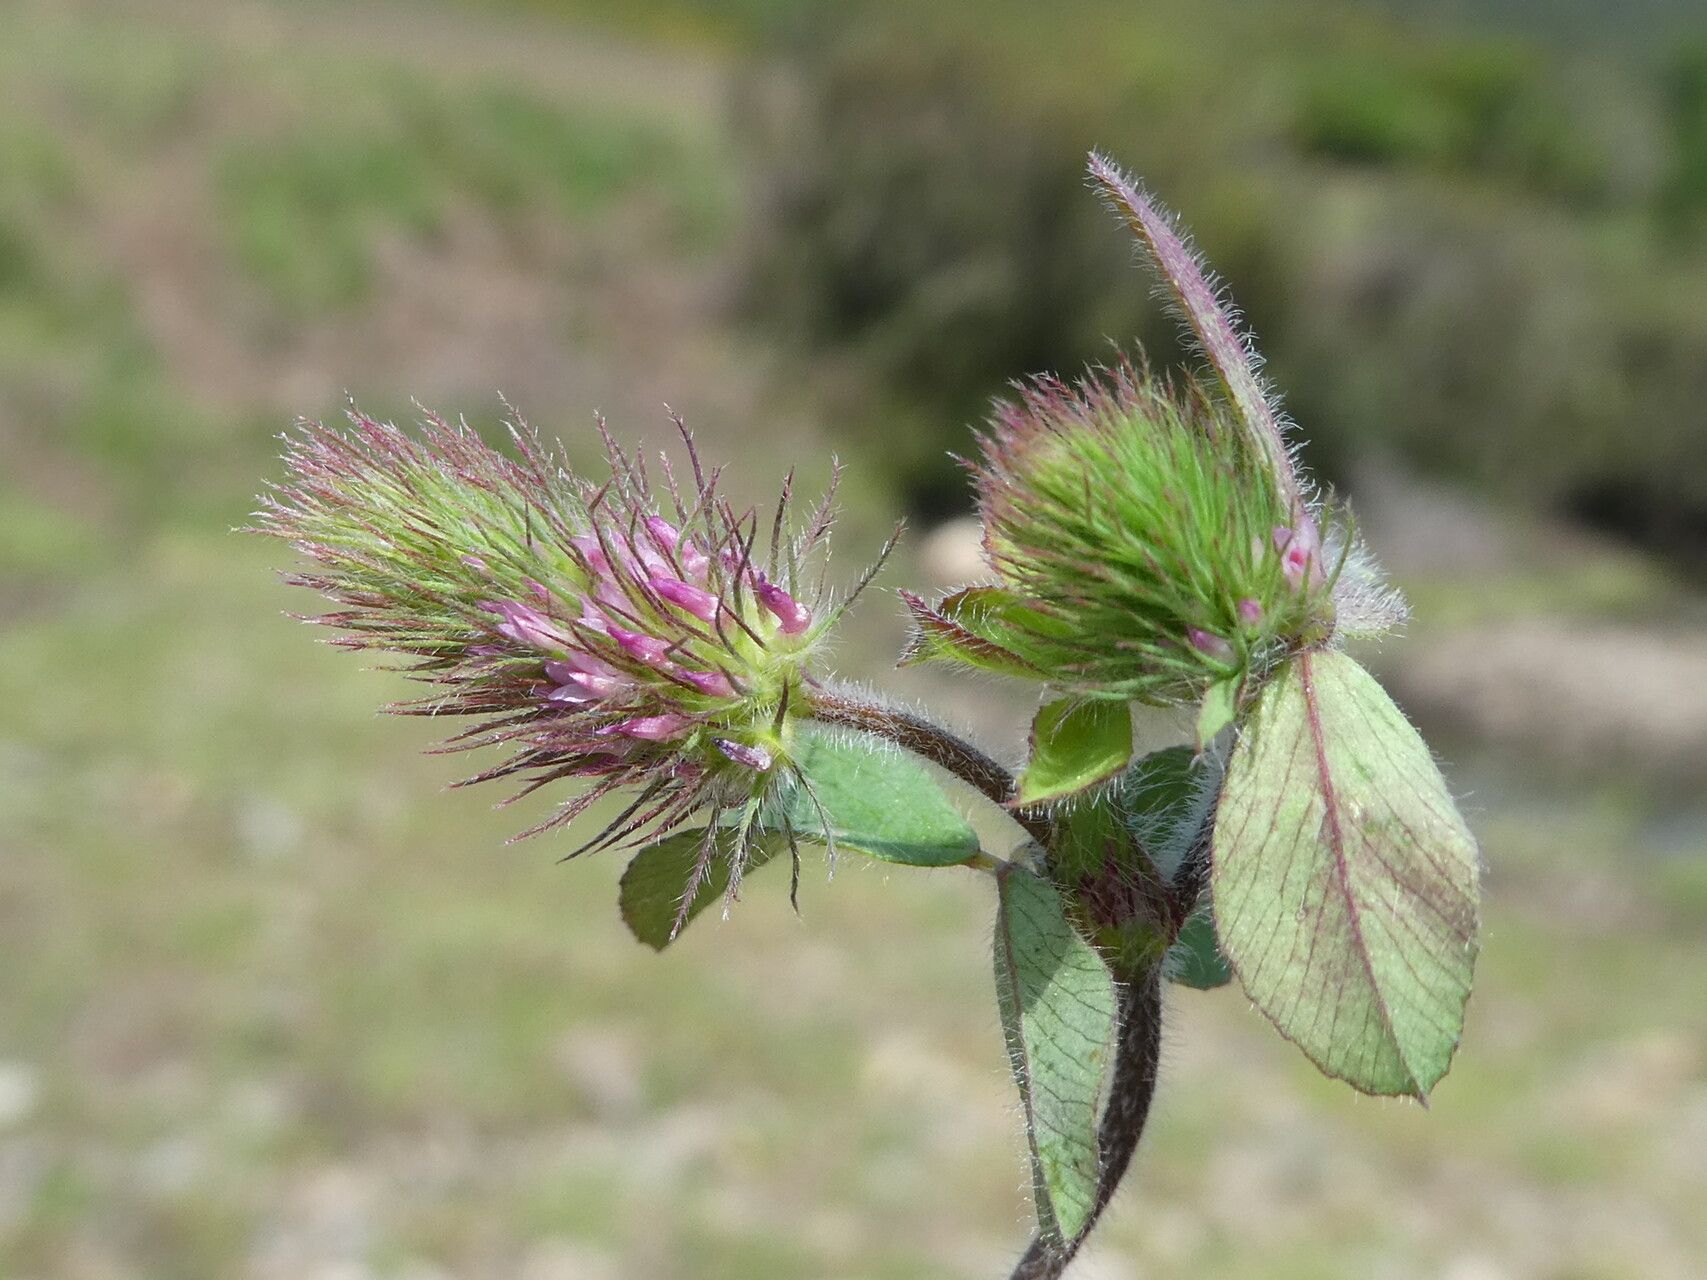
Ah, Trifolium ligusticum, or as we affectionately know it, Ligurian white clover! It’s such a charming little plant, isn’t it? Its delicate, clover-shaped leaves, often with a lovely reddish undertone, add a touch of wild beauty to any garden bed or container. And the reward of expanding your collection, sharing with friends, or simply enjoying more of its understated elegance? Truly special.
Now, if you’re new to the gardening game, you might be wondering if this is a good plant to start with. I’m happy to report that propagating Trifolium ligusticum is quite beginner-friendly. With a little patience and a few key steps, you’ll be well on your way to success.
When is the Best Time to Start?
Timing is everything in the plant world, and for Trifolium ligusticum, the sweet spot is typically late spring to early summer. This is when the plant is in its most vigorous growth phase. You’re looking for healthy, active shoots that haven’t yet flowered. Starting now gives your new cuttings plenty of time to establish roots before the cooler weather sets in.
Your Propagation Toolkit
Gathering the right supplies makes the whole process smoother. Here’s what you’ll want to have on hand:
- Sharp Pruning Shears or a Crisp Knife: Clean cuts are crucial for preventing disease.
- A Well-Draining Potting Mix: I like a blend of peat moss, perlite, and a little bit of compost. For Trifolium ligusticum, good drainage is non-negotiable.
- Small Pots or Seed Starting Trays: Clean, with drainage holes, of course!
- Rooting Hormone (Optional, but helpful!): A powder or gel can give your cuttings a nice boost.
- A Spray Bottle: For misting your cuttings.
- Clear Plastic Bag or Dome: To create a humid microclimate.
Bringing New Life: Propagation Methods for Trifolium ligusticum
There are a couple of ways you can go about this, and both are quite effective.
Stem Cuttings: My Go-To Method
This is my favorite for Trifolium ligusticum because it’s so straightforward.
- Select Your Stock: Look for healthy, non-flowering stems on your established plant. Aim for stems that are about 3-5 inches long.
- Make the Cut: Using your clean shears or knife, take a cutting just below a leaf node. A leaf node is where a leaf attaches to the stem. This is where new roots are most likely to form.
- Prepare the Cutting: Gently remove the lower leaves from the stem, leaving just the top few leaves. If the remaining leaves are quite large, you can even cut them in half to reduce water loss.
- Apply Rooting Hormone (If Using): Dip the cut end of the stem into your rooting hormone, tapping off any excess.
- Planting Time: Fill your small pots or trays with your prepared, slightly moist potting mix. Make a small hole with your finger or a pencil.
- Insert the Cutting: Carefully place the cut end of the stem into the hole and gently firm the soil around it to ensure good contact.
- Create a Humid Environment: Mist the cuttings lightly with your spray bottle. Then, cover the pot with a clear plastic bag or dome to trap moisture. Make sure the leaves don’t touch the plastic.
Division: For Established Clumps
If your Trifolium ligusticum has formed a nice, dense clump, division is another excellent option.
- Gently Excavate: Carefully dig up the entire plant from its pot or garden bed.
- Loosen the Roots: Gently shake away excess soil from the root ball. You want to be able to see where the natural divisions are.
- The Divide: Using your hands or a clean trowel, gently pull or cut the clump apart into smaller sections. Each section should have roots and some healthy foliage.
- Replant: Pot up each division in its own pot with fresh potting mix. Water them in well.
The “Secret Sauce”: My Insider Tips
After years of coaxing plants to grow, I’ve learned a few little tricks that make a big difference.
- Bottom Heat is a Game Changer: If you can, place your potted cuttings on a heat mat. This gentle warmth encourages root development from below, significantly speeding up the process. It’s like giving them a tiny warm hug!
- Don’t Drench, But Don’t Let Them Dry: The trick with cuttings is to keep the soil consistently moist, but not waterlogged. Overwatering is a one-way ticket to rot. Check the soil daily and mist as needed, especially if you don’t have the plastic bag.
- Patience with the Pots: Resist the urge to constantly tug on your cuttings to check for roots. Trifolium ligusticum can take a little while. Often, you’ll see new leaf growth before you can confidently say roots have formed.
Aftercare and What to Watch For
Once you see signs of new growth – little leaves unfurling! – you’re on the right track.
- Gradual Acclimation: Slowly introduce your new plants to more air circulation by lifting the plastic bag for a few minutes each day, gradually increasing the time. Eventually, you can remove the cover altogether.
- Watering: Continue to keep the soil evenly moist. As the plant grows, you’ll be able to water it like a mature Trifolium ligusticum.
- Troubleshooting: The most common issue you’ll face is rot. If a cutting turns mushy and black, it’s unfortunately a sign of too much moisture and not enough air. Don’t be discouraged; just try again with a fresh cutting and perhaps adjust your watering. Yellowing leaves can also indicate overwatering or poor drainage.
Keep Growing and Enjoy!
Propagating your Trifolium ligusticum is a wonderful journey. Don’t be disheartened if your first few attempts aren’t perfect. Gardening is all about learning, observing, and trying again. Enjoy the satisfaction of creating new life and soon you’ll have even more of this delightful clover to admire. Happy propagating!
Resource: