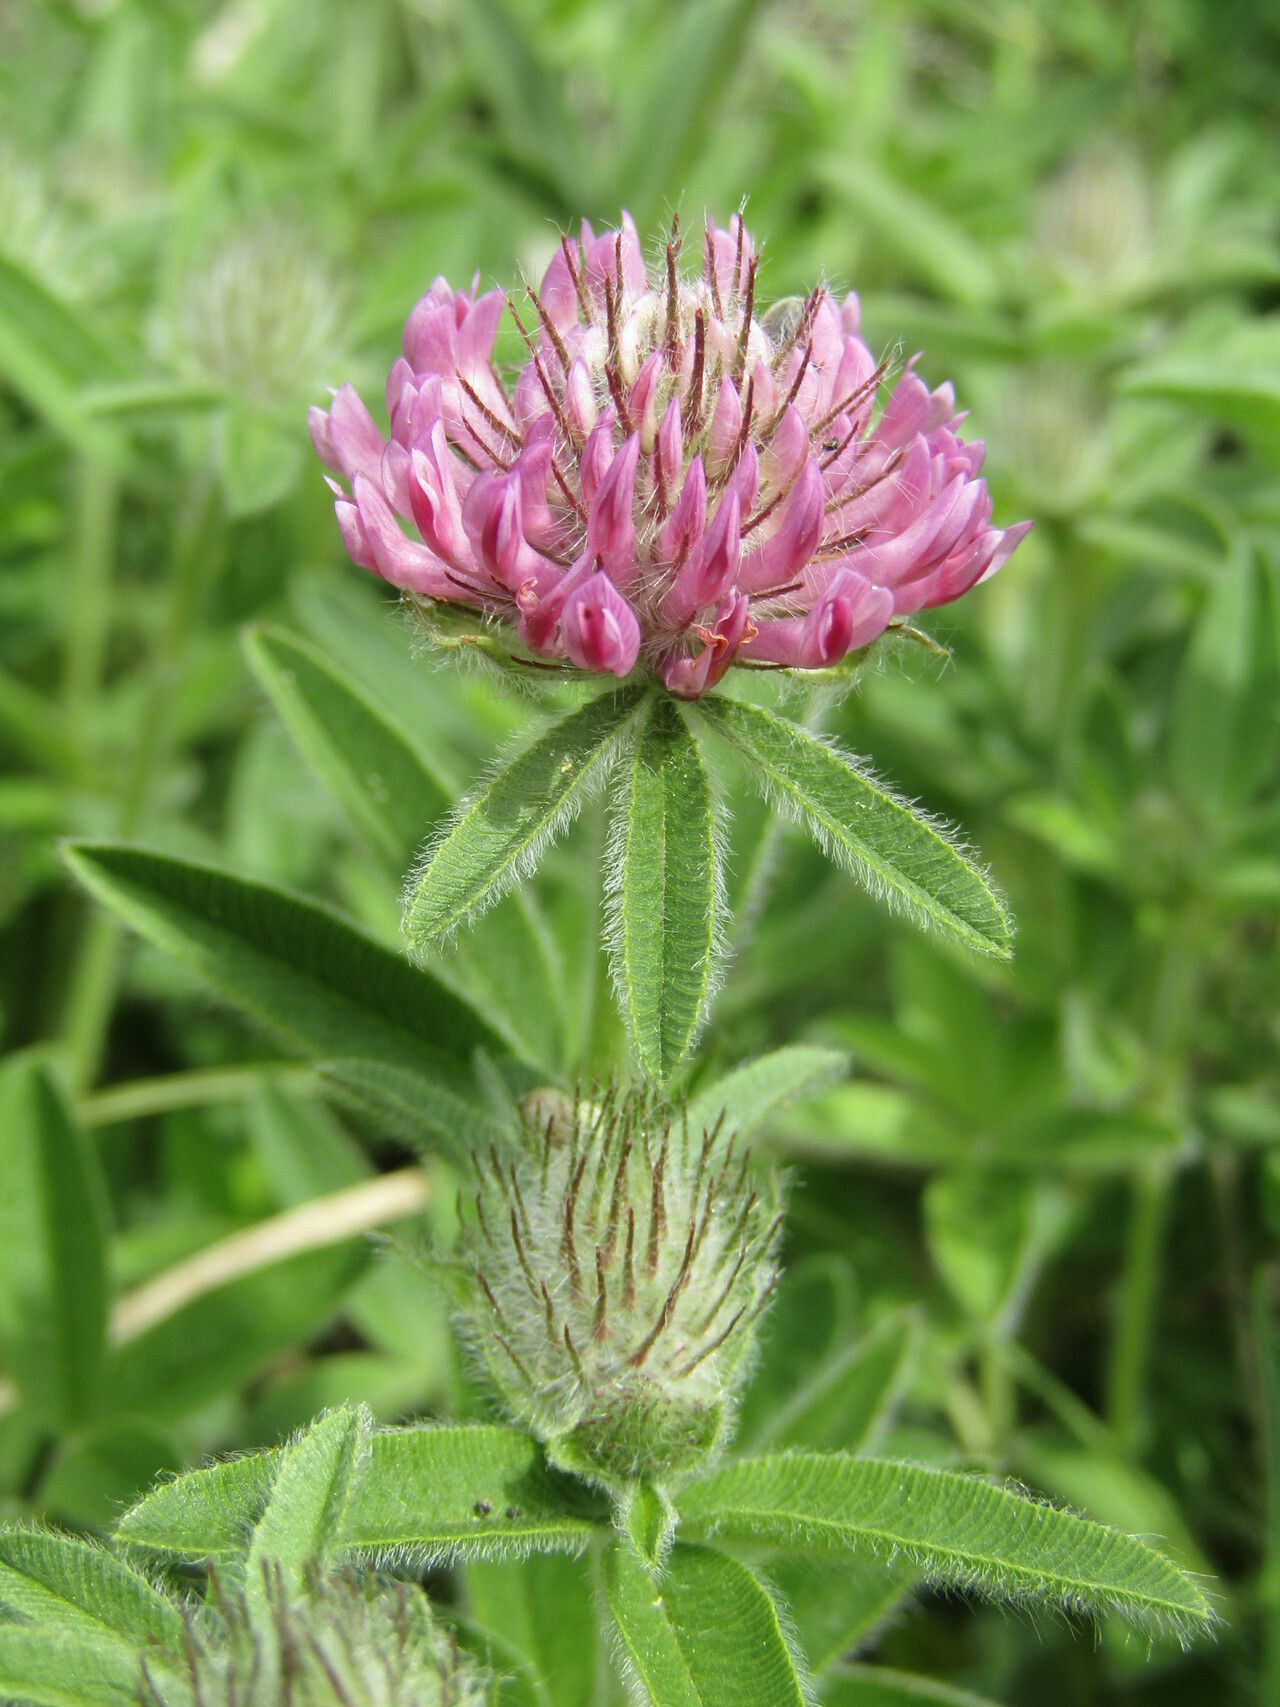
Hey there, fellow plant lovers! Today, we’re diving into the wonderful world of propagating Trifolium alpestre, also known as Alpine Clover. I’ve always been charmed by its sweet little pink flower clusters and its ability to bring a touch of wild charm to any garden. And honestly, there’s a special kind of magic in taking a part of a plant and coaxing it into becoming a whole new one. It’s a satisfying journey, and I’m thrilled to guide you through it. If you’re new to propagating, Alpine Clover is a pretty good place to start – not too fussy, which is always a bonus!
The Best Time to Start
For Trifolium alpestre, the sweet spot for propagation is generally late spring to early summer. This is when the plant is actively growing and has plenty of energy reserves. You’ll want to use cuttings that are semi-hardwood, meaning they’re not brand new and wispy, but not completely woody either. Think of it as having a bit of flexibility but still some substance.
Supplies You’ll Need
Here’s what you’ll want to gather before you get started:
- Clean, sharp pruning shears or a sharp knife. Hygiene is key to prevent diseases.
- Small pots or seed trays with drainage holes.
- A good quality rooting medium. I like a mix of perlite and peat moss (about a 50/50 ratio) or a commercially available seed-starting mix. It needs to be well-draining.
- Rooting hormone (optional, but can give a boost!).
- A watering can with a fine rose or a spray bottle.
- Labels to remember what you’ve propagated!
Propagation Methods
We’ll focus on the most straightforward method for Alpine Clover: stem cuttings.
- Take Your Cuttings: On a cool morning, select a healthy stem from your mature plant. Using your clean shears, cut a section about 4-6 inches long. Make sure the cut is just below a leaf node (that little bump where a leaf emerges).
- Prepare the Cuttings: Gently remove the leaves from the bottom half of the cutting. You want to expose the nodes because that’s where the roots will form. Leave a couple of leaves at the top to help with photosynthesis. If the top leaves are very large, you can trim them in half to reduce water loss.
- Apply Rooting Hormone (Optional): If you’re using rooting hormone, dip the cut end of the stem into the powder or gel. Tap off any excess.
- Plant Your Cuttings: Fill your pots or trays with your prepared rooting medium. Make small holes in the soil with a pencil or your finger. Carefully insert the cuttings into these holes, ensuring the lower nodes are buried in the medium. Firm the soil gently around the base of each cutting.
The “Secret Sauce” (Pro Tips)
Here are a few things I’ve learned over the years that can really help:
- Don’t let the leaves touch the water: If you decide to try water propagation (though I find cuttings in soil more reliable for this plant), make sure only the bottom nodes are submerged. Any leaves in the water will just rot and can take your cutting down with them.
- Create a mini-greenhouse: Cover your pots with a clear plastic bag or dome. This traps humidity, which is crucial for cuttings while they’re developing roots. Make sure the plastic doesn’t touch the leaves too much – you can use stakes to prop it up.
- Bottom heat is your friend: If you have the space, placing your pots on a heated propagator mat can significantly speed up root development. It mimics the warmth of spring soil and gives those little root nubs a much-needed push.
Aftercare & Troubleshooting
Once your cuttings are planted, keep the rooting medium consistently moist but not waterlogged. Think of it as a wrung-out sponge. Place them in a bright spot with indirect light. Avoid direct sun, which can scorch the tender cuttings.
You’ll know your cuttings are rooting when you see new leaf growth or feel a slight tug when you gently pull on them. This can take anywhere from 2 to 6 weeks, sometimes longer.
The most common problem is rot. If you see your cuttings turning black and mushy, it’s usually a sign of too much moisture and not enough air circulation. Make sure your potting mix is draining well, and consider removing the plastic cover for a few hours a day to let them breathe. If rot sets in, sadly, it’s usually best to discard the affected cuttings and start fresh.
A Encouraging Closing
Don’t be discouraged if not every cutting takes! Gardening is all about learning and experimenting. Be patient with your little Alpine Clover babies, give them a good environment, and celebrate each success. There’s so much joy in nurturing life from just a small piece of stem. Happy propagating!
Resource:
https://identify.plantnet.org/k-world-flora/species/Trifolium%20alpestre%20L./data