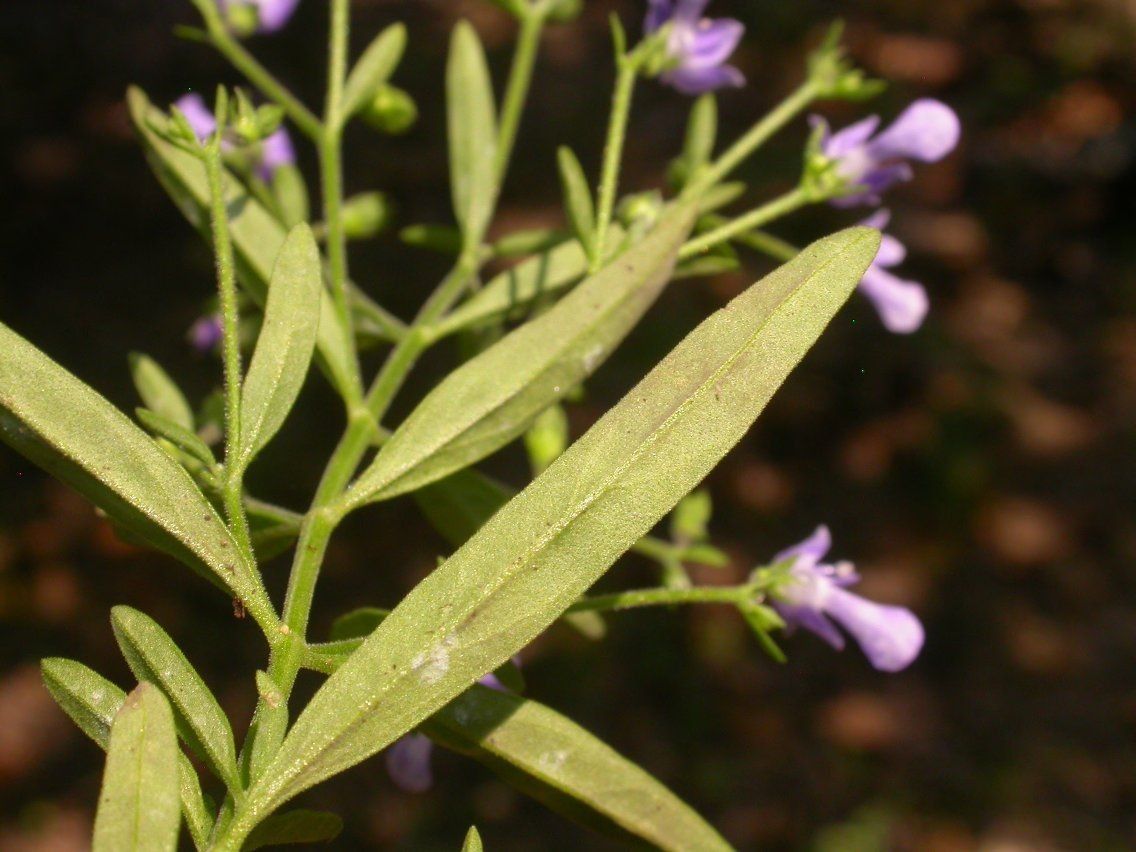
Hello fellow plant lovers! Today, we’re diving into the wonderful world of propagating Trichostema setaceum, also known as California Blue Curls. If you’ve ever admired its delicate, arching stems topped with those captivating, coiled blue flowers, you’re not alone. This California native is a true gem, attracting pollinators with its unique bloom and adding a touch of wild beauty to any garden.
I find propagating Trichostema setaceum really satisfying. It’s a great way to fill your garden with more of this lovely plant or to share its charm with friends. Now, is it a walk in the park for absolute beginners? I’d say it leans towards moderately easy. With a little attention to detail and patience, you’ll be well on your way to success.
The Best Time to Start
For the highest chance of success, I like to take cuttings in late spring or early summer. This is when the plant is actively growing, and the new growth is typically more vigorous and responsive to rooting. You’re looking for stems that are a bit firm but not woody.
Supplies You’ll Need
Here’s what you’ll want to have on hand:
- Sharp pruning shears or a clean, sharp knife: For making clean cuts.
- Rooting hormone (powder or gel): This is optional but can significantly speed up the rooting process. I find a good quality rooting hormone makes a noticeable difference.
- Well-draining potting mix: A blend of equal parts perlite, coarse sand, and a good quality potting soil works beautifully. Or, you can use a commercial seed-starting mix with added perlite.
- Small pots or trays: Clean containers with drainage holes are essential.
- Plastic bags or a propagation dome: To maintain humidity.
- Watering can with a fine rose: For gentle watering.
- A warm, bright location: Out of direct, harsh sunlight.
Propagation Methods: Stem Cuttings
This is my go-to method for Trichostema setaceum. It’s reliable and I can get quite a few new plants from a single parent!
- Select Your Cuttings: Look for healthy, new growth on your mature plant. You want stems that are about 4-6 inches long. Gently snap or cut them just below a leaf node (where a leaf meets the stem). Remove the lower leaves, leaving about two to three sets of leaves at the top.
- Prepare the Cuttings: If you’re using rooting hormone, dip the cut end of each stem into the powder or gel. Tap off any excess.
- Plant Your Cuttings: Fill your clean pots with the well-draining potting mix. Moisten the soil lightly. Make a small hole in the center of the soil with your finger or a pencil. Gently insert the cutting into the hole, making sure the nodes where you removed leaves are below the soil surface. You can place several cuttings in one pot, but give them a little space.
- Water Gently: Water thoroughly but gently, ensuring the soil is moist but not waterlogged.
- Create a Humid Environment: Cover the pots with a clear plastic bag, securing it around the rim with a rubber band, or place them under a propagation dome. This creates a mini-greenhouse effect.
- Provide Warmth and Light: Place the pots in a warm location that receives bright, indirect light. Avoid direct afternoon sun, as this can scorch the delicate cuttings.
The “Secret Sauce” (Pro Tips)
- Don’t Let Them Drown: When watering, try not to let water sit on the leaves. If you’re misting, a light spritz is all that’s needed. Excess moisture on the foliage can lead to fungal issues.
- Bottom Heat is Your Friend: If you have a heat mat, placing your pots on it can significantly encourage root development. Trichostema setaceum loves a bit of warmth from below.
- Patience is Key: Sometimes, cuttings can take a while to show signs of rooting. Resist the urge to jostle them too much. Give them at least 4-6 weeks before you start to worry.
Aftercare & Troubleshooting
Once you see new leaf growth appearing on your cuttings, that’s a great sign! It means roots are forming. You can gently tug on the cutting; if there’s resistance, it has likely rooted.
- Acclimation: Once rooted, gradually remove the plastic bag over a few days to let the cuttings adapt to normal humidity.
- Watering: Continue to water when the top inch of soil feels dry. Avoid letting the soil dry out completely or stay consistently soggy.
- Transplanting: Once the roots are well-established and you have a few true leaves, you can transplant your new Trichostema setaceum into slightly larger pots with their permanent potting mix.
Troubleshooting: The most common issue is rot. This usually happens because the soil is too wet and there isn’t enough airflow. If you see stems turning mushy and black, unfortunately, that cutting is likely lost. Learning to manage moisture is the biggest hurdle, but you’ll get the hang of it! Overwatering is the usual culprit.
So there you have it! Propagating Trichostema setaceum is a rewarding endeavor that connects you a little more deeply with your plants and the cycle of life in the garden. Be patient, observe your cuttings closely, and don’t be discouraged if a few don’t make it. Each attempt teaches you something new. Happy propagating!
Resource:
https://identify.plantnet.org/k-world-flora/species/Trichostema%20setaceum%20Houtt./data