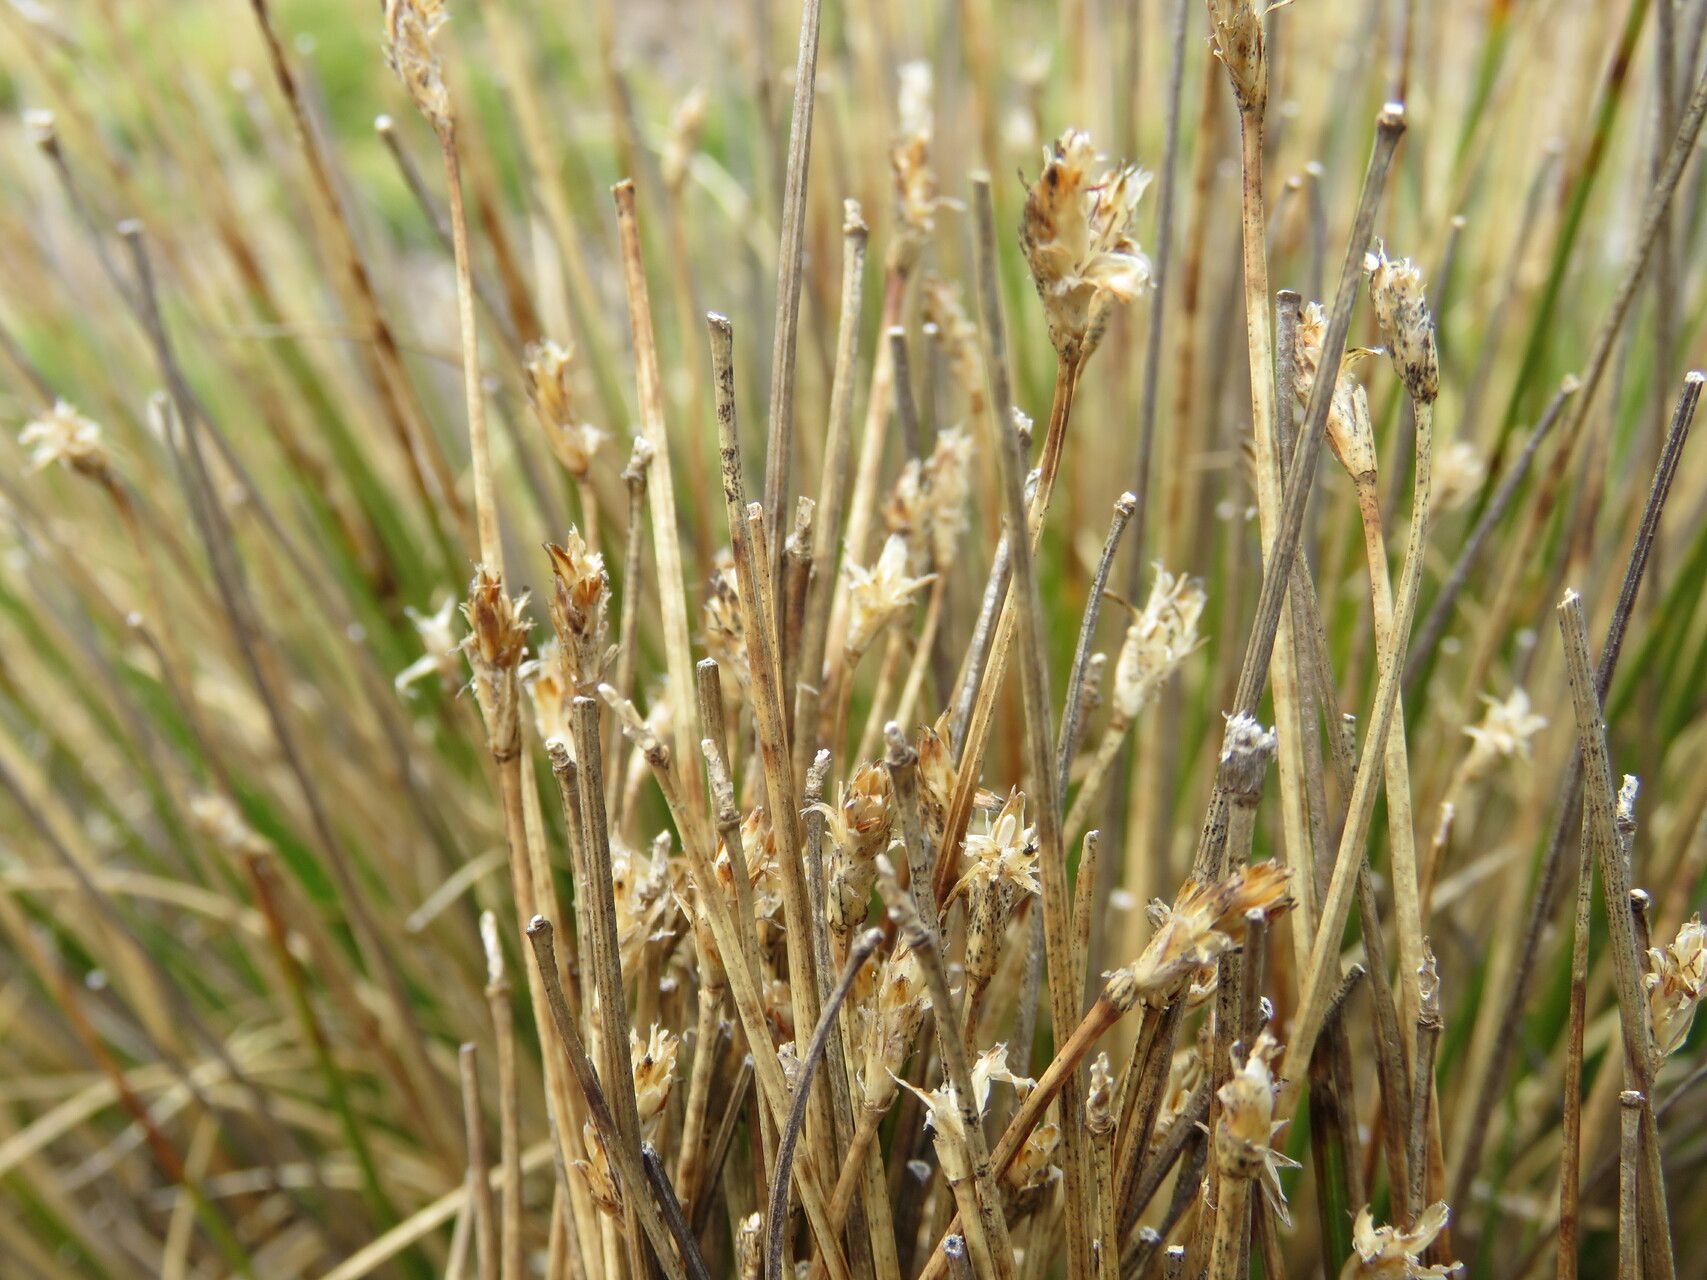
Oh, hello there, fellow garden enthusiast! Pull up a chair and let’s chat about one of my favorite green companions: Trichophorum rigidum. If you’ve ever admired its elegant, grass-like foliage and wondered how to get more of it gracing your own space, you’re in for a treat. Propagating Trichophorum rigidum is a wonderfully rewarding endeavor, and while it might seem a little intimidating at first glance, I promise you, it’s quite achievable. Think of it as gifting a piece of your garden’s beauty to yourself – or even to a friend! It’s not the most beginner-proof plant, but with a little careful attention, you’ll be amazed at how well you can do.
The Best Time to Start
Timing is everything in the garden, and for Trichophorum rigidum, the sweet spot for propagation is late spring or early summer. This is when the plant is actively growing, full of vigor, and has the energy to put into new root development. Waiting until after it’s established its spring growth means you’re working with robust material, increasing your chances of success significantly.
Supplies You’ll Need
Gathering your tools beforehand makes the process so much smoother. Here’s what I always have on hand:
- Sharp Pruning Shears or a Clean Knife: For taking clean cuts. Sterilize them if you’re worried about spreading any issues.
- Rooting Hormone (Optional but Recommended): A little boost never hurts!
- Well-Draining Potting Mix: I often use a 50/50 blend of peat moss or coco coir and perlite or coarse sand. The goal is to keep things airy and prevent waterlogging.
- Small Pots or Trays: With drainage holes, of course!
- Plastic Bags or a Clear Plastic Dome: To create a humid environment.
- Watering Can with a Fine Rose: Gentle watering is key.
Propagation Methods
There are a couple of ways to go about this, and I find division to be the most straightforward and successful for Trichophorum rigidum.
Division: The Surefire Path
This method involves carefully separating existing clumps into smaller plants.
- Gently Excavate: In late spring or early summer, carefully dig up the entire plant from its pot or garden bed. Try to keep as much of the root ball intact as possible.
- Clean the Roots: Gently shake off excess soil, or even rinse the roots under a gentle stream of water. This allows you to see the individual crowns and root structures clearly.
- Identify Divisions: Look for natural divisions within the clump. You’ll see where the plant has branched from the base, each with its own crown of foliage and roots.
- Separate Carefully: Using your hands, or a clean, sharp knife if the clump is very dense, carefully split the plant into smaller sections. Aim for divisions that have at least a few healthy shoots and a good amount of roots.
- Pot Them Up: Plant each division into its own pot filled with your well-draining potting mix. Make sure the base of the shoots is level with the soil surface.
- Water Gently: Water thoroughly but gently, allowing excess water to drain away.
Stem Cuttings (Less Common, but Possible)
While division is my go-to, you can try stem cuttings, though it’s a bit more involved.
- Select Shoots: In late spring, take cuttings from healthy, vigorous stems. Aim for pieces that are 4-6 inches long.
- Prepare the Cutting: Remove the lower leaves so that none will be submerged in water or soil. You can dip the cut end in rooting hormone if you’re using it.
- Place in Water or Soil: You can either place the cuttings in a jar of clean water (making sure no leaves touch the water) or directly into your well-draining potting mix.
- Maintain Humidity: Cover the pot or jar with a clear plastic bag or a dome to create a humid microclimate. You’ll want to open it occasionally for air circulation.
- Patience is Key: This method requires more patience, as root development can be slower.
The “Secret Sauce” (Pro Tips)
Over the years, I’ve picked up a few tricks that seem to make all the difference.
- Don’t Drown Your Roots: This is paramount, especially with divisions. Ensure excellent drainage. Soggy soil is the quickest way to invite rot, and Trichophorum rigidum really dislikes having its roots perpetually wet.
- Indirect Light is Best: Once potted, place your new divisions or cuttings in a spot with bright, indirect light – no direct sun! Too much sun can stress a young, unrooted plant.
- Bottom Heat Helps (for Cuttings): If you’re trying stem cuttings, placing the pot on a gentle heat mat can really encourage root formation. It mimics the warmth of spring soil.
Aftercare & Troubleshooting
Once your divisions are potted, treat them gently. Keep the soil consistently moist but not waterlogged. You’ll see new growth emerging within a few weeks if all is well.
The most common sign of trouble is rot. If your cuttings or divisions start to look mushy or turn black at the base, it’s usually a sign of too much moisture and poor air circulation. Sadly, if rot sets in, it’s often difficult to save the plant. Keep an eye out for wilting, which could indicate either not enough water or the onset of rot. It’s a balancing act!
A Little Patience Goes a Long Way
Watching a new plant emerge from a small division or cutting is one of gardening’s purest joys. Be patient with your Trichophorum rigidum babies. They’ll tell you when they’re happy with new, vibrant growth. Enjoy the process, celebrate every little success, and soon you’ll have more of this beautiful grass to admire. Happy propagating!
Resource: