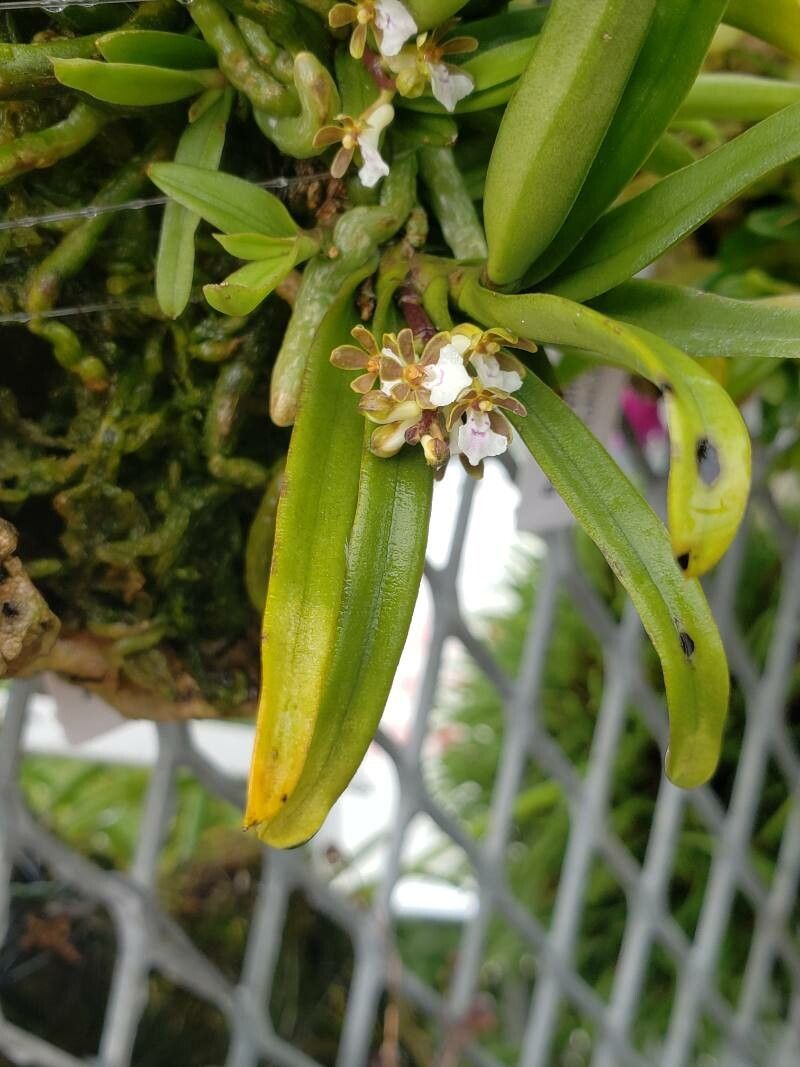
Oh, hello there! Come on in, pull up a chair. I’m so glad you’re interested in propagating Trichoglottis triflora. This little gem is such a delight, isn’t it? Those delicate, almost ethereal little blooms with their subtle fragrance are just captivating. And the best part? Getting more of them! Seeing a tiny cutting transform into a thriving plant is a truly magical experience, and it’s incredibly rewarding to share that joy with other plant lovers. Now, about how easy it is for beginners? Trichoglottis triflora can be a little more hands-on than, say, a spider plant, but with a few key pointers, you’ll be well on your way to success. Don’t let that deter you!
When to Get Your Hands Dirty
Timing is everything in the garden, and with orchids like Trichoglottis triflora, it’s no different. The absolute best time to propagate is after the plant has finished its blooming cycle and is entering a new growth phase. This usually means you’re looking at late spring or early summer. You want to catch it when it’s got plenty of energy to put into developing those new roots. Avoid doing it when the plant is stressed or actively flowering – give it a break.
What You’ll Need for Success
Gathering your supplies beforehand makes the whole process much smoother. Here’s what I usually have on hand:
- Sharp, sterile pruning shears or a clean razor blade. Sterilization is key to preventing disease. I usually wipe mine down with rubbing alcohol.
- Orchid bark mix or a well-draining potting medium. For Trichoglottis, something airy is crucial. A mix of fine orchid bark, perlite, and a bit of sphagnum moss works wonderfully.
- Small pots or propagation trays. Cleanliness is paramount here too!
- Rooting hormone (optional, but helpful for some). I like to have a bit of powdered rooting hormone on hand, just in case.
- A spray bottle with clean water. For misting.
- A clear plastic bag or a propagation dome. To create a humid environment.
Putting the Plant to Work: Propagation Methods
Trichoglottis triflora is typically propagated through stem cuttings, which is a tried-and-true method.
Stem Cuttings: Giving Birth to New Orchids
- Examine your mother plant. Look for healthy, mature stems that have at least two or three pseudobulbs (those swollen stem sections). You want to see new root nubs starting to emerge near the base of these pseudobulbs – that’s a good sign.
- Make the cut. Using your sterile shears or razor, carefully cut the stem just below a node (the point where a leaf emerges). You’ll want sections that have at least two or three nodes. If you’re taking a longer piece, you can cut it into smaller sections, making sure each has at least one or two nodes.
- Prepare the cutting. Gently remove any lower leaves that might rot if they touch the growing medium. If you’re using rooting hormone, lightly dip the cut end into it. Don’t overdo it; a thin coating is all you need.
- Plant your cutting. Fill your clean pots or propagation tray with your chosen orchid mix. Make a small hole and insert the cutting so that the bottom node is just below the surface or at the surface of the mix. The pseudobulbs should be mostly exposed.
- Provide humidity. Gently mist the potting mix. Then, cover the pot or tray with a clear plastic bag or propagation dome. This creates a mini-greenhouse effect, which is vital for encouraging root development.
The “Secret Sauce” from My Greenhouse
You know, after all these years, you pick up a few tricks. Here are a couple of things that have really made a difference for me:
- Don’t let any leaves touch your potting medium. Seriously. If a leaf is brushing against the bark, it’s a prime spot for rot to set in, and your cutting will be in trouble before it even gets started. Trim them if you have to, or adjust how you place the cutting.
- Bottom heat is your best friend. Trichoglottis loves a bit of warmth, especially when it’s trying to root. I have a small seedling heat mat that I place under my propagation trays. It doesn’t have to be scorching hot, just a consistent gentle warmth will encourage those roots to wake up and stretch out.
Keeping Them Happy & What to Watch For
Once your cuttings are planted and have their cozy humidity tent, the real waiting game begins. Keep the potting medium consistently moist, but never soggy. A good sign is when you see new leaf growth or tiny roots emerging at the base of the pseudobulbs. This usually takes a few weeks, sometimes even a couple of months.
Now, about troubleshooting. The biggest villain here is rot. If you notice mushy, blackened stems or leaves quickly turning yellow and falling off, that’s a clear sign of rot. This usually happens from too much moisture and not enough airflow. If you see it happening, remove the affected cutting immediately to prevent it from spreading. You might need to adjust your watering schedule or even repot healthy-looking cuttings into drier medium. Don’t be discouraged if a few don’t make it; it’s part of the learning process!
Nurturing Those New Beginnings
And there you have it! Propagating Trichoglottis triflora is such a rewarding journey. Be patient with your little ones, they’re working hard to establish themselves. Enjoy watching them grow and, before you know it, you’ll have a whole new collection of these lovely orchids to admire. Happy propagating!
Resource: