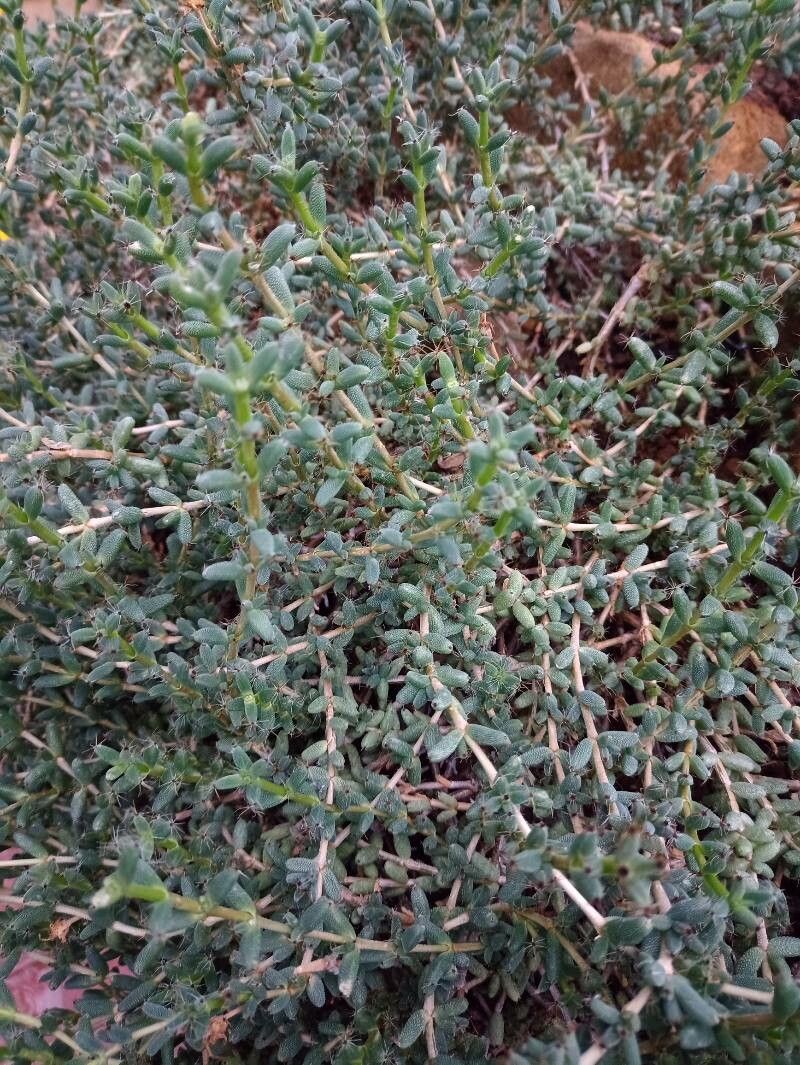
Hello, fellow plant lovers! Today, I want to share a little something special with you: how to multiply those delightful little cushiony plants, Trichodiadema peersii. If you’ve ever seen this succulent, with its dense mats of grey-green leaves and its burst of cheerful pink flowers, you know it’s a charmer. Propagating it is incredibly satisfying, and I’m happy to say, it’s not one of the really fussy ones. A beginner can absolutely have success with this!
The Best Time to Get Started
For me, the sweet spot to start propagating Trichodiadema peersii is late spring through early summer. When the plant is actively growing, it has the energy to push out new roots. You want to catch it when it’s happy and heading into its most vigorous period.
What You’ll Need to Gather
Let’s get our tools ready. Having everything on hand makes the process so much smoother:
- A sharp, clean pruning shear or a craft knife. Sterilize it with rubbing alcohol between cuts!
- A well-draining potting mix. For succulents like this, I love a mix of cacti/succulent soil with added perlite or pumice for extra aeration. About a 50/50 blend works beautifully.
- Small pots or trays. Yogurt containers with drainage holes work in a pinch!
- Rooting hormone (optional, but can give you a nice boost).
- A spray bottle filled with water.
- A labeling stick and pen to keep track of your new babies.
Let’s Get Propagating!
I find two main methods work wonderfully for Trichodiadema peersii: stem cuttings and division.
Stem Cuttings: The Classic Approach
- Selection is Key: Look for healthy, mature stems on your parent plant. You want cuttings that are at least 2-3 inches long and have several leaf nodes along the stem. Avoid any that look leggy or are diseased.
- Make the Cut: Using your clean shear or knife, make a clean cut just below a leaf node. This is where the magic will happen!
- Prepare the Cutting: Gently remove the lower leaves from the bottom inch or so of the stem. This exposes the nodes and prevents them from rotting once planted.
- Callus Over (Crucial Step!): Now, this is important. Let your cuttings air dry in a cool, dry place for 2-3 days, or even up to a week. You’ll notice the cut end starts to form a dry, scabby surface. This callusing prevents rot when you plant them.
- Rooting Hormone (Optional): If you’re using rooting hormone, lightly dip the callused end into it.
- Planting Time: Stick the callused end of the cutting about an inch deep into your pre-moistened, well-draining potting mix. Make sure the leaves aren’t touching the soil. You can place several cuttings in one pot, spaced a couple of inches apart.
- Water Lightly: Mist the soil surface gently with your spray bottle. You don’t want to soak it; just a light drink is needed.
Division: Sharing the Wealth
If your Trichodiadema peersii has become a dense clump, division is a great way to get more plants and also give your original a little refresh.
- Gently Unpot: Carefully remove your plant from its pot.
- Assess the Roots: Gently tease away some of the old soil to see where the plant naturally divides. You’re looking for sections with their own root systems.
- Separate Carefully: Using your hands or a clean knife, gently pull or cut the clump apart into smaller sections. Each section should have some roots and at least a few healthy stems.
- Let Them Dry: Just like cuttings, let the divided sections sit out for a day or two to allow any disturbed roots to callus over slightly.
- Plant Them Up: Pot each division into its own small pot with your succulent mix. Water very lightly, as you would the cuttings.
The “Secret Sauce” of Success
Here are a couple of my tried-and-true tricks:
- Don’t Drown Them! This is probably the biggest pitfall. Once planted, wait until the soil is completely dry before watering again, and even then, water sparingly. Overwatering is the fastest way to kill a new succulent cutting.
- Bottom Heat Works Wonders: If you have a seedling heat mat, place your pots on it. This gentle warmth from below encourages root development much faster than just ambient room temperature. It’s like giving them a cozy bed to grow roots in!
Aftercare and What to Watch For
Once your cuttings or divisions are planted, place them in a bright spot with indirect sunlight. Too much direct sun can scorch delicate new growth.
Be patient! It can take anywhere from 2-6 weeks for new roots to form. You can gently tug on a cutting to feel for resistance – that’s a good sign. Once you see signs of new growth, you can begin to water a bit more regularly, but always let the soil dry out between waterings.
Signs something’s wrong: If your cuttings turn mushy, black, or simply wilt away without any sign of rooting, it’s usually a sign of rot, almost always from overwatering or not letting them callus properly. If a divided section doesn’t take, it might be that it didn’t have enough healthy root to start with. Don’t be discouraged!
Go Forth and Grow!
Propagating Trichodiadema peersii is a rewarding journey. It’s a fantastic way to share these cute plants with friends or simply to fill in gaps in your own garden. Remember to be gentle, keep things on the drier side, and celebrate every tiny root you find. Happy growing!
Resource:
https://identify.plantnet.org/k-world-flora/species/Trichodiadema%20peersii%20L.Bolus/data