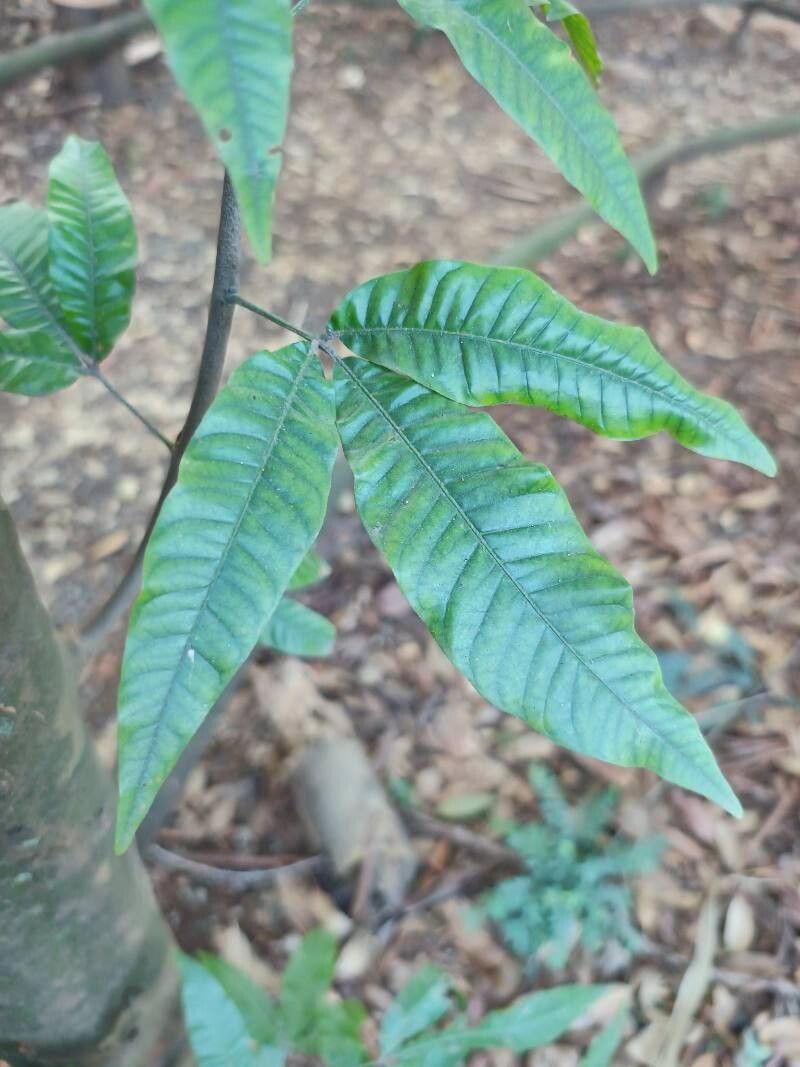
Ah, Trichilia claussenii! That’s a beautiful choice for anyone looking to bring a touch of the tropics into their home or garden. I’ve been nurturing these lovely plants for years, and their glossy, emerald leaves and delicate growth habit are truly a joy to behold. Plus, there’s something incredibly satisfying about coaxing a brand new plant from a snippet of a parent. It’s a fantastic way to share the green love, too!
Now, about its difficulty – I’d say Trichilia claussenii is moderately easy to propagate for beginners. It’s not as fuss-free as a pothos, but with a little attention to detail, you’ll likely find success. It’s a rewarding challenge that’s definitely within reach.
The Best Time to Start
My favorite time for taking cuttings is during the late spring or early summer. This is when our plants are naturally in their most vigorous growth phase. They’ve had a good rest over winter and are ready to push out new energy. You’ll find that cuttings taken at this time root much more readily. Look for stems that are firm but still somewhat flexible – not so woody they snap, but not so soft they bend easily.
Supplies You’ll Need
Gathering your supplies beforehand is key to a smooth propagation session. Here’s what I always have on hand:
- Clean, sharp pruning shears or a sharp knife: For making clean cuts that heal well.
- A well-draining potting mix: I like to use a blend of equal parts peat moss or coco coir and perlite or coarse sand. This ensures good aeration and prevents waterlogging.
- Small pots or propagation trays: These should have drainage holes!
- Rooting hormone (optional but recommended): A powder or gel form can give your cuttings a nice boost.
- Watering can with a fine rose or a spray bottle: For gentle watering.
- Plastic bags or a propagation dome: To create a humid environment.
- Labels and a marker: To keep track of what you’ve propagated and when.
Propagation Methods
I find stem cuttings to be the most effective way to multiply my Trichilia claussenii.
- Select your cuttings: Choose healthy, non-flowering stems that are at least 4-6 inches long. As I mentioned, look for that ideal firm-but-flexible maturity.
- Make the cut: Using your clean shears, make a clean, angled cut just below a leaf node. This is where new roots are most likely to form. Remove any leaves at the bottom 1-2 inches of the stem. This prevents them from rotting in the soil.
- Apply rooting hormone (optional): Dip the cut end into your rooting hormone, tapping off any excess.
- Plant your cuttings: Gently insert the cuttings into your prepared potting mix, ensuring at least one leaf node is buried.
- Water gently: Water the soil lightly.
- Create humidity: Cover the pots with a plastic bag or place them under a propagation dome. This is crucial for keeping the humidity high around the leaves, which prevents them from drying out before they can develop roots. Make sure the leaves aren’t touching the plastic.
- Provide light and warmth: Place the pots in a bright spot with indirect sunlight. Avoid direct sun, which can scorch the delicate cuttings. A little bit of warmth from the bottom can also speed things up, but it’s not strictly necessary.
The “Secret Sauce” (Pro Tips)
Here are a couple of things I’ve learned over the years that really make a difference:
- Don’t let your leaves touch the water. Whether you’re using a plastic bag or a dome, ensure those leaves are lifted above the surface. Condensation is good, pooling water is not! This is a common culprit for rot.
- Change out the water if you’re doing water propagation. If you opt for water propagation instead of soil (though I find soil more successful for Trichilia), change the water every few days to keep it fresh and oxygenated. And again, keep those leaves out of the water!
- Be patient with bottom heat. While not always essential, a gentle warmth from a heating mat specifically designed for propagators can significantly speed up root development. It mimics the natural warmth of spring soil and can be a game-changer, especially if your home tends to be on the cooler side.
Aftercare & Troubleshooting
Once you see new leaf growth emerging from your cutting, that’s a great sign! It means roots are forming. You can gently tug on the cutting; if there’s resistance, you likely have roots.
At this point, gradually acclimate your new plant to lower humidity. You can start by opening the plastic bag or dome for a few hours each day. Continue to keep it in bright, indirect light. Water sparingly, allowing the top inch of soil to dry out between waterings.
The most common problem you’ll encounter is rot. This usually happens because the cuttings are kept too wet or lack proper air circulation. If you see stems turning black and mushy, it’s usually a sign of rot. Sadly, these cuttings are usually lost. The best defense is good hygiene and watchful watering. Another sign of trouble is wilting and yellowing leaves that aren’t related to drying out – this could also indicate root problems or a lack of sufficient humidity initially.
A Encouraging Closing
Propagating plants is a journey, not a race. There will be successes and, yes, a few failures along the way. But each time you try, you learn a little more. Be patient with your Trichilia claussenii cuttings, give them the conditions they need, and celebrate every tiny sign of new life. Happy propagating!
Resource:
https://identify.plantnet.org/k-world-flora/species/Trichilia%20claussenii%20C.DC./data