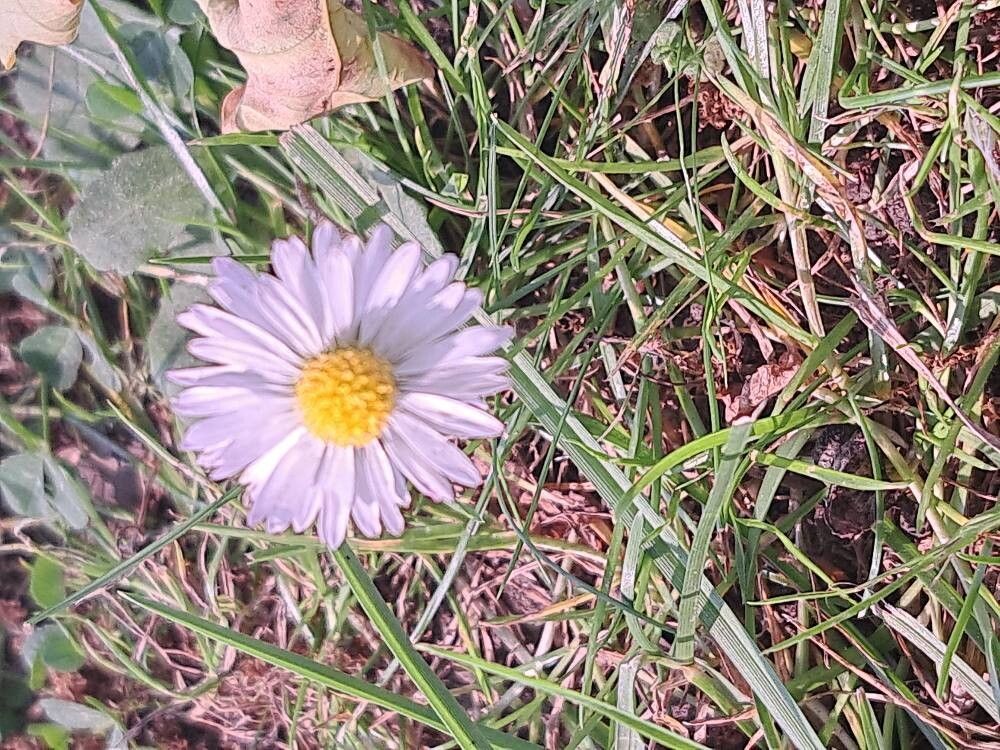
Hello, my fellow garden enthusiasts! Today, we’re talking about a real charmer: Townsendia parryi. This delightful native wildflower, often called Parry’s Townsendia or Fairy Daisy, brings such a pop of cheerful color to any rocky or alpine garden. Its daisy-like blooms, usually in shades of pink and lavender, are simply irresistible. Propagating Townsendia parryi might sound a bit daunting, but trust me, with a little know-how and patience, you can enjoy these beauties in abundance. It’s not the absolute easiest plant to start from scratch, but definitely doable, especially if you’re willing to give it a bit of focused attention. And oh, the satisfaction of nurturing a tiny seedling into a full, blooming plant is just wonderful!
The Best Time to Start
For Townsendia parryi, late spring or early summer is your golden window. This is when the parent plants are actively growing, and their energy is ideally channeled into producing strong, healthy new growth. Waiting until after the main flush of flowering is often a good idea, as you’ll have plenty of fresh, non-woody stems to work with.
Supplies You’ll Need
Gathering your supplies ahead of time makes the whole process much smoother. Here’s what I usually have on hand:
- Sharp pruning shears or a clean knife: For taking clean cuts.
- Rooting hormone powder or gel: This is an optional but highly recommended booster.
- Small pots or seed trays: Clean ones are a must!
- A well-draining potting mix: I prefer a mix of coarse sand, perlite, and a good quality compost. Something that won’t hold too much moisture.
- Watering can with a fine rose: To gently water your cuttings.
- A plastic bag or propagator lid: To create a humid environment.
- Optional: Heat mat: For bottom heat, which can speed up root development.
Propagation Methods
The most common and frankly, the most successful way I’ve found to propagate Townsendia parryi is through stem cuttings. Let’s walk through it:
- Take Your Cuttings: On a bright, early morning, select healthy, non-flowering stems from your mature Townsendia parryi. Using your sharp pruners or knife, take cuttings that are about 4-6 inches long. Make a clean cut just below a leaf node (that little bump where leaves emerge).
- Prepare the Cuttings: Gently remove the lowest leaves from the bottom inch of each cutting. This prevents them from rotting when buried in the soil.
- Apply Rooting Hormone: Dip the cut end of each prepared stem into your rooting hormone. Tap off any excess; you don’t need a thick coating.
- Plant Your Cuttings: Fill your small pots or seed tray with your well-draining potting mix. Make a small hole with your finger or a pencil. Insert the bottom of each cutting into the hole, ensuring the leaf nodes you’ve cleared are nestled into the soil. Firm the soil gently around the base of each cutting.
- Create a Humid Environment: Water the soil lightly. Then, cover the pots or tray with a clear plastic bag or a propagator lid. This traps moisture, which is crucial for cuttings to root. Make sure the leaves don’t touch the plastic if possible.
The “Secret Sauce” (Pro Tips)
After years of tinkering, I’ve picked up a few tricks that seem to make all the difference for these particular beauties:
- Don’t Drench the Soil: While humidity is key, Townsendia parryi cuttings absolutely hate sitting in soggy soil. It’s better to have the mix slightly on the drier side and mist regularly than to overwater. Aim for consistently moist, not wet.
- Bottom Heat is a Game Changer: If you can swing it, placing your pots on a gentle heat mat can significantly speed up root formation. Townsendia often enjoys a bit of warmth from below to encourage those roots to get going. Just a few degrees above room temperature is perfect.
- Patience is a Virtue (and a Necessity!): These little guys can be slow to root. Don’t despair if you don’t see new leaf growth or feel resistance when you gently tug a cutting within a few weeks. I often wait 4-8 weeks before I even start to check for root development.
Aftercare & Troubleshooting
Once your cuttings have successfully formed roots (you can gently tug one – if it resists, you’ve got roots!), it’s time for a little pampering.
- Gradual Acclimation: Slowly remove the plastic bag or propagator lid over a few days to acclimate the new plants to drier air. This prevents shock.
- Continued Watering: Keep the soil consistently moist but not waterlogged. As they grow, they’ll become a bit more forgiving.
- Potting Up: Once the new plants have a decent root system and are showing good top growth, you can pot them up into slightly larger containers with your regular well-draining potting mix.
- Watch for Rot: The most common sign of failure is rot. If your cuttings turn mushy, black, or fall over, it’s usually a sign of too much moisture. Unfortunately, if rot sets in, it’s very difficult to save them. Be diligent about your watering and soil drainage, and you can often prevent this. Another sign of failure is no growth or wilting, which can be due to dryness or lack of warmth.
Embarking on the journey of propagating Townsendia parryi is a wonderfully rewarding experience. It’s a chance to connect with nature on a deeper level and to fill your garden with these vibrant little blooms. Don’t be discouraged if your first few attempts aren’t perfect; gardening is always a learning process. Enjoy the unfolding of each new leaf and the emergence of every tiny root. Happy propagating, and may your gardens be ever-blooming!
Resource:
https://identify.plantnet.org/k-world-flora/species/Townsendia%20parryi%20Eaton/data