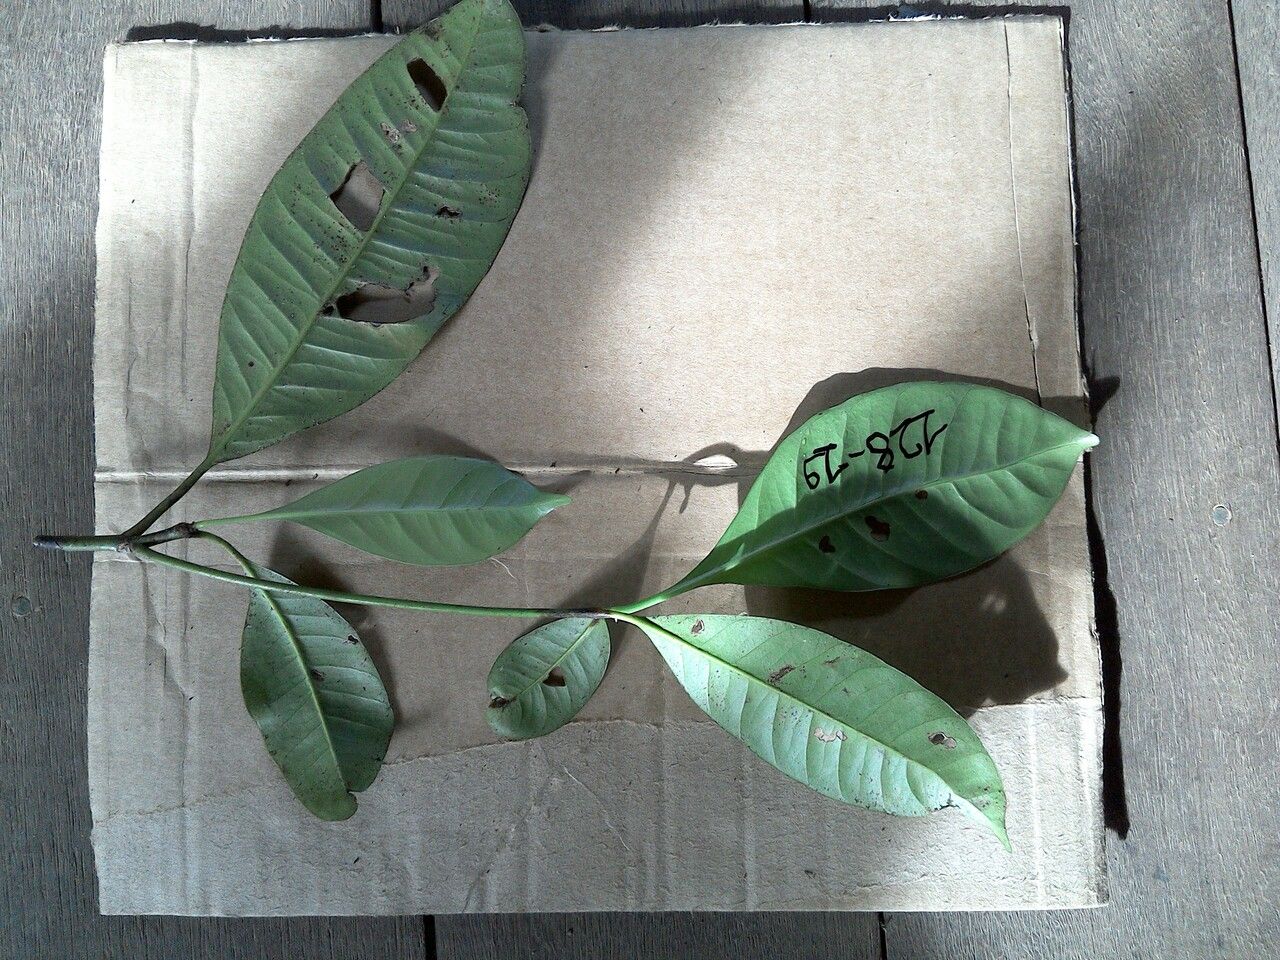
Oh, hello there! It’s so lovely to have you pop by my little corner of the garden world. Today, we’re diving into a truly special plant: Tovomita longifolia. If you’re drawn to lush, tropical vibes and plants with a bit of architectural flair, you’re going to adore this one. Its long, elegant leaves are simply captivating, and the satisfaction of coaxing new life from an existing specimen? Pure magic! Now, if you’re new to the plant propagation game, I won’t lie, Tovomita longifolia can be a touch more involved than a simple pothos. But don’t let that discourage you! With a little patience and this guide, you’ll be well on your way.
The Best Time to Start
Timing is everything in propagation, and for Tovomita longifolia, the earlier in its active growth cycle, the better your chances. Think late spring or early summer. This is when the plant is bursting with energy, channeling all its resources into new growth, which is exactly what we want to tap into. You’ll ideally be working with healthy, firm stems that have started to mature a bit, not the brand-new, floppy shoots.
Supplies You’ll Need
Gathering your supplies beforehand makes the whole process smoother. Here’s what I usually have on hand:
- Sharp, clean pruning shears or a scalpel: Make sure they’re sterile so you don’t introduce any nasties. A quick wipe with rubbing alcohol is perfect.
- Potting mix: A well-draining mix is crucial. I often use a blend of good quality potting soil combined with perlite or orchid bark. You want it to be airy, not soggy.
- Small pots or propagation trays: Clean containers are a must.
- Rooting hormone (optional but recommended): A rooting hormone powder or gel can give your cuttings a significant boost.
- Plastic bags or a propagation dome: This helps create the humid environment new cuttings crave.
- Spray bottle: For misting.
- A clear container with water: If you’re exploring water propagation.
Propagation Methods
Let’s get our hands dirty! Tovomita longifolia is most successfully propagated through stem cuttings.
Stem Cuttings
- Select Your Cutting: Look for a healthy stem that’s at least 6-8 inches long. It should have a few sets of leaves. Avoid woody, old stems or very soft, new growth. You want something in between – firm and pliable.
- Make the Cut: Using your sharp shears or scalpel, make a clean cut just below a leaf node. Nodes are those little bumps on the stem where leaves emerge; this is where roots will likely form.
- Prepare the Cutting: Gently remove the lower leaves from the cutting, leaving just two or three sets of leaves at the top. This prevents them from rotting in the soil and directs the plant’s energy towards root development.
- Apply Rooting Hormone (if using): Dip the cut end of the stem into your rooting hormone, tapping off any excess.
- Plant Your Cutting: Fill your pot with your prepared, moist potting mix. Make a small hole in the center with your finger or a pencil. Insert the prepared cutting into the hole, ensuring the leaf nodes are buried. Gently firm the soil around the stem.
- Create a Humid Environment: Water the soil lightly. Then, cover the pot with a plastic bag or place it under a propagation dome. Make sure the leaves aren’t touching the plastic bag if possible. Place it in a warm spot with bright, indirect light.
Water Propagation (An Alternative Approach)
While stem cuttings in soil are my go-to, some folks like to start in water.
- Follow steps 1-3 for stem cuttings.
- Place the prepared cutting in a clear glass or jar filled with clean water.
- Ensure that no leaves are submerged in the water. This is critical to prevent rot.
- Place the container in a spot with bright, indirect light.
- Change the water every few days to keep it fresh.
- You should start to see roots appearing within a few weeks. Once the roots are about an inch long, you can carefully transplant them into your well-draining potting mix.
The “Secret Sauce” (Pro Tips)
Here are a couple of little tricks that have made a big difference for me over the years:
- Bottom Heat is Your Friend: Tovomita longifolia absolutely loves a cozy, warm environment to get those roots going. If you can, place your pots on a heat mat designed for propagation. This gentle warmth from below mimicking ideal soil temperatures can significantly speed up root formation and reduce the chance of rot.
- The “Air Layering” Advantage: For a more advanced but often highly successful method, consider air layering. You make a small cut on a healthy stem while it’s still attached to the parent plant, dust it with rooting hormone, and then wrap the area with moist sphagnum moss and plastic wrap. Roots will form directly on the stem, and once they’re well-developed, you can cut the new plant below the roots and pot it up. It’s a bit more involved, but the success rate is fantastic!
Aftercare & Troubleshooting
Once you see new growth emerging from your cutting – that’s a good sign that roots are forming!
- Gradual Acclimation: Slowly remove the plastic bag or dome over a period of a week or so. This helps the new plant adjust to normal humidity levels.
- Watering: Water the new plant when the top inch of soil feels dry to the touch. Avoid overwatering, as this is a common cause of failure.
- Light: Continue to provide bright, indirect light.
- Troubleshooting Rot: If your cutting starts to look mushy, black, or smells off, it’s likely experiencing stem rot. This usually happens due to overwatering or poor drainage. Unfortunately, once rot sets in, it’s very difficult to save. In this case, it’s best to discard the affected cutting and start again, focusing on a lighter watering schedule and better soil aeration.
A Little Patience, A Lot of Reward
Propagating plants is a journey, not a race. There will be times when things don’t quite work out, and that’s okay! Learn from each experience. The joy of watching a small cutting transform into a thriving new plant, or being able to share that joy with a friend, is truly one of the most rewarding aspects of gardening. So, gather your supplies, get your hands a bit dirty, and enjoy the process of creating new life! Happy propagating!
Resource:
https://identify.plantnet.org/k-world-flora/species/Tovomita%20longifolia%20(Rich.)%20Hochr./data