Oh, hello there, fellow plant enthusiast! Pull up a chair and let’s chat about something truly special: Toona sinensis, or as some of us affectionately call it, the Chinese Toon tree. If you’ve ever admired its feathery, red-tinged new growth or savored its unique, oniony aroma when leaves are crushed, you’ll understand why I’m so excited to share how to propagate this beauty.
For me, growing plants from cuttings or divisions is like unlocking a little bit of magic. It’s incredibly rewarding, and with Toona sinensis, it’s a journey that’s actually quite manageable, even for those of you just dipping your toes into the wonderful world of propagation.
The Best Time to Start
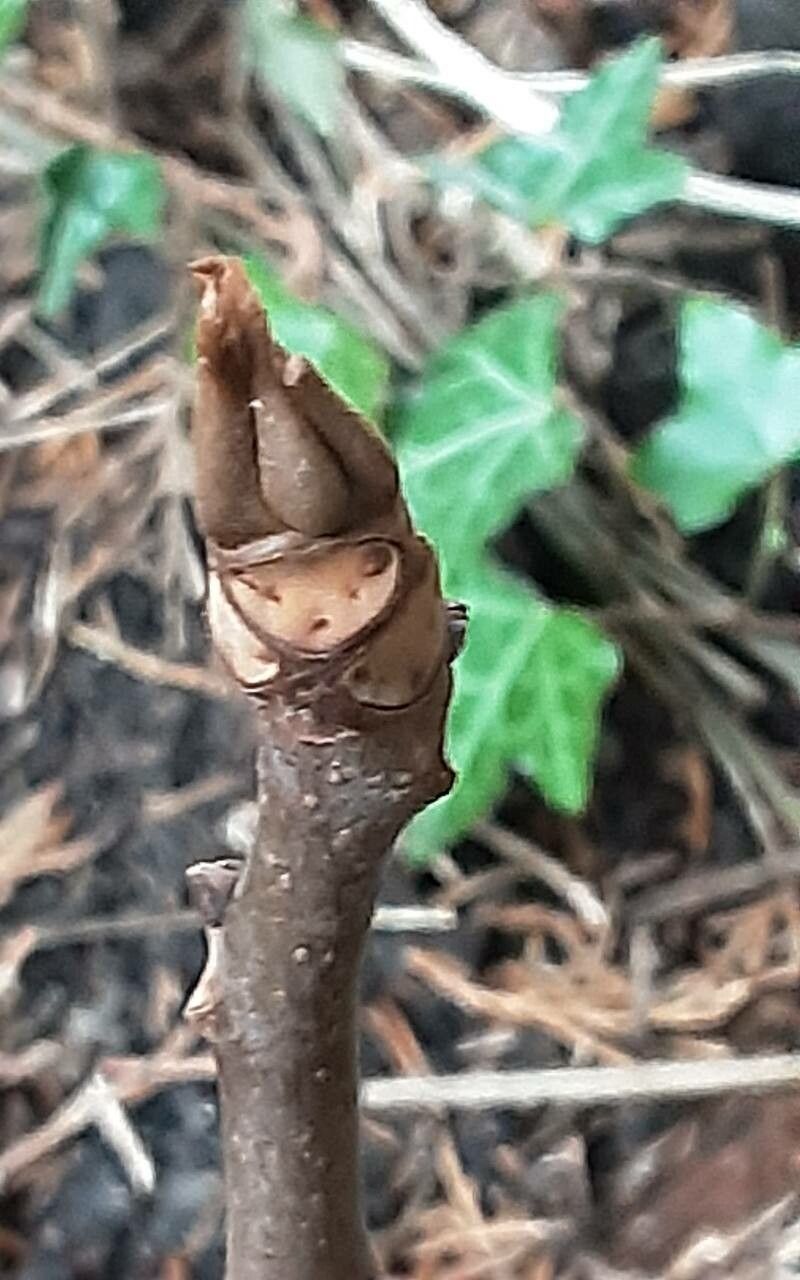
When is the real sweet spot for propagating Toona sinensis? I’ve found the most success with cuttings taken in late spring to early summer. This is when the plant is actively growing, and the stems haven’t yet hardened off completely. You want stems that are semi-hardwood – not too soft and floppy like brand-new growth, but not tough and woody either. Think of a pencil that bends a little but snaps cleanly when you try to break it.
Supplies You’ll Need
Here’s what I like to have ready when I’m propagating Toona sinensis:
- Sharp Pruning Shears or a Knife: For making clean cuts. Sterilize them with rubbing alcohol first – always!
- Rooting Hormone: A good quality rooting hormone powder or gel can significantly boost your success rate.
- Potting Mix: I prefer a well-draining mix. A blend of equal parts peat moss or coco coir and perlite or coarse sand works wonderfully. This prevents waterlogging, which is critical.
- Small Pots or Seed Trays: Clean pots are a must.
- Plastic Bags or a Propagation Cover: To create a humid environment.
- Water: For keeping things moist.
- Optional: Small Labels and a Marker: To keep track of which plant is which!
Propagation Methods
Let’s get our hands dirty! I find stem cuttings to be the most reliable method for this tree.
Stem Cuttings
- Select Your Cuttings: On a healthy, established Toona sinensis, choose a stem that fits the semi-hardwood description. You’re looking for stems about pencil-thick and roughly 6-8 inches long.
- Make the Cut: Using your sterilized shears, make a clean cut just below a leaf node (where a leaf attaches to the stem). This is where the magic of root formation often begins.
- Prepare the Cutting: Gently remove the lower leaves. You want to leave just a few leaves at the top to help with photosynthesis. If the remaining leaves are very large, I like to cut them in half horizontally. This reduces water loss through transpiration while still allowing the plant to photosynthesize.
- Apply Rooting Hormone: Dip the cut end of the stem into your rooting hormone, ensuring it’s coated. Tap off any excess.
- Plant Your Cuttings: Make a hole in your prepared potting mix with a pencil or your finger. Insert the cutting, ensuring the nodes where you removed the leaves are below the soil surface. Gently firm the soil around the base.
- Water and Cover: Water the pot thoroughly but gently. Then, cover the pot with a clear plastic bag or a propagation dome. This creates a mini-greenhouse effect, maintaining high humidity, which is vital for cuttings to root. You can use stakes to keep the bag from touching the leaves.
Water Propagation
While less common for woody plants, I’ve had some success with Toona sinensis in water, especially with younger, more flexible stems.
- Take Cuttings: Similar to stem cuttings, take pencil-thick, semi-hardwood cuttings, about 6-8 inches long.
- Prepare the Cutting: Remove all but the top few leaves.
- Place in Water: Put the cuttings in a clean jar or vase filled with fresh water. Crucially, ensure no leaves are submerged in the water. Trim any that dip below the water line. Leaves sitting in water will rot and can take down your whole cutting.
- Location: Place the jar in bright, indirect light.
- Change Water: Change the water every few days to keep it fresh and prevent algae growth. You should see roots forming in a few weeks. Once the roots are an inch or two long, you can carefully transplant them into well-draining soil.
The “Secret Sauce” (Pro Tips)
Here are a couple of things I’ve learned over the years that can make a real difference:
- Bottom Heat is Your Friend: If you have a heating mat designed for seedlings and cuttings, using bottom heat can dramatically speed up root development. It mimics the warmth of natural soil and encourages roots to emerge faster.
- Patience is Key (and Gentle Prodding): Don’t be tempted to yank your cutting out every day to check for roots! Once a cutting has been in its medium for about 4-6 weeks, you can give it a very gentle tug. If you feel resistance, it’s a good sign roots are forming. Resist the urge to check too often – it can disturb developing roots.
Aftercare & Troubleshooting
Once you see signs of new growth emerging from the top of your cutting, that’s a fantastic indicator that roots have formed!
- Acclimate: Slowly begin to acclimate your new plant to drier air. Gradually open the plastic bag or cover for longer periods over a week or two.
- Watering: Water your new plant as you would any other small seedling. Keep the soil consistently moist but not waterlogged. Allow the top inch of soil to dry out slightly between waterings.
- Light: Continue to provide bright, indirect light.
- Troubleshooting: The most common problem is rot. If your cutting turns mushy and black, sadly, it’s likely rotted. This is usually due to too much moisture and poor drainage. Ensure your potting mix is airy and avoid overwatering. Another sign of failure is if the cutting shrivels and dries up completely without any signs of rooting. This can happen if humidity levels drop too low or if it doesn’t receive enough light.
A Encouraging Closing
Watching a new plant sprout from a humble cutting is one of the most satisfying gardening experiences. Don’t get discouraged if your first few attempts aren’t perfect – that’s how we all learn! Be patient with your Toona sinensis cuttings, provide them with the right conditions, and enjoy the journey of bringing new life into your garden. Happy propagating!
Resource:
https://identify.plantnet.org/k-world-flora/species/Toona%20sinensis%20(A.Juss.)%20M.Roem./data