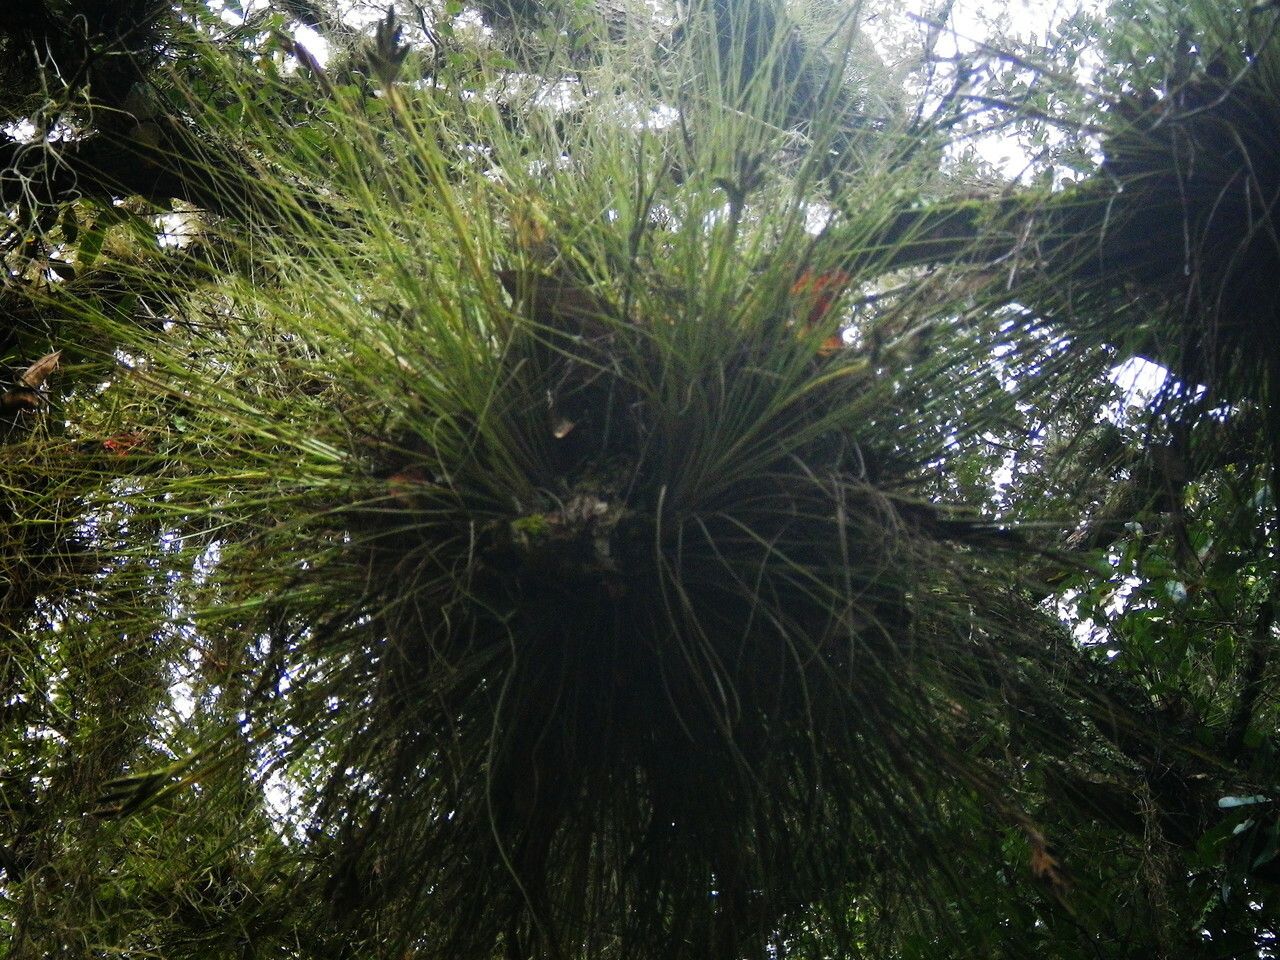
Oh, hello there! Come on in and grab a mug. It’s always so nice to chat about plants, isn’t it? Today, we’re diving into the fascinating world of Tillandsia bartramii, often called the Pine Forest air plant. If you’ve ever admired its silvery, needle-like leaves and the way it seems to hang suspended in mid-air, you’re not alone. These beauties are captivating, and the idea of bringing more of them into your life is a truly rewarding prospect. Now, straight talk: Tillandsia propagation can be a little more nuanced than, say, a pothos, but it’s far from impossible. If you’re patient and observant, you’ll find success.
The Best Time to Start
For Tillandsia bartramii, the sweet spot for propagation is late spring or early summer. This is when the plant is actively growing and has built up enough energy reserves to support new growth. You’ll often see little baby plants, called “pups,” forming at the base of the mother plant during this warmer, brighter period. That’s your cue! Don’t try to rush it; wait until those pups are a decent size, usually at least a third of the mother plant’s height, before you even think about separating them.
Supplies You’ll Need
You won’t need a whole lot to get started, which is part of the charm! Here’s what I always have on hand:
- A very sharp, sterilized knife or razor blade. I prefer a small, thin blade for precision.
- Rubbing alcohol for sterilization. Keep a little spray bottle handy.
- A small container of water. Lukewarm is best.
- Optional: A rooting hormone powder. While not strictly necessary for Tillandsias, it can give a little boost.
- A small pot or a designated spot with excellent air circulation for your new pup.
- A spray bottle with filtered or rainwater.
Propagation Methods
For Tillandsia bartramii, the primary and most successful method is through pup separation. These plants are viviparous, meaning they produce offsets directly from the mother plant.
Pup Separation:
- Inspect your mother plant. Look for those adorable little pups at the base. They’ll have their own leaves and might even show tiny root nubs.
- Sterilize your tool. This is crucial to prevent introducing any nasty bacteria or fungi. Dip your blade in rubbing alcohol and let it air dry for a moment.
- Gently separate. Carefully position your sterilized blade between the pup and the mother plant. The goal is to make a clean cut, severing the connection. Sometimes, a gentle twist or pull can help if the connection is thin. You want to avoid tearing any tissue if at all possible. If the pup has tiny root nubs, aim to get at least one of those with your cut.
- Let it callus. This is a vital step. Place the separated pup in a dry, well-ventilated spot out of direct sunlight for at least 24 to 48 hours. This allows the cut surface to dry and form a protective layer, preventing rot.
- Encourage rooting (optional but recommended). You can dip the callused end of the pup into a rooting hormone powder, tapping off any excess.
- Placement. Now, you can set your pup on its side on a tray or in a shallow dish. Don’t bury it. We’re going to let it do its thing.
The “Secret Sauce” (Pro Tips)
Here are a couple of things I’ve learned over the years that really make a difference:
- Don’t rush the separation. Seriously, wait until the pup has a good size and demonstrates a clear connection. Trying to separate too-small pups is usually a recipe for heartbreak. Patience is your best friend here.
- Air circulation is paramount. After separation and callusing, place your pup in a spot where air can freely move around it. Think of it like a little baby needing to breathe! Avoid humid, stagnant environments. A gentle fan running on a low setting in the room can be surprisingly helpful.
- Watering needs are minimal initially. Once your pup is planted (or rather, placed), mist it very lightly every few days, but only if the environment is dry. The goal is to provide just enough moisture to encourage roots, not to saturate it. Let the base dry out completely between mistings.
Aftercare & Troubleshooting
Once you see new root growth on your pup – usually a sign of white, fleshy tendrils – you’re golden! Continue with very light misting as needed. As the roots develop, you can gradually reduce the frequency of misting and the plant will start to establish itself.
The most common pitfall is rot. If you notice your pup turning mushy, brown, or black, especially at the base, it’s likely getting too much moisture and not enough air. Unfortunately, if rot sets in deeply, it can be hard to save. This is why the callusing step and good air circulation are so important. Another sign of distress might be browning or crispy leaf tips, which can indicate the plant is too dry or simply stressed from the separation.
A Encouraging Closing
Growing your own Tillandsia bartramii from offsets is such a rewarding journey. It’s a testament to patience and observation. Don’t be discouraged if your first attempt isn’t picture-perfect. Every plant is a learning opportunity. Just keep tending to them with care, and you’ll soon be admiring your own little forest of these incredible air plants. Happy growing!
Resource:
https://identify.plantnet.org/k-world-flora/species/Tillandsia%20bartramii%20Elliott/data