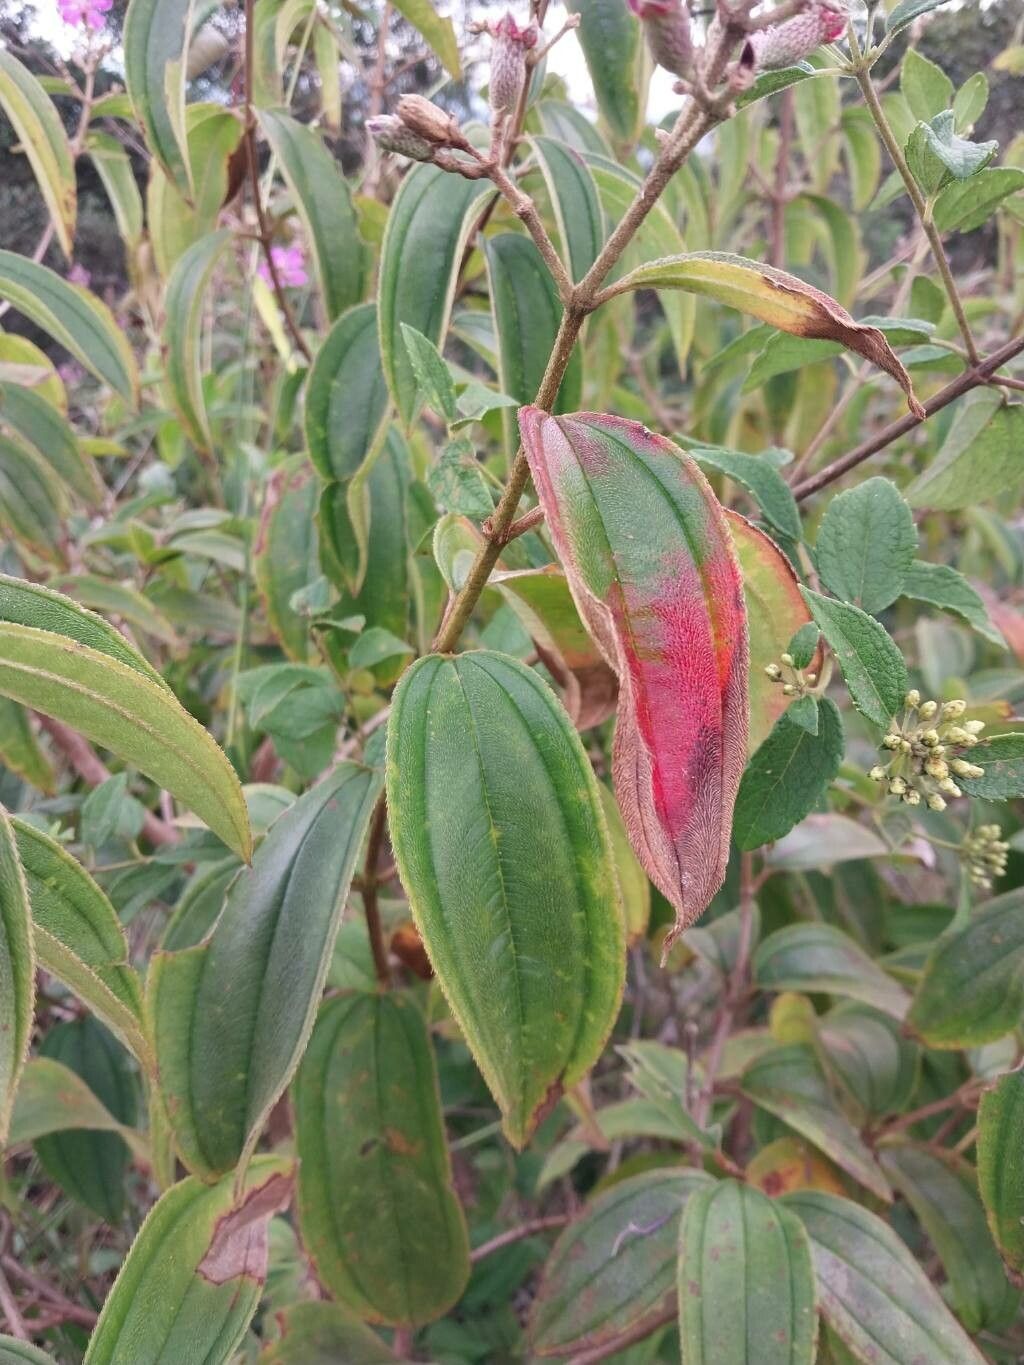
Hello fellow plant lovers! Today, we’re diving into the wonderful world of propagating Tibouchina bipenicillata, also known as the pretty Brazilian glory bush. If you’re captivated by its vibrant purple blooms and lush, velvety leaves, you’re in for a treat. The satisfaction of growing your own from a tiny cutting is truly something special. While it might seem a little daunting at first, propagating this beauty is actually quite forgiving, and I’ve found it to be a perfectly achievable project for beginners wanting to expand their collection.
The Best Time to Start
For the highest success rate with Tibouchina bipenicillata, aim for spring or early summer. This is when the plant is actively growing, and its stems have more energy to produce roots. You’re looking for semi-hardwood cuttings, which means the stem is starting to firm up but is still bendy. Avoid the very soft, new growth, as it tends to be too delicate.
Supplies You’ll Need
Here’s what you’ll want to gather before you get started:
- Sharp pruning shears or a clean, sharp knife: For making clean cuts.
- Rooting hormone (powder or gel): This is a fantastic boost, though not always strictly necessary for Tibouchina.
- A well-draining potting mix: I like a blend of equal parts perlite, peat moss, and compost. Alternatively, a seed-starting mix works beautifully.
- Small pots or propagation trays: Make sure they have drainage holes.
- Plastic bags or a propagator: To maintain humidity.
- Labels: To remember what you’ve planted and when!
Propagation Methods
We’ll focus on stem cuttings, which is my go-to for Tibouchina bipenicillata.
Stem Cuttings:
- Take your cuttings: In the spring or early summer, select healthy stems that are about 4-6 inches long. Make a clean cut just below a leaf node (where a leaf attaches to the stem).
- Prepare the cuttings: Gently remove the lower leaves, leaving only the top two or three. This prevents them from rotting in the soil.
- Apply rooting hormone: Dip the cut end into your rooting hormone according to the product’s instructions. Tap off any excess.
- Plant the cuttings: Fill your small pots or trays with your prepared potting mix. Make a small hole with a pencil or your finger and insert the cutting, ensuring the leaf nodes are buried. Gently firm the soil around the stem.
- Water gently: Water thoroughly to settle the soil.
- Create a humid environment: Cover the pots with a clear plastic bag or place them in a propagator. Make sure the leaves aren’t touching the plastic if possible. This traps moisture and keeps the humidity high, which is crucial for root development.
The “Secret Sauce”
Here are a couple of my little tricks that have helped me get excellent results:
- Bottom Heat is Your Friend: If you can, place your pots on a heated propagation mat. This gentle warmth encourages root growth from below, mimicking springtime soil temperatures. It makes a noticeable difference, especially for plants that can be a bit slow to root.
- Don’t Over-Water the Cuttings: While humidity is key, soggy soil can be the enemy of new cuttings. You want the soil to be consistently moist, but not waterlogged. Check the moisture level by gently pressing your finger into the soil; if it feels dry, it’s time to water.
Aftercare & Troubleshooting
Once your cuttings have developed roots – you’ll usually see them after 4-8 weeks, signaled by new leaf growth – it’s time to transition them.
- Acclimate slowly: Gradually remove the plastic cover over a few days to let the new plant adjust to lower humidity.
- Potting up: Once the roots have filled the small pot, you can transplant them into slightly larger pots with good quality potting mix.
- Watch for rot: The most common issue is rot, which looks like mushy, black stems. This is almost always due to overwatering or poor drainage. If you suspect rot, remove the affected cutting immediately and allow the soil to dry out. Ensure your pots have excellent drainage.
A Little Patience Goes a Long Way
Propagating plants is such a rewarding part of gardening. It’s a connection to the cycle of life, and seeing those first tiny roots emerge is like a little victory. Don’t get discouraged if a cutting doesn’t make it; it happens to all of us! Just try again. Enjoy the process, learn from each attempt, and soon you’ll have a beautiful collection of Tibouchina to admire. Happy propagating!
Resource: