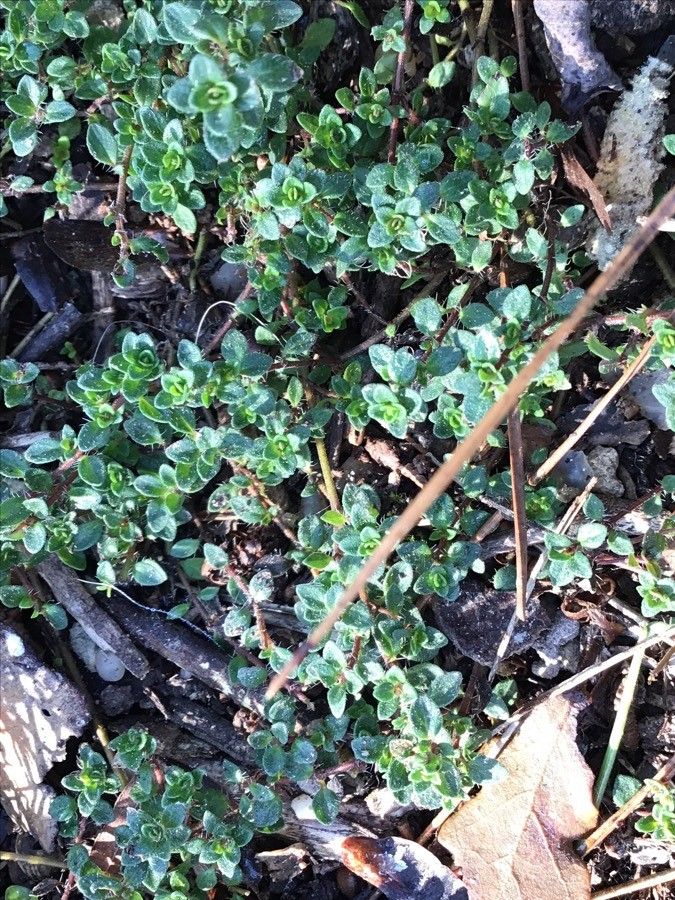
Oh, Thymus roegneri! If you’ve ever encountered this delightful thyme variety, you know its charm. It’s got this wonderful, soft, almost fuzzy foliage, and it smells absolutely heavenly. It’s not as common as some of its cousins, which makes propagating your own all the more satisfying, don’t you think? And I can tell you right now, it’s a friendly plant to start propagating with. Even if you’re new to the world of green thumbs, you’ll likely find success here. Let’s get growing!
The Best Time to Start
For most of our perennial herbs, including Thymus roegneri, late spring to early summer is your prime time. The plant is actively growing, and the stems have a good balance of being still somewhat tender but starting to firm up. This makes them prime candidates for rooting. Waiting until after the initial spring flush of growth has matured a bit is key.
Supplies You’ll Need
Gathering your tools before you begin makes the whole process flow so much more smoothly:
- Sharp pruning shears or a clean knife: For taking clean cuts.
- Rooting hormone (optional but recommended): A little sprinkle can give your cuttings a boost.
- Well-draining potting mix: A 50/50 blend of peat moss or coco coir and perlite or coarse sand works wonders. You can also find pre-made succulent or cactus mixes that are excellent.
- Small pots or trays: With drainage holes, of course!
- A spray bottle: For fine misting.
- Plastic bags or a propagation dome: To create a humid environment.
Propagation Methods
I find stem cuttings to be the most straightforward and successful method for Thymus roegneri. Here’s how I do it:
- Select your parent plant: Choose a healthy, vigorous specimen that’s free from pests or diseases.
- Take cuttings: Using your sharp shears, take cuttings that are about 3-4 inches long. Look for stems that are green and somewhat firm, not woody and old, and not super soft and new. Make your cut just below a leaf node. Nodes are those little bumps on the stem where leaves emerge; roots love to sprout from here.
- Prepare the cuttings: Gently strip off the leaves from the bottom inch or so of each cutting. This prevents them from rotting in the soil or water. If you’re using rooting hormone, dip the cut end of each stem into it, tapping off any excess.
- Plant your cuttings: Fill your small pots or trays with your well-draining mix. Make small holes in the soil with a pencil or your finger. Insert the prepared cuttings into these holes, ensuring the nodes you stripped are buried. Gently firm the soil around the base of each cutting.
- Create humidity: Water the soil gently until it’s moist but not soggy. Then, cover the pots with a plastic bag (making sure the leaves don’t touch the plastic) or place them under a propagation dome. This traps in moisture, which is crucial for cuttings that can’t yet absorb water through roots.
The “Secret Sauce” (Pro Tips)
Here are a couple of things I’ve learned over the years that make a real difference:
- Don’t let those stripped leaves touch the soil directly if you can help it. If they get buried, they’re more prone to mold and rot, which can spread to your precious cuttings. A little bit of space is good.
- Bottom warmth is your friend! If you have a bit of a chill in your propagation area, placing your pots on a gentle heat mat can significantly speed up root development. It mimics the warmth of spring soil.
Aftercare & Troubleshooting
Once your cuttings are planted, place them in a bright spot with indirect sunlight. Direct sun can scorch those tender new stems. Keep the soil consistently moist but never waterlogged. Remember that humidity you created? Keep that going by misting the leaves occasionally and checking that the soil surface stays damp.
You’ll know your cuttings are taking root when you see new growth appearing. You can also give them a very gentle tug; if there’s resistance, roots are forming! This usually takes anywhere from 3 to 6 weeks, sometimes a bit longer. Once they’re well-rooted, you can gradually acclimate them to normal conditions by removing the plastic cover for longer periods each day.
The most common issue you might encounter is rot. If you see a cutting turning black and mushy, it’s usually a sign of too much moisture and not enough air circulation. Pull out the affected cutting to prevent it from spreading and check your watering habits.
A Encouraging Closing
Propagating Thymus roegneri is a wonderful way to expand your herb garden and share its beauty with friends. It takes a little patience, but the reward of nurturing a new plant from a tiny cutting is immense. Don’t get discouraged if not every cutting makes it; that’s part of the learning process! Just keep trying, and you’ll soon be surrounded by the lovely scent of your own homegrown thyme. Happy gardening!
Resource:
https://identify.plantnet.org/k-world-flora/species/Thymus%20roegneri%20K.Koch/data