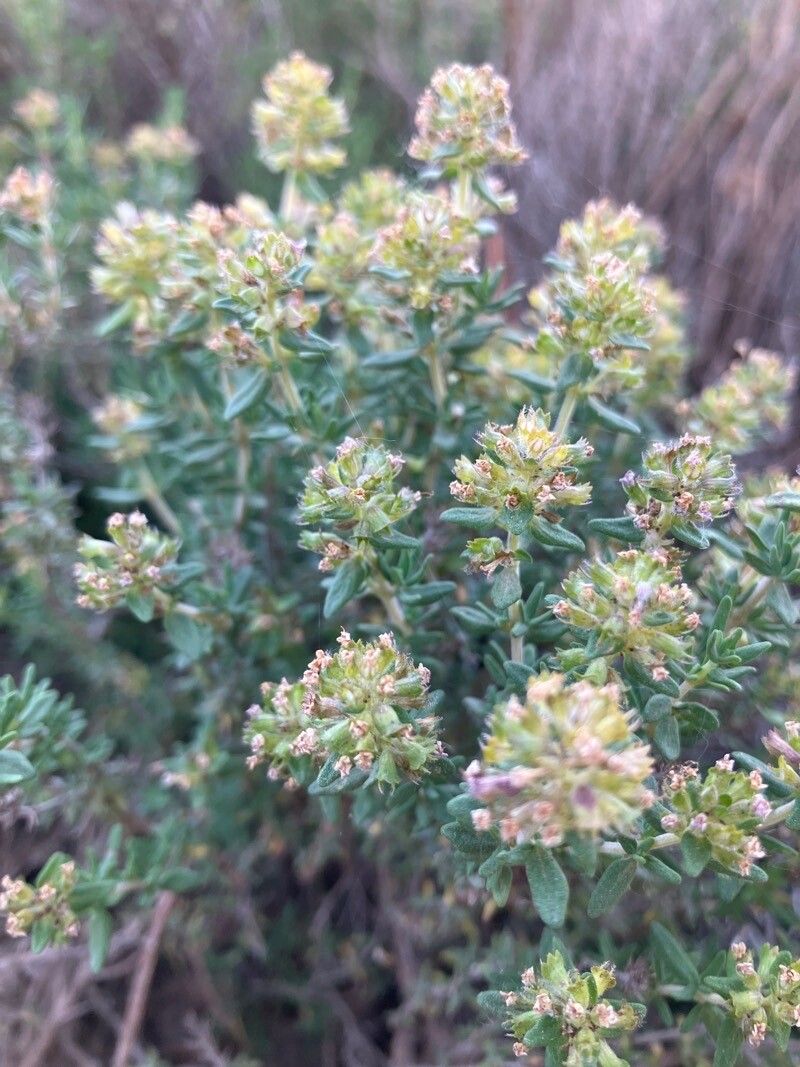
Oh, I’m so glad you’re interested in Thymus nitens! This gem, with its glossy, almost metallic-looking leaves and delicate, often pinkish flowers, is such a charm in the garden. It brings a lovely fragrance to sunny spots, and its compact growth habit is perfect for edges or rock gardens. And honestly, propagating it is a really satisfying endeavor. It’s one of those plants that’s quite forgiving, which makes it a wonderful choice for those just starting their propagation journey. You’ll be sharing sprigs with friends before you know it!
The Best Time to Start
For the absolute highest success rate, I find that the late spring to early summer is your golden window. Think of it as when the plant is really hitting its stride, full of vigor. You’ll want to take cuttings from healthy, non-flowering stems that are somewhat woody but still pliable. This is when they have the best chance of rooting.
Supplies You’ll Need
Here’s what I like to have on hand before I dive in:
- Sharp pruning shears or a clean, sharp knife: For making clean cuts.
- Small pots or seed trays: About 3-4 inch pots work well.
- Well-draining potting mix: A good blend is equal parts potting soil, perlite, and coarse sand. You can also buy a specific seed starting mix, but make sure it has good drainage.
- Rooting hormone (optional but recommended): A powder or gel that really encourages root development.
- Watering can or spray bottle: For gentle watering.
- Plastic bag or cloche: To create a humid environment.
- Labels: Because trust me, you’ll forget which is which!
Propagation Methods
Let’s get our hands dirty! Stem cuttings are my go-to for Thymus nitens. It’s straightforward and generally very effective.
- Take Your Cuttings: Head out to your thriving Thymus nitens plant. Look for stems that are about 3-4 inches long and feel firm but not overly woody. Using your clean shears or knife, make a cut just below a leaf node (that little bump where a leaf grows out from the stem). This is a prime spot for root formation. Remove the lower leaves, leaving just a few at the very top.
- Prepare the Cuttings: If you’re using rooting hormone, dip the cut end of the stem into it. Just a light coating is all you need. Gently shake off any excess.
- Plant Them Up: Fill your pots or trays with your well-draining potting mix. Make a small hole in the center with your finger or a pencil. Carefully insert the cut end of your Thymus nitens cutting into the hole, ensuring the leaf nodes are below the soil surface. Gently firm the soil around the stem to keep it upright.
- Water Gently: Give your cuttings a thorough but gentle watering. I like to use a spray bottle at first to avoid disturbing the soil too much. You want the soil to be moist, not waterlogged.
- Create Humidity: Now, here’s a crucial step. Cover your pots with a clear plastic bag, or place them under a cloche. This creates a mini-greenhouse, keeping the humidity high, which is vital for cuttings to root before they can absorb water through their own roots. Make sure the leaves aren’t touching the plastic if possible.
- Find a Sunny Spot (but not too sunny!): Place your pots in a bright location, but out of direct, harsh sunlight. A little dappled light is perfect.
The “Secret Sauce” (Pro Tips)
My little tricks that often make all the difference:
- The “Air Gap” Trick: When you’re preparing your cuttings, don’t strip all the lower leaves. Leaving a couple can actually help the cutting draw up moisture initially, but make sure any leaves that might end up below the soil line are removed. Soggy leaves are an invitation for rot!
- Bottom Heat is Your Friend: If you’re serious about getting a robust root system quickly, consider using a heat mat designed for seedlings. Placing your pots on a gentle heat source can really speed up the rooting process. It mimics the warmth of spring soil that encourages plants to grow.
- Don’t Rush Them: I know it’s tempting, but be patient! Sometimes it takes a few weeks, even up to a month, for Thymus nitens to show signs of rooting. Resist the urge to constantly tug at them to check for roots.
Aftercare & Troubleshooting
Once you start to see new growth, that’s a fantastic sign! It usually means roots are forming. You can gently tug on a cutting; if there’s resistance, you’ve got roots!
- Gradual Acclimation: Once roots are well-established, you’ll want to gradually remove the plastic cover. Start by taking it off for a few hours each day, then leave it off for longer periods. This helps your new plants adjust to the drier air.
- Regular Watering: Continue to keep the soil consistently moist but not soggy. As they grow, you can water more deeply when the top inch of soil feels dry.
- What if they look sad? The most common issue is rot. This happens when the soil stays too wet for too long, and the cuttings can’t breathe. They’ll turn mushy and dark. If you see this, sadly, that cutting is a goner. Remove it immediately to prevent it from spreading. Another sign is wilting that doesn’t perk up after watering. This can also indicate rot or a cutting that just didn’t take. Sometimes, even with the best care, a cutting just fails. It’s part of the process!
A Encouraging Closing
It’s a delightful feeling seeing those tiny roots develop and knowing you’ve helped a new plant come into being. Don’t be discouraged if not every cutting makes it – gardening is all about learning and experimenting. Be patient with your new little thyme plants, give them good care, and soon you’ll have a whole new patch of fragrant, glossy Thymus nitens to enjoy. Happy propagating!
Resource:
https://identify.plantnet.org/k-world-flora/species/Thymus%20nitens%20Lamotte/data