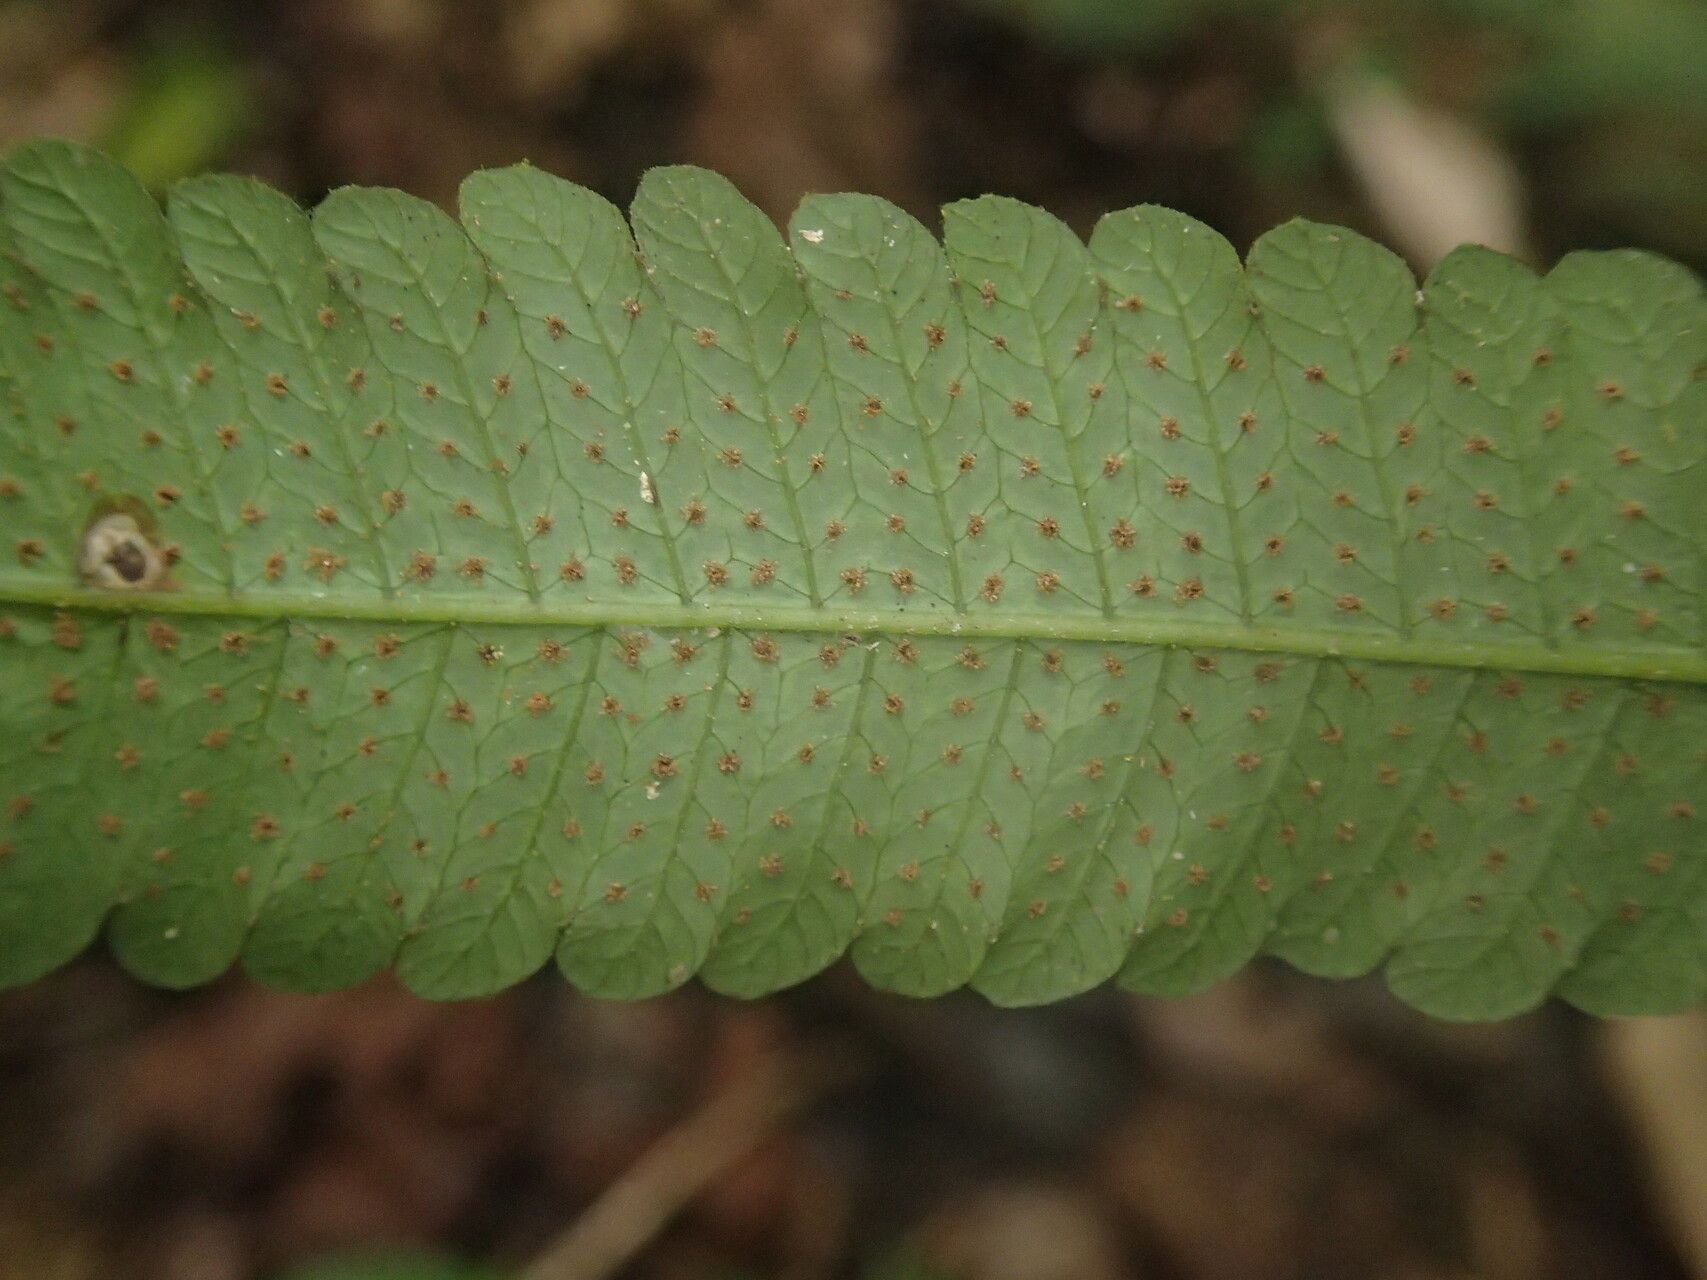
Hello fellow plant lovers! Today, we’re diving into the wonderful world of ferns, specifically one with a bit of charm: Thelypteris afra, often called the African Maidenhair Fern. Its delicate, lace-like fronds bring a touch of the exotic to any shady corner. And the best part? You can easily multiply this beauty yourself!
There’s a special kind of joy in watching a new plant unfurl from a tiny piece of its parent. Propagating Thelypteris afra is a really rewarding endeavor. While it might seem a little intimidating at first glance, I promise you, with a few key pointers, it’s quite manageable. It’s moderately easy for beginners, especially with the division method.
The Best Time to Start
For the highest success rate, I always recommend starting your propagation efforts in late spring or early summer. This is when the plant is actively growing and has a good amount of energy. Your new cuttings or divisions will have a much better chance of taking off when the days are longer and warmer.
Supplies You’ll Need
Gathering your supplies beforehand makes the whole process much smoother. Here’s a little checklist:
- Sterilized pruning shears or a sharp knife: Clean tools prevent disease.
- Potting mix: A well-draining, peat-based potting mix is ideal. You can make your own by mixing equal parts peat moss, perlite, and a bit of compost.
- Small pots or trays: Clean, small containers are perfect for new cuttings or divisions.
- Plastic bags or propagation domes: To maintain humidity.
- Rooting hormone (optional but helpful): Especially for stem cuttings.
- Watering can or spray bottle: For gentle watering.
- Labels: To keep track of what you’ve propagated and when.
Propagation Methods
Let’s get our hands dirty! For Thelypteris afra, division is often the most successful and straightforward method.
Division: Creating New Plants from Roots
This is like giving your fern a haircut that results in more ferns!
- Gently unpot the mature fern. Try not to disturb the root ball too much if you can help it.
- Inspect the root ball. You’re looking for distinct clumps or sections of rhizomes (those root-like structures) that have their own emerging fronds.
- Carefully pull the plant apart. You can use your hands for smaller divisions, or a clean, sharp knife for more stubborn ones. The goal is to separate the rhizomes so each division has some roots and at least one or two healthy fronds.
- Pot up each division. Place each new section into its own pot filled with your prepared potting mix. Plant them so the top of the rhizome is just at the soil surface, or slightly below.
- Water gently. Give them a good drink, but don’t let them sit in soggy soil.
- Provide humidity. Cover the pots loosely with a plastic bag or use a propagation dome. Place them in a bright spot, but out of direct sunlight.
The “Secret Sauce” (Pro Tips)
Here are a few things I’ve learned over the years that often make a big difference:
- Don’t be afraid to discard a few older, sad-looking fronds from your divisions. This helps the plant focus its energy on new growth rather than trying to revive old leaves.
- When you pot up your divisions, I like to give them a very light feeding about 2-3 weeks after potting. A diluted liquid fertilizer will give them just the boost they need to establish themselves.
- If you choose to try stem cuttings (which is trickier for this fern, but possible), ensure the cutting has at least one, preferably more, growth nodes – those little bumps where leaves emerge. This is where the new roots will form.
Aftercare & Troubleshooting
Once your divisions are potted, the real magic begins.
- Keep the soil consistently moist but not waterlogged. This is crucial. Ferns love humidity, so misting the leaves occasionally can be beneficial, especially if you don’t have them under cover.
- Watch for signs of new growth. Tiny fiddleheads (the coiled beginnings of new fronds) are your big clue that things are going well! This might take a few weeks.
- Watch out for rot. If your division starts to look mushy or develop black spots, it’s likely getting too much water or not enough air circulation. Remove any affected parts immediately and ensure good drainage.
- Yellowing leaves can sometimes indicate too much light or inconsistent watering. Try moving your new plant to a shadier spot or adjusting your watering schedule.
A Little Patience Goes a Long Way
Propagating plants is a journey, and Thelypteris afra is a rewarding one. Don’t get discouraged if your first few attempts aren’t perfect. With a bit of observation and care, you’ll soon have a small collection of these elegant ferns to enjoy and share. Happy gardening!
Resource:
https://identify.plantnet.org/k-world-flora/species/Thelypteris%20afra%20(Christ)%20C.F.Reed/data