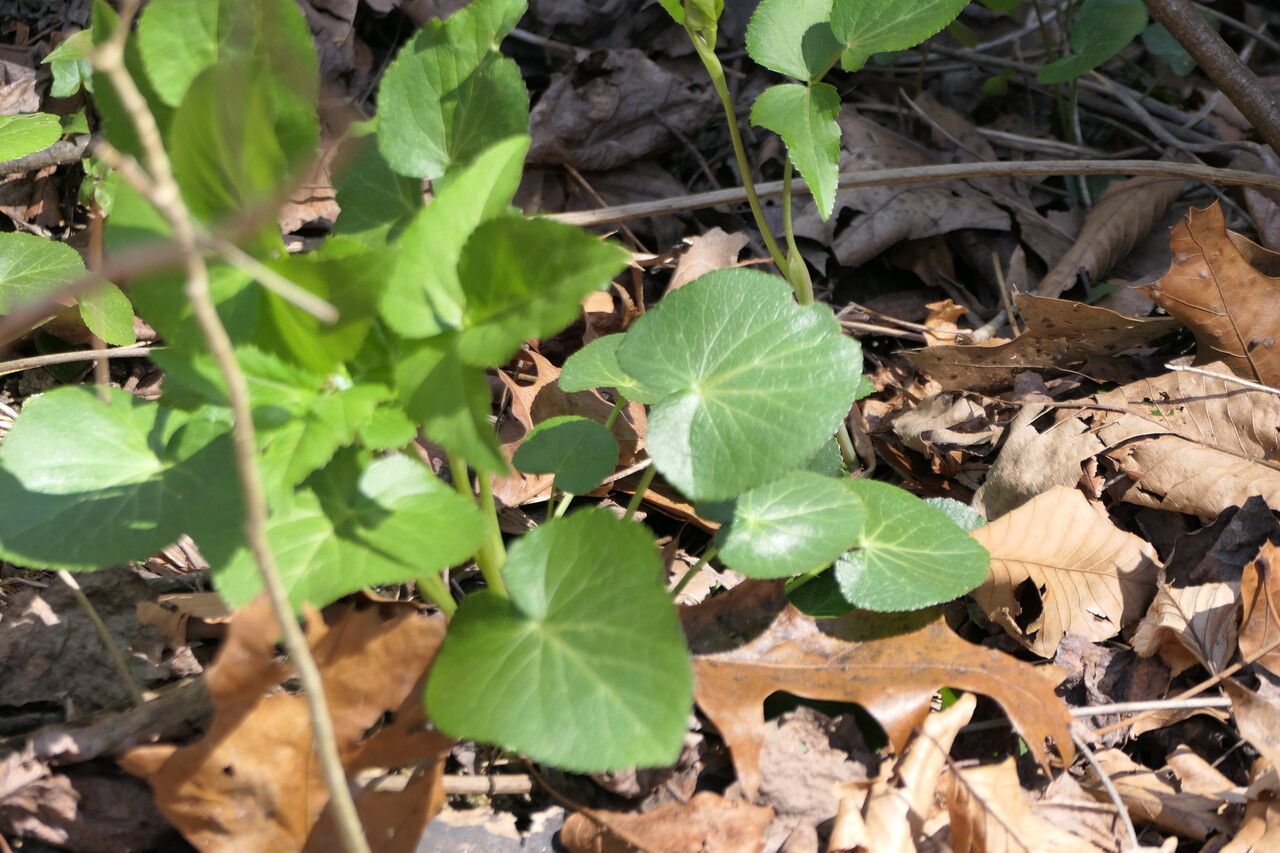
Oh, hello there! Pull up a chair, let’s chat about Meadow Parsnip, or Thaspium trifoliatum as the botanists call it. I’ve always had a soft spot for this native beauty. Its delicate, lacy foliage and cheerful clusters of yellow flowers bring such understated elegance to a garden. And the best part? It’s surprisingly easy to bring more of this sunshine into your life through propagation. Trust me, even if you’re just starting out, you can do this. There’s something wonderfully fulfilling about nurturing a new plant from a piece of an old one.
The Best Time to Start
For Thaspium trifoliatum, spring is absolutely your golden ticket. Once the danger of frost has passed and the plants are actively putting on new growth, that’s when they’re brimming with the energy needed to root. You can also have good luck with division in the fall, after the heat of summer has subsided but before the ground freezes.
Supplies You’ll Need
Here’s what you’ll want to have on hand:
- A sharp pruning shear or knife – clean is key!
- Rooting hormone (optional, but it can give you a little boost)
- A well-draining potting mix (I like a blend of peat moss, perlite, and a bit of compost)
- Small pots or trays with drainage holes
- A spray bottle for misting
- Labels to keep track of your efforts!
Propagation Methods
Let’s get our hands dirty!
From Seed (The Patient Approach)
While you can collect seeds from the seed heads after flowering, Thaspium trifoliatum can be a bit slow and fickle from seed. It often requires a period of cold, moist stratification (think fridge stratification) to germinate well. If you’re up for a longer game and enjoy experimenting, collect seeds in late summer or fall, dry them for a few days, and then sow them in a pot filled with seed-starting mix. Keep the soil consistently moist and pop the pot in the refrigerator for 2-3 months. Then, bring it out to a bright spot and wait.
Division (My Favorite for This One!)
This is where Thaspium trifoliatum really shines, especially for us home gardeners.
- Dig it up: In spring or fall, gently dig up your established plant. Try to be as careful as possible not to damage the roots.
- Examine the crown: Look for natural divisions where the plant seems to want to split. You’ll usually see multiple crowns or fleshy roots branching off.
- Separate gently: Use your hands or a clean trowel to pull the plant apart. You want each new section to have a healthy portion of roots and at least one good bud or crown. Don’t force it; if it’s stubborn, a clean knife can help make a precise cut.
- Replant immediately: Get those divisions into their new homes as soon as possible. Water them well and keep them consistently moist for the first few weeks.
Stem Cuttings (A Little More Dexterity)
This method is a bit more advanced but very satisfying when it works!
- Take cuttings: In spring, when the stems are still soft and flexible, select a healthy stem with plenty of leaves. Cut a section about 4-6 inches long, just below a leaf node. Remove the lower leaves, leaving just a couple at the top.
- Dip in hormone: If you’re using rooting hormone, dip the cut end into it according to the package instructions. This encourages faster root development.
- Plant them up: Stick the cut end into your prepared potting mix. Make a small hole with a pencil first to avoid knocking off the rooting hormone.
- Create a humid environment: Cover the pot with a clear plastic bag or set it inside a propagator to maintain high humidity. Make sure the leaves don’t touch the plastic, or you risk rot. Place it in bright, indirect light.
The “Secret Sauce” (Pro Tips)
Here are a couple of things I’ve learned over the years that make a big difference:
- Don’t overwater divisions: While they need moisture, truly waterlogged soil is the quickest way to invite rot, especially for fresh divisions. Let the top inch of soil dry out slightly between waterings.
- Bottom heat for cuttings: If you’re doing stem cuttings and can manage it, a little gentle bottom heat can really speed up the rooting process. A seedling heat mat works wonders. Just a slight warmth will encourage the roots to start growing.
Aftercare & Troubleshooting
Once you see signs of new growth – that’s your cue that roots are forming! For divisions, continue to water them consistently, but don’t drown them. For cuttings, you can gradually start to acclimate them to lower humidity by opening the plastic bag a little more each day.
The main thing to watch for is rot. If your cuttings or divisions look mushy, black, or just wilted beyond recovery, it’s usually a sign of too much moisture or poor air circulation. Yellowing leaves can sometimes mean too much direct sun, or sometimes just stress from the move. Don’t get discouraged if you lose one or two; that’s part of the learning curve!
A Little Patience Goes a Long Way
Propagating plants is all about patience and observation. You’re essentially giving these little pieces a chance to start their own lives. Be gentle, provide the right conditions, and enjoy watching them grow. You’ve got this! Happy gardening!
Resource:
https://identify.plantnet.org/k-world-flora/species/Thaspium%20trifoliatum%20(L.)%20A.Gray/data