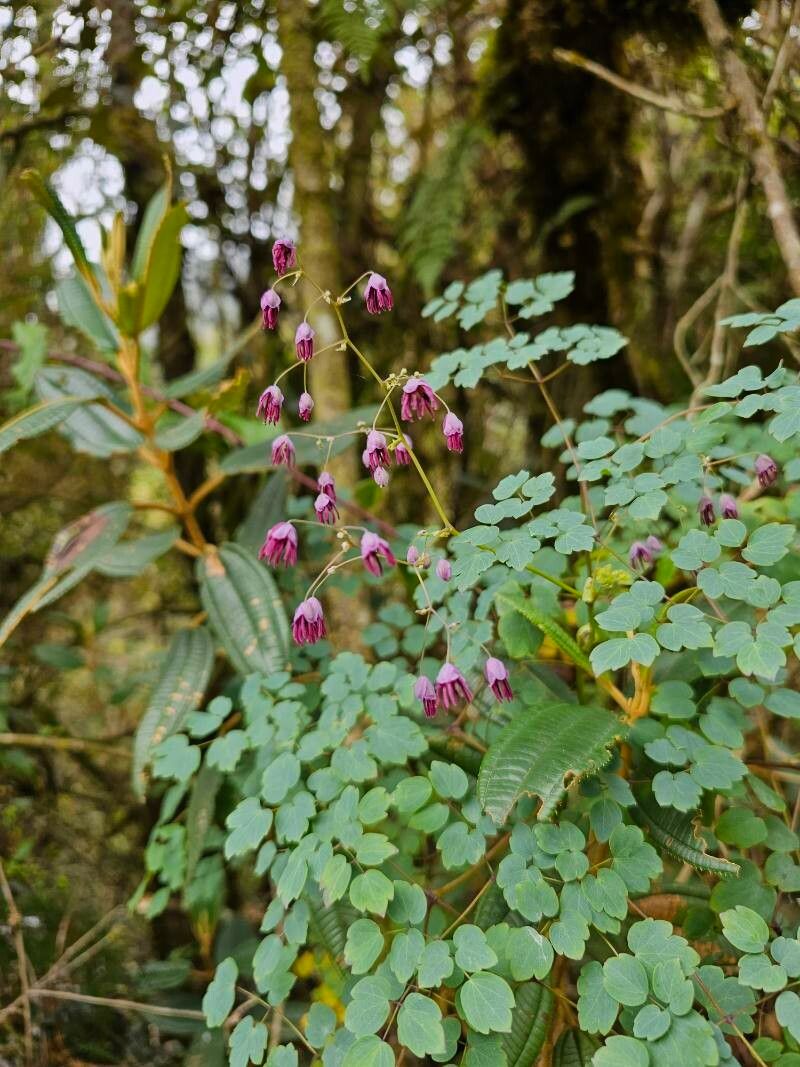
Hello friends, and welcome back to my little corner of the garden! Today, we’re diving into something truly special: propagating Thalictrum podocarpum, also known as the long-fruited meadow rue. If you’ve ever marveled at its airy clouds of delicate, often lavender flowers and its beautifully textured foliage, you’re not alone. This plant brings such a graceful, ephemeral beauty to any garden. And the joy of creating more of these beauties from your own existing plants? Utterly rewarding! Now, for you beginners out there, I’d say Thalictrum can be a moderately easy plant to propagate. It takes a little patience and a touch of care, but the results are well worth the effort.
The Best Time to Start
For the highest success rate with our Thalictrum podocarpum, I’ve found the late spring to early summer is absolutely perfect. This is when the plant is actively growing and has plenty of energy to dedicate to forming new roots. You’re looking for stems that are firm but not yet woody – think of that satisfying snap you get when you break a pencil.
Supplies You’ll Need
Gathering your supplies beforehand makes the whole process smoother. Here’s what I usually have on hand:
- Sharp pruning shears or a clean knife: For taking clean cuts.
- Small pots or seed trays: With drainage holes, of course!
- A good quality potting mix: I prefer a mix that drains well, often with added perlite or coarse sand. For Thalictrum, something light and airy is key.
- Rooting hormone (optional but recommended): Helps give your cuttings a little boost.
- Plastic bags or a propagation dome: To create a mini greenhouse effect.
- Watering can or mister: For gentle watering.
Propagation Methods: Let’s Get Our Hands Dirty!
There are a couple of ways we can encourage our Thalictrum to make new friends. My favorite, and usually the most successful for this particular plant, is stem cuttings.
- Take Your Cuttings: On a nice day in late spring or early summer, head out to your established plant. Select healthy, non-flowering stems. Using your sharp shears, take cuttings that are about 4-6 inches long. Make the cut just below a leaf node, as this is where roots are most likely to form.
- Prepare the Cuttings: Gently remove the lower leaves from your cuttings, leaving just the top 2-3 leaves. This prevents them from rotting in the soil and also reduces water loss. If the remaining leaves are quite large, I sometimes trim them in half to further reduce transpiration.
- Apply Rooting Hormone (If Using): Dip the cut end of each stem into your rooting hormone. You don’t need a huge amount, just enough to coat the bottom inch or so. Tap off any excess.
- Pot Them Up: Fill your small pots or trays with your well-draining potting mix. Gently push the prepared cuttings into the soil, ensuring the leaf nodes are buried. You want the cutting to stand upright.
- Water Gently: Give the soil a good, gentle watering. You want it to be moist but not waterlogged.
- Create a Humid Environment: This is crucial! Cover the pots with a plastic bag, a propagation dome, or even an overturned clear plastic container. This traps humidity, which keeps the cuttings from drying out before they can form roots. Make sure the plastic doesn’t touch the leaves for too long if possible.
The “Secret Sauce”: Insider Tips
Here are a few things I’ve learned over the years that really seem to make a difference:
- Bottom Heat is Your Friend: If you have a heat mat, placing your pots on it can significantly speed up the rooting process, particularly if your weather is a bit cooler. It mimics that lovely warmth of high summer.
- The “Snap Test” is Key: When I’m selecting stems for cuttings, I always give them a little bend. If they snap cleanly without being rubbery or brittle, it means they’re at the perfect stage – full of life but not too woody.
- Don’t Be Afraid to Experiment with Slightly Older Growth: While fresh, new growth is ideal, I’ve had success with cuttings taken from stems that are a little more mature, as long as they aren’t flowering. Sometimes these have a bit more stored energy for root development.
Aftercare & Troubleshooting
Once your cuttings are potted, keep them in a bright spot but out of direct, harsh sunlight. The key is to keep that soil consistently moist but not soaked. You can check the moisture by gently touching the soil or lifting the pot to feel its weight.
You’ll know your cuttings have rooted when you see new leafy growth appearing. It’s also common to see a gentle tug on the stem offering slight resistance. At this point, you can gradually acclimate them to normal room conditions by opening the plastic bag or dome a little more each day for about a week. Once they’re fully exposed, you can treat them like small, established plants.
Now, what if things go wrong? The most common culprit for cuttings failing is rot. This usually happens if the soil stays too wet, or if there’s not enough air circulation. Look for stems that turn brown and mushy. If you see this, it’s often best to discard the affected cutting to prevent it from spreading. Don’t be discouraged though; sometimes it just takes a few tries to get it right!
A Little Patience Goes a Long Way
Propagating plants is a wonderful way to connect with nature and expand your garden without spending a fortune. Be patient with your Thalictrum podocarpum cuttings. They’ll tell you when they’re ready. Enjoy the process, celebrate your successes, and learn from any setbacks. Happy gardening!
Resource:
https://identify.plantnet.org/k-world-flora/species/Thalictrum%20podocarpum%20Kunth%20ex%20DC./data