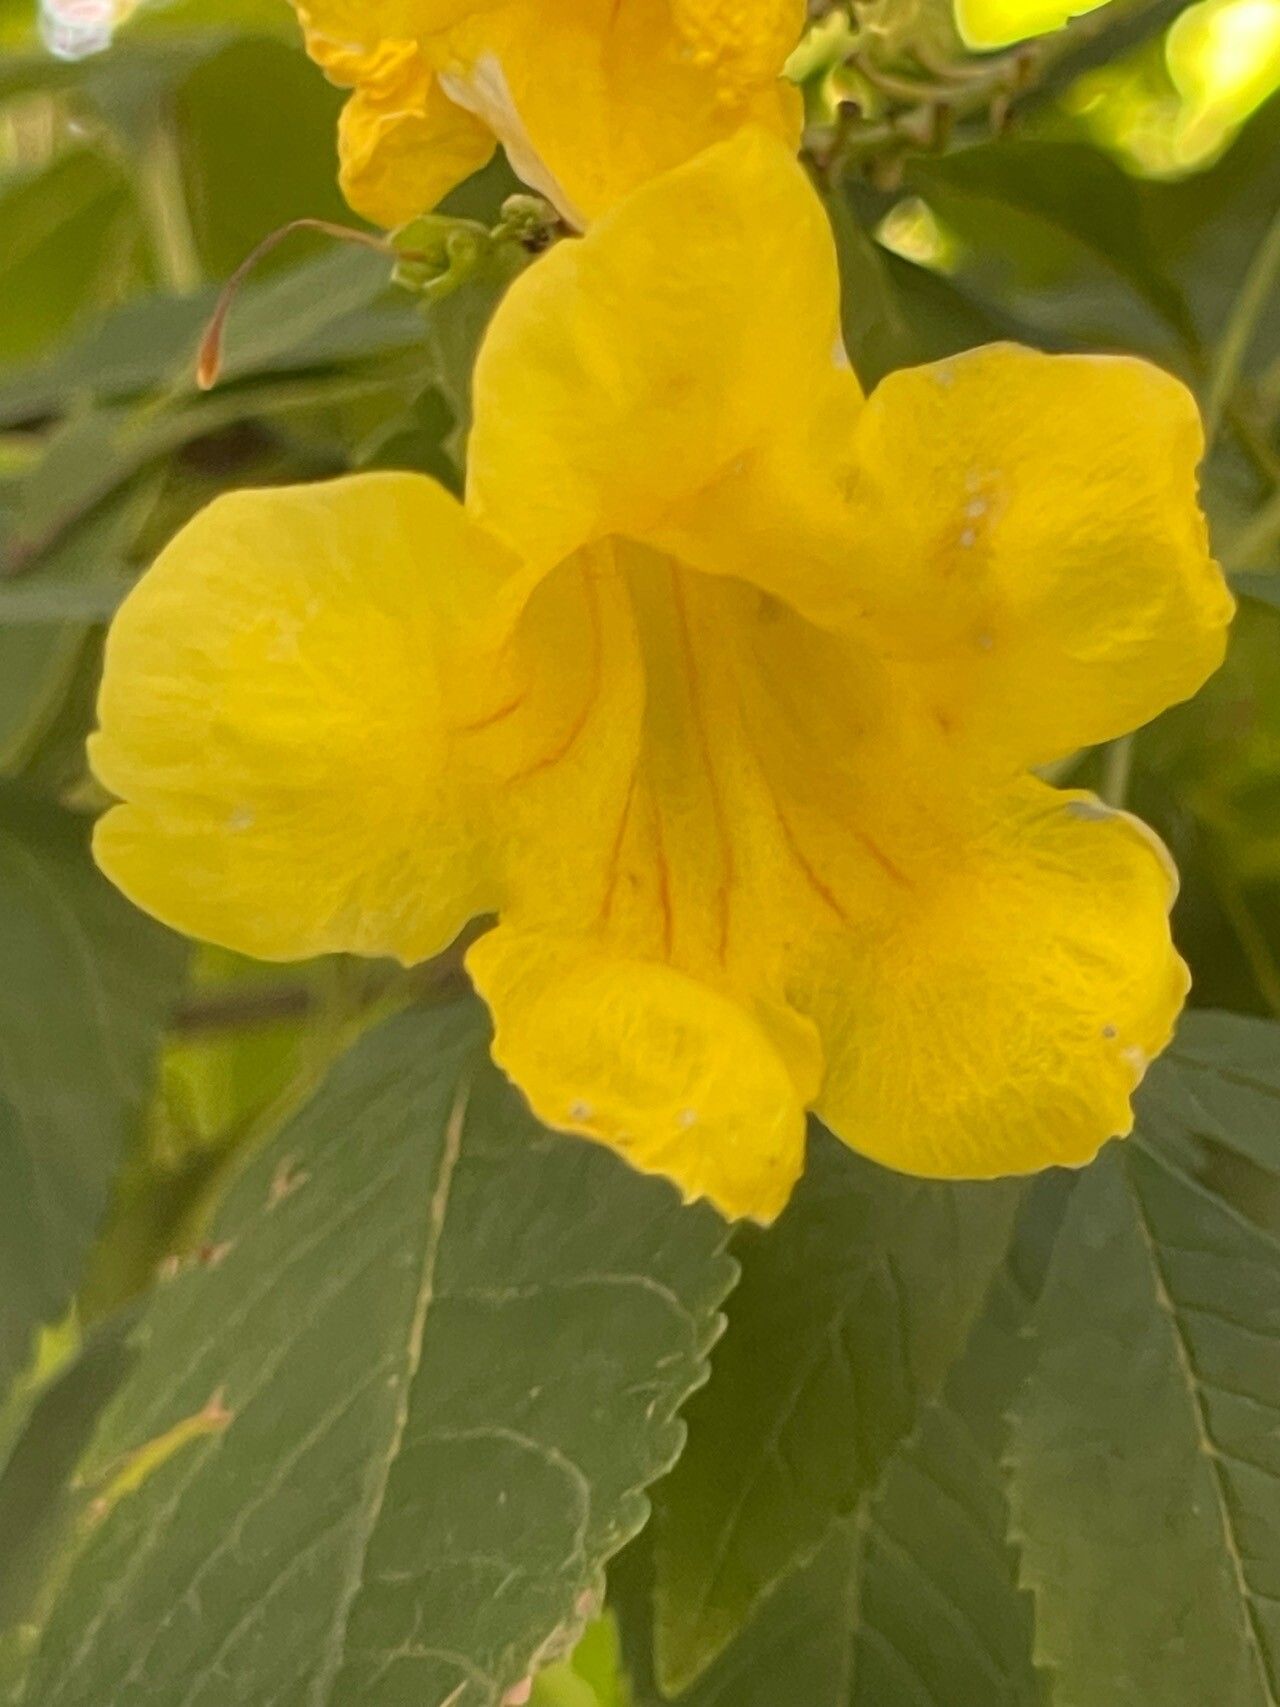
Hello fellow garden enthusiasts! I’m so excited to chat with you today about a plant that brings a real burst of sunshine to any garden: Tecoma stans, also known as Yellow Bells or Esperanza. Its vibrant trumpet-shaped yellow flowers are simply breathtaking, attracting hummingbirds and butterflies like magnets. The best part? It’s surprisingly accessible, even for those of you just dipping your toes into the world of propagation. Getting your own Tecoma stans from a cutting or division is incredibly rewarding, like crafting your own little piece of floral magic.
The Best Time to Start
For the absolute highest success rate with Tecoma stans, I always recommend propagating during its active growing season. This generally means late spring through early summer. You’re looking for new, semi-hardwood growth. This is the sweet spot – not too soft and floppy, but not quite woody and stiff. Think of growth that’s just starting to firm up after the initial flush of spring shoots.
Supplies You’ll Need
Gathering your supplies beforehand makes the whole process much smoother. Here’s what I keep on hand:
- Sharp Pruning Shears or a Craft Knife: For clean cuts.
- Rooting Hormone (Optional but Recommended): A powder or gel specifically for cuttings.
- Well-Draining Potting Mix: A 50/50 blend of perlite and peat moss or coco coir works wonders. You can also buy a commercial sterile seedling mix.
- Small Pots or Seed Trays with Drainage Holes: Clean ones are key to prevent disease.
- Plastic Bags or a Clear Dome: To create a humid environment.
- Water: For watering and for water propagation.
- Labels: To keep track of your precious new plants!
Propagation Methods
I’ve had great success with Tecoma stans using a couple of methods. Let’s dive in!
Stem Cuttings
This is my go-to for Tecoma stans. It’s straightforward and yields fantastic results.
- Take Your Cuttings: Select healthy stems with that semi-hardwood growth we talked about. Using clean shears, take cuttings about 4-6 inches long. Make your cut just below a leaf node (where a leaf attaches to the stem).
- Prepare the Cuttings: Gently remove the lower leaves, leaving just two or three at the very top. This prevents them from rotting in the soil and also reduces water loss.
- Apply Rooting Hormone (Optional): Dip the cut end of the stem into your rooting hormone, tapping off any excess. This is like giving your cutting a little boost to encourage strong root development.
- Pot Them Up: Fill your clean pots with your prepared potting mix. Make a small hole in the center with your finger (or a pencil). Gently insert the cutting into the hole, ensuring the leaf nodes are buried. Firm the soil gently around the stem.
- Water and Cover: Water the soil thoroughly until it drains from the bottom. Then, cover the pot with a plastic bag, propping it up with skewers so it doesn’t touch the leaves, or place it under a clear dome. This creates a mini-greenhouse!
Water Propagation
This method is a bit more visual and quite satisfying to watch.
- Prepare the Cuttings: Take your 4-6 inch cuttings as described above, ensuring you have at least two leaf nodes submerged in water. Strip off all leaves from the lower portion you’ll be placing in the water.
- Place in Water: Find a clean jar or glass and fill it with room-temperature water. Place your cuttings in the water, making sure the nodes are submerged but the remaining leaves are out of the water.
- Find a Spot: Put the jar in a bright location, but out of direct, harsh sunlight.
- Change Water Regularly: Change the water every 2-3 days to keep it fresh and prevent bacteria buildup. You’ll start to see tiny root nubs appear within a few weeks. Once the roots are about an inch long, you can transplant them into pots with soil, treating them like rooted cuttings.
The “Secret Sauce” (Pro Tips)
Here are a few of my tried-and-true tricks that have made a real difference for me:
- Bottom Heat is Your Friend! Tecoma stans roots are much happier when they have a little warmth from below. Using a seedling heat mat under your pots can significantly speed up root formation and increase success. You can find these online or at garden centers.
- Don’t Let Those Leaves Touch the Water! This is a crucial one for water propagation. Any leaves submerged in water are a recipe for rot. They’ll break down and contaminate the water, potentially killing your cutting before it even has a chance to root.
- Mist Gently (and Sparingly): While we want humidity, waterlogged leaves can lead to fungal issues. If you’re not using a dome, a light misting of the leaves once a day can help keep them turgid, but ensure good air circulation.
Aftercare & Troubleshooting
Once you see those little roots popping out – hurray!
- Transplanting: When your cuttings have developed a good root system (you’ll feel resistance when you gently tug), it’s time to transplant them into individual pots with a good potting mix. Water them gently and keep them in bright, indirect light for the first week or two. Gradually introduce them to more direct sun.
- Signs of Trouble: The most common issue is rot. If your cutting turns black and mushy, it’s likely succumbed to rot. This usually happens due to too much moisture and poor air circulation. If you see mold growing on the soil surface, improve airflow and avoid overwatering. Weak, leggy growth can indicate insufficient light.
A Little Patience Goes a Long Way
Propagating plants is a journey, and like any good journey, it requires a bit of patience. Don’t get discouraged if a few cuttings don’t make it – that’s part of the learning process! The satisfaction of nurturing a new life from a simple stem is truly something special. So grab your shears, get your hands dirty, and enjoy the magic of growing your own beautiful Tecoma stans! Happy gardening!
Resource:
https://identify.plantnet.org/k-world-flora/species/Tecoma%20stans%20(L.)%20Juss.%20ex%20Kunth/data