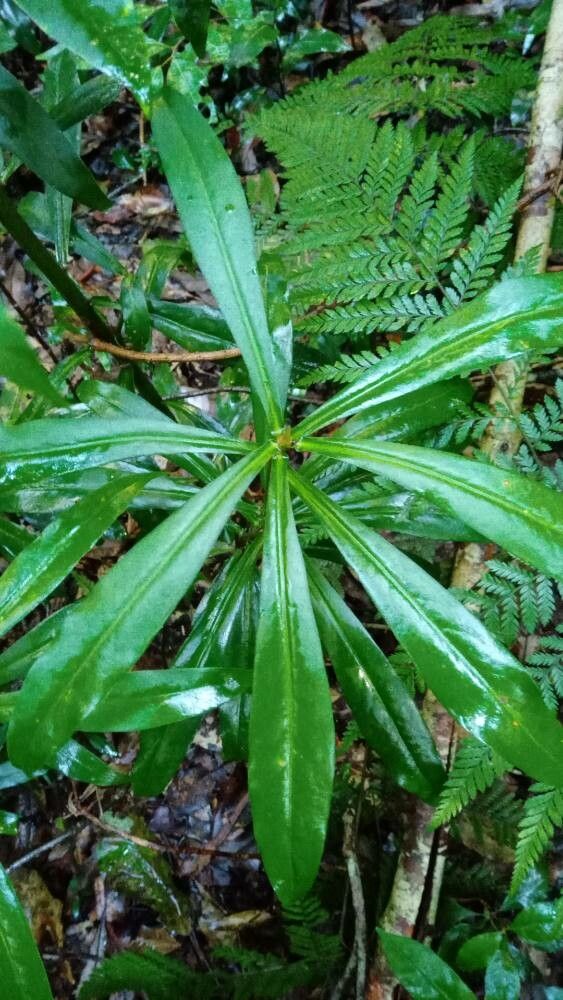
Hello there, fellow plant lovers! Today, we’re diving into the delightful world of propagating Tasmannia insipida, often known as the native pepper or pepperberry. If you love a plant that offers beautiful glossy foliage, a touch of the wild, and even edible berries (for the adventurous!), then this is a fantastic one to get to know.
I’ve been growing and loving Tasmannia species for years, and propagating them has been incredibly rewarding. It’s not a super tricky plant to work with, which makes it a lovely project even for those of you just starting to dip your toes into the propagation pond. Seeing a tiny cutting transform into a thriving new plant is pure gardening magic, and Tasmannia offers that satisfaction readily.
The Best Time to Start
For the highest chances of success with your Tasmannia insipida, I always aim for late spring to early summer. This is when the plant is actively growing, producing tender, but not yet too soft, new shoots. Think of it as the prime time for energy and growth – perfect for convincing those cuttings to sprout roots!
Supplies You’ll Need
Gathering your tools is half the fun, right? Here’s what you’ll want to have on hand:
- Sharp, clean pruning shears or secateurs: A clean cut is crucial for preventing disease.
- Rooting hormone (optional but recommended for faster results): A powder or gel will do.
- Small pots or trays: Ones with drainage holes are a must.
- A well-draining potting mix: I like a blend of equal parts potting soil, perlite, and coarse sand. This ensures good aeration and prevents sogginess.
- Plastic bags or a propagator: To create a humid environment.
- Watering can with a fine rose or spray bottle: For gentle watering.
- Labels and a permanent marker: So you don’t forget what you’ve propagated!
Propagation Methods
Stem cuttings are my go-to for Tasmannia insipida. It’s reliable and yields great results.
Method: Stem Cuttings
- Take your cuttings: Head out to your healthy Tasmannia insipida plant on a mild day. Look for new, semi-hardwood growth that’s about 10-15 cm (4-6 inches) long. It should be bendy but not floppy.
- Make clean cuts: Using your sharp shears, take cuttings just below a leaf node (where a leaf joins the stem). This is where rooting is most likely to occur.
- Prepare the cuttings: Gently remove the lower leaves, leaving just a couple of leaves at the top. If the remaining leaves are large, you can even cut them in half to reduce water loss.
- Apply rooting hormone (optional): Dip the cut end of each stem into your rooting hormone, tapping off any excess.
- Pot them up: Fill your small pots with your well-draining mix. Make a small hole in the center with your finger or a pencil.
- Insert the cuttings: Gently push the cut end of each cutting into the hole, ensuring the potting mix is in contact with the hormone and the stem. You can usually fit 2-3 cuttings per small pot.
- Water gently: Water thoroughly but gently, allowing excess water to drain away.
- Create humidity: Pop the pots into a plastic bag or a propagator. Seal it loosely to maintain humidity but allow for some air circulation. Place them in a bright spot out of direct sunlight. I avoid direct sun entirely, as it can cook those delicate cuttings inside their humid little tent.
The “Secret Sauce” (Pro Tips)
Over the years, I’ve learned a few tricks that give my cuttings a real boost.
- Don’t let the leaves touch the water: If you’re tempted to try water propagation (which I’ll touch on briefly later), this is crucial. Any submerged leaves will rot and introduce disease to your cutting, which is the last thing you want.
- Bottom heat is your friend: If you have a heated propagator or can place your pots on a heat mat, this will significantly speed up root development. It mimics the warmth of the soil that plants love.
- Patience is a virtue, especially with a slightly damp medium: While Tasmannia is pretty forgiving, if you’re finding a lot of rot, try using a slightly coarser mix with more perlite for even better drainage. Less moisture, more air!
Aftercare & Troubleshooting
Once you’ve potted up your cuttings, the waiting game begins. Keep the soil consistently moist but not waterlogged. You should see new leaf growth within a few weeks to a couple of months. This is your indicator that roots are forming!
Signs of trouble are usually pretty clear. If your cuttings are turning black and mushy, that’s rot. Sadly, these are usually beyond saving. This often happens due to overwatering or poor drainage. If leaves start yellowing and dropping, it could be a sign of insufficient light or, again, too much moisture. Don’t be discouraged if you lose a few – it happens to all of us! Experiment with your mix and watering schedule to find what works best in your environment.
A Encouraging Closing
Propagating Tasmannia insipida is a wonderful way to expand your collection of this beautiful native plant, or to share the joy with friends. Be patient, observe closely, and celebrate every little bit of progress. You’ve got this! Happy propagating!
Resource:
https://identify.plantnet.org/k-world-flora/species/Tasmannia%20insipida%20R.Br.%20ex%20DC./data