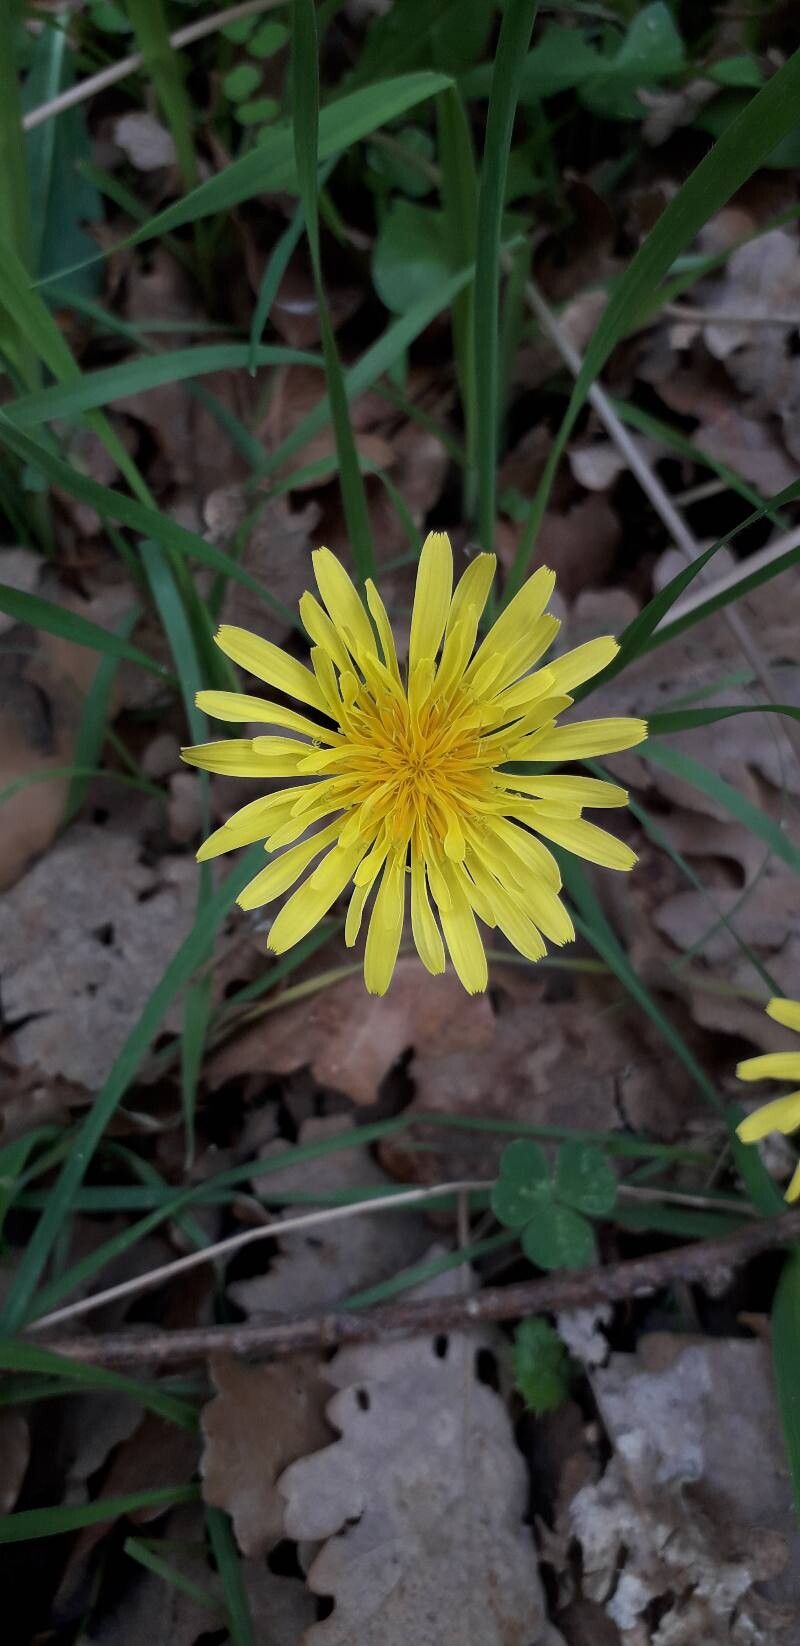
Oh, hello there, fellow garden enthusiast! Pull up a chair and let’s chat about something truly special: Taraxacum amansii. If you’re drawn to plants that offer a bit of unexpected charm, you’re in for a treat. This little gem, often known for its delicate, almost ethereal bloom (and its surprisingly vibrant roots!), is a joy to have gracing the garden. Propagating it is a wonderfully rewarding endeavor, letting you share its magic with friends or simply expand your own green haven. And for those of you just dipping your toes into the world of plant propagation, I’m happy to report that Taraxacum amansii is quite forgiving. You’ll do wonderfully!
The Best Time to Start
When it comes to coaxing new life from your Taraxacum amansii, timing is key. I’ve found the absolute best time to begin is in early spring, just as the plant is waking up from its winter slumber. You’re looking for new growth that’s plump and vigorous, signaling it has plenty of energy to spare. Alternatively, if you’re working with divisions (more on that later!), late fall, after the heat of summer has passed but before the hard frosts arrive, is also a solid choice.
Supplies You’ll Need
Before we get our hands dirty, let’s gather our tools. Think of this as preparing your garden toolkit for some delicate surgery!
- Sharp, sterile pruning shears or a clean knife: For taking clean cuts.
- A well-draining potting mix: I like a blend of peat moss, perlite, and a bit of compost. It’s airy and doesn’t hold too much water.
- Small pots or propagation trays: Whatever fits your space and plant needs. Make sure they have drainage holes!
- Rooting hormone (optional but recommended): A little boost never hurt a new start.
- A watering can with a fine rose attachment: For gentle watering.
- Plastic bags or a propagation dome: To create a humid environment.
- Labels: Don’t forget to label your treasures!
Propagation Methods
Now for the fun part – creating new life! Taraxacum amansii is wonderfully amenable to a couple of methods.
Division: The Most Direct Approach
This is often the easiest way to go, especially for established plants.
- Gently dig up your mature Taraxacum amansii during your chosen propagation window (early spring or late fall). Try to disturb the roots as little as possible.
- Carefully inspect the root ball. You’re looking for natural divisions – places where the plant seems to be splitting into smaller sections, each with its own set of roots and at least one healthy bud or shoot.
- Using your hands or a clean knife, carefully separate these sections. If the roots are tangled, don’t be afraid to gently tease them apart.
- Pot each division into its own container filled with your well-draining potting mix. Ensure the top of the root ball is just below the soil surface.
- Water thoroughly until water drains from the bottom.
Seed Propagation: Taking the Long Way Around
While division is straightforward, starting from seed can offer a unique challenge and a different kind of satisfaction.
- Collect seeds from mature seed heads as soon as they’re ripe. They look like fluffy dandelions, so timing is crucial!
- Sow the seeds thinly on the surface of your well-draining seed starting mix in trays or pots.
- Gently mist the surface to settle the seeds into the mix.
- Cover the pots or trays with a clear plastic bag or propagation dome to maintain humidity.
- Place in a bright spot, but avoid direct hot sunlight. A temperature of around 65-70°F (18-21°C) is ideal.
- Be patient! Germination can take anywhere from a couple of weeks to a month.
The “Secret Sauce” (Pro Tips)
Here are a few little tricks I’ve learned over the years that can really give your propagation efforts a boost:
- Don’t let the leaves touch the water when water propagating (if you choose to try it): While I focus on division and seed here, some might experiment with leaf cuttings. If you do, ensure any cut leaves are placed so the cut end is submerged, but the leaves themselves stay above the waterline. Rot is the enemy of these tender starts!
- Bottom heat is your friend for seeds: If you’re starting from seed and find germination slow, a propagation mat that provides gentle bottom heat can significantly speed things up. Think of it as a cozy warm bed for your little seedlings.
- The ” Wilt Test” for Cuttings (if applicable): If you were to try taking stem cuttings (though less common for this species), before you dip them in rooting hormone or pot them, let the cut end air dry for a few hours. This helps a protective callus form, reducing the risk of rot.
Aftercare & Troubleshooting
Once you see those first tiny roots appearing or a new shoot unfurling, congratulations! It’s time to nurture your new baby plant.
- Gradually adjust to lower humidity: If you used a dome or plastic bag, start to air it out for a few hours each day. Slowly transition your new plants to the ambient humidity of your home or garden.
- Watering is crucial, but don’t drown them: Keep the soil consistently moist but never waterlogged. A good rule of thumb is to water when the top inch of soil feels dry to the touch.
- Watch out for rot: The most common sign of failure is rot, which often appears as mushy, black stems or roots. This is usually a sign of overwatering or poor drainage. If you spot it, act quickly – remove the affected part or even the whole plant if it’s too far gone, and adjust your watering and airflow.
- Transplant when ready: Once your new plants have a good root system (you might see roots emerging from the drainage holes) and are showing steady growth, you can transplant them into slightly larger pots or their permanent garden spot.
A Little Patience Goes a Long Way
Taking cuttings, dividing plants, or nurturing seeds takes time and a good dose of patience. Don’t get discouraged if not every attempt is a runaway success. Every gardener, myself included, has had their share of less-than-perfect propagations. The joy is in the process, in learning from your plants, and in the thrill of seeing new life emerge under your care. So, grab your tools, get your hands a little dirty, and enjoy the beautiful journey of growing more Taraxacum amansii! You’ve got this!
Resource:
https://identify.plantnet.org/k-world-flora/species/Taraxacum%20amansii%20Hofstra/data