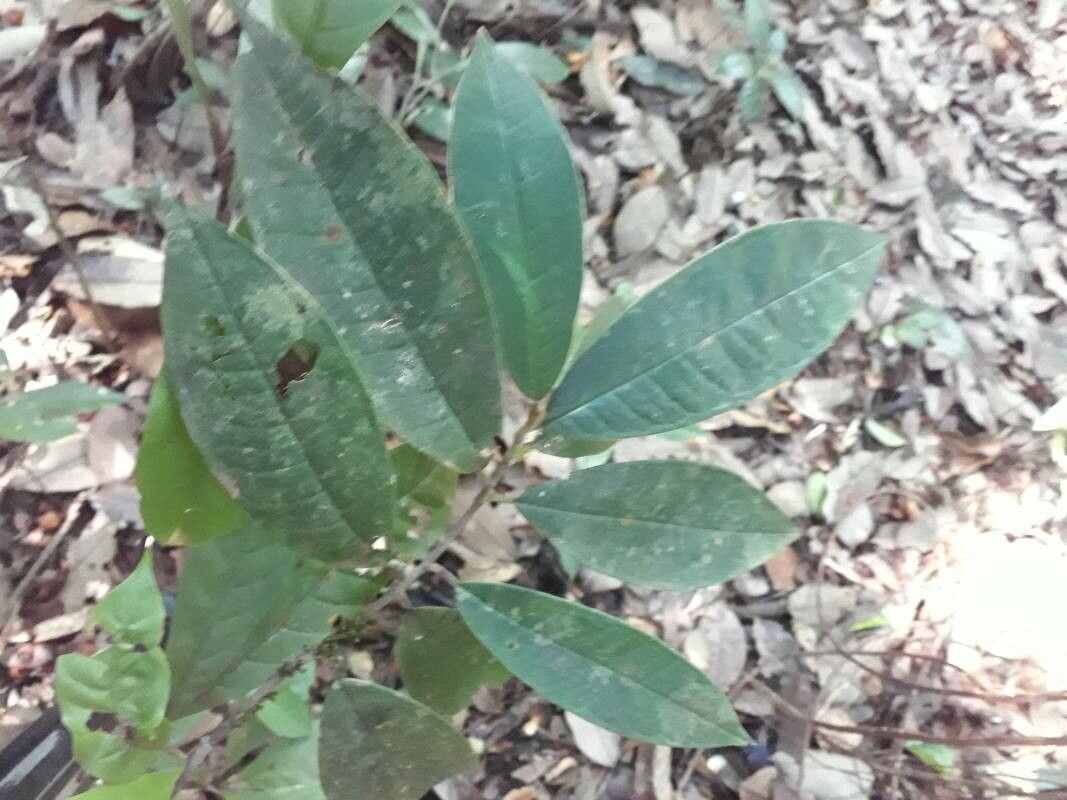
Hello fellow plant lovers! Today, we’re diving into something truly special: Tapura amazonica, also known as the Amazonian Tapura. If you’re captivated by its lush, vibrant foliage or the potential for beautiful blooms, you’re not alone. This gorgeous tropical is a fantastic addition to any home or garden, bringing a touch of the exotic right to your doorstep. And the best part? Propagating it yourself is incredibly rewarding. For beginners, I’d say Tapura amazonica falls into the moderately easy category. With a little patience and the right approach, you’ll be sharing your Tapura babies with friends in no time!
The Best Time to Start
When it comes to getting new Tapura amazonica plants going, spring is your golden ticket. Think about it: the days are getting longer, the temperatures are warming up, and your plants are bursting with new growth. This is when they have the most energy reserves to put into developing roots. Look for healthy, vibrant stems that are actively growing. Avoid taking cuttings from flowering stems, as the plant will be dedicating its energy to producing those beautiful blooms.
Supplies You’ll Need
Gathering your tools beforehand makes the whole process so much smoother. Here’s what I always have on hand:
- Sharp Pruning Shears or a Clean Knife: For making clean cuts.
- Rooting Hormone (Optional but Recommended): Helps speed up root development.
- Well-Draining Potting Mix: A good blend is crucial. I like to mix equal parts peat moss, perlite, and a bit of compost.
- Small Pots or Propagation Trays: Clean and with drainage holes.
- Clear Plastic Bag or Dome: To create a humid environment for cuttings.
- Water: For watering and, potentially, water propagation.
- Spray Bottle: For lightly misting.
Propagation Methods
Tapura amazonica is quite amenable to a few different propagation techniques. Here are my favorites:
Stem Cuttings: My Go-To
This is probably the most reliable method for Tapura.
- Select a healthy stem from your mature plant. Look for one that’s about 6-8 inches long and has at least a few sets of leaves.
- Make a clean cut just below a leaf node (where a leaf attaches to the stem). This node is where the magic happens, and roots will emerge.
- Remove the lower leaves, leaving just the top two or three. This prevents them from rotting in the soil and directs the plant’s energy to root formation.
- Dip the cut end into your rooting hormone, if you’re using it. Tap off any excess.
- Insert the cutting about an inch deep into your prepared potting mix. Gently firm the soil around it.
- Water lightly to settle the soil.
- Cover the pot with a clear plastic bag or a propagation dome to maintain high humidity. Make sure the leaves aren’t touching the plastic. You can use stakes to create a little tent.
- Place the pot in a warm spot with bright, indirect light. Avoid direct sun, which can scorch the delicate cutting.
Water Propagation: Simple and Satisfying
Sometimes, I just can’t resist watching the roots appear!
- Take your stem cutting just as you would for soil propagation.
- Strip off the lower leaves, ensuring no leaves will be submerged in the water.
- Place the cutting in a clean jar or glass filled with fresh water.
- Position it so that the leaf nodes where you removed the leaves are submerged.
- Change the water every few days to keep it fresh and prevent bacterial growth.
- Place the jar in bright, indirect light.
- Be patient! Roots should start to appear within a few weeks. Once the roots are a couple of inches long, it’s time to transplant them into soil.
The “Secret Sauce” (Pro Tips)
Over the years, I’ve learned a few little tricks that can make all the difference.
- Bottom Heat is Your Friend: Especially for stem cuttings, placing your pots on a seedling heat mat can significantly speed up root development. It mimics the warmth of tropical soil and encourages roots to form faster. Just a gentle warmth is all you need.
- Don’t Drown Your Cuttings: While humidity is key, overwatering is the quickest way to kill a new cutting. The soil should be consistently moist, not soggy. If you’re using a plastic bag, open it up for an hour each day to let the air circulate and prevent fungal issues.
- Think About Leaf Nodes: When taking cuttings, always prioritize making your cut below a leaf node. This is where the plant’s growth hormones are concentrated, and it’s where roots are most likely to emerge. Don’t underestimate the power of those little nubs!
Aftercare & Troubleshooting
Once you see those beautiful roots forming, congratulations! Now comes the gentle transition.
- For Cuttings in Soil: Once you see new leaf growth, it’s a good sign that roots are well-established. You can gradually acclimate the cutting to normal humidity by opening the plastic bag a little more each day over a week. Continue to water when the top inch of soil feels dry.
- For Water-Propagated Cuttings: When the roots are a couple of inches long, carefully transplant them into your well-draining potting mix. Treat them gently, as they are still quite fragile. Water thoroughly after planting and maintain consistent moisture for the first few weeks.
Common signs of failure usually involve rot. If your cutting turns black and mushy, that’s a clear sign of overwatering or a fungal issue. If your cutting wilts significantly and shows no signs of life for weeks, it might simply not have been strong enough to start with. Don’t be discouraged! Every gardener has had cuttings that don’t make it. Just try again.
A Encouraging Closing
Propagating Tapura amazonica is a journey, a gentle dance with nature. Be patient with your little green babies. Watch them, nurture them, and celebrate every tiny bit of progress. The joy of watching a new plant emerge from a simple cutting is truly one of gardening’s greatest rewards. Happy propagating!
Resource:
https://identify.plantnet.org/k-world-flora/species/Tapura%20amazonica%20Poepp./data