How to Propagate Eperua duckeana
From
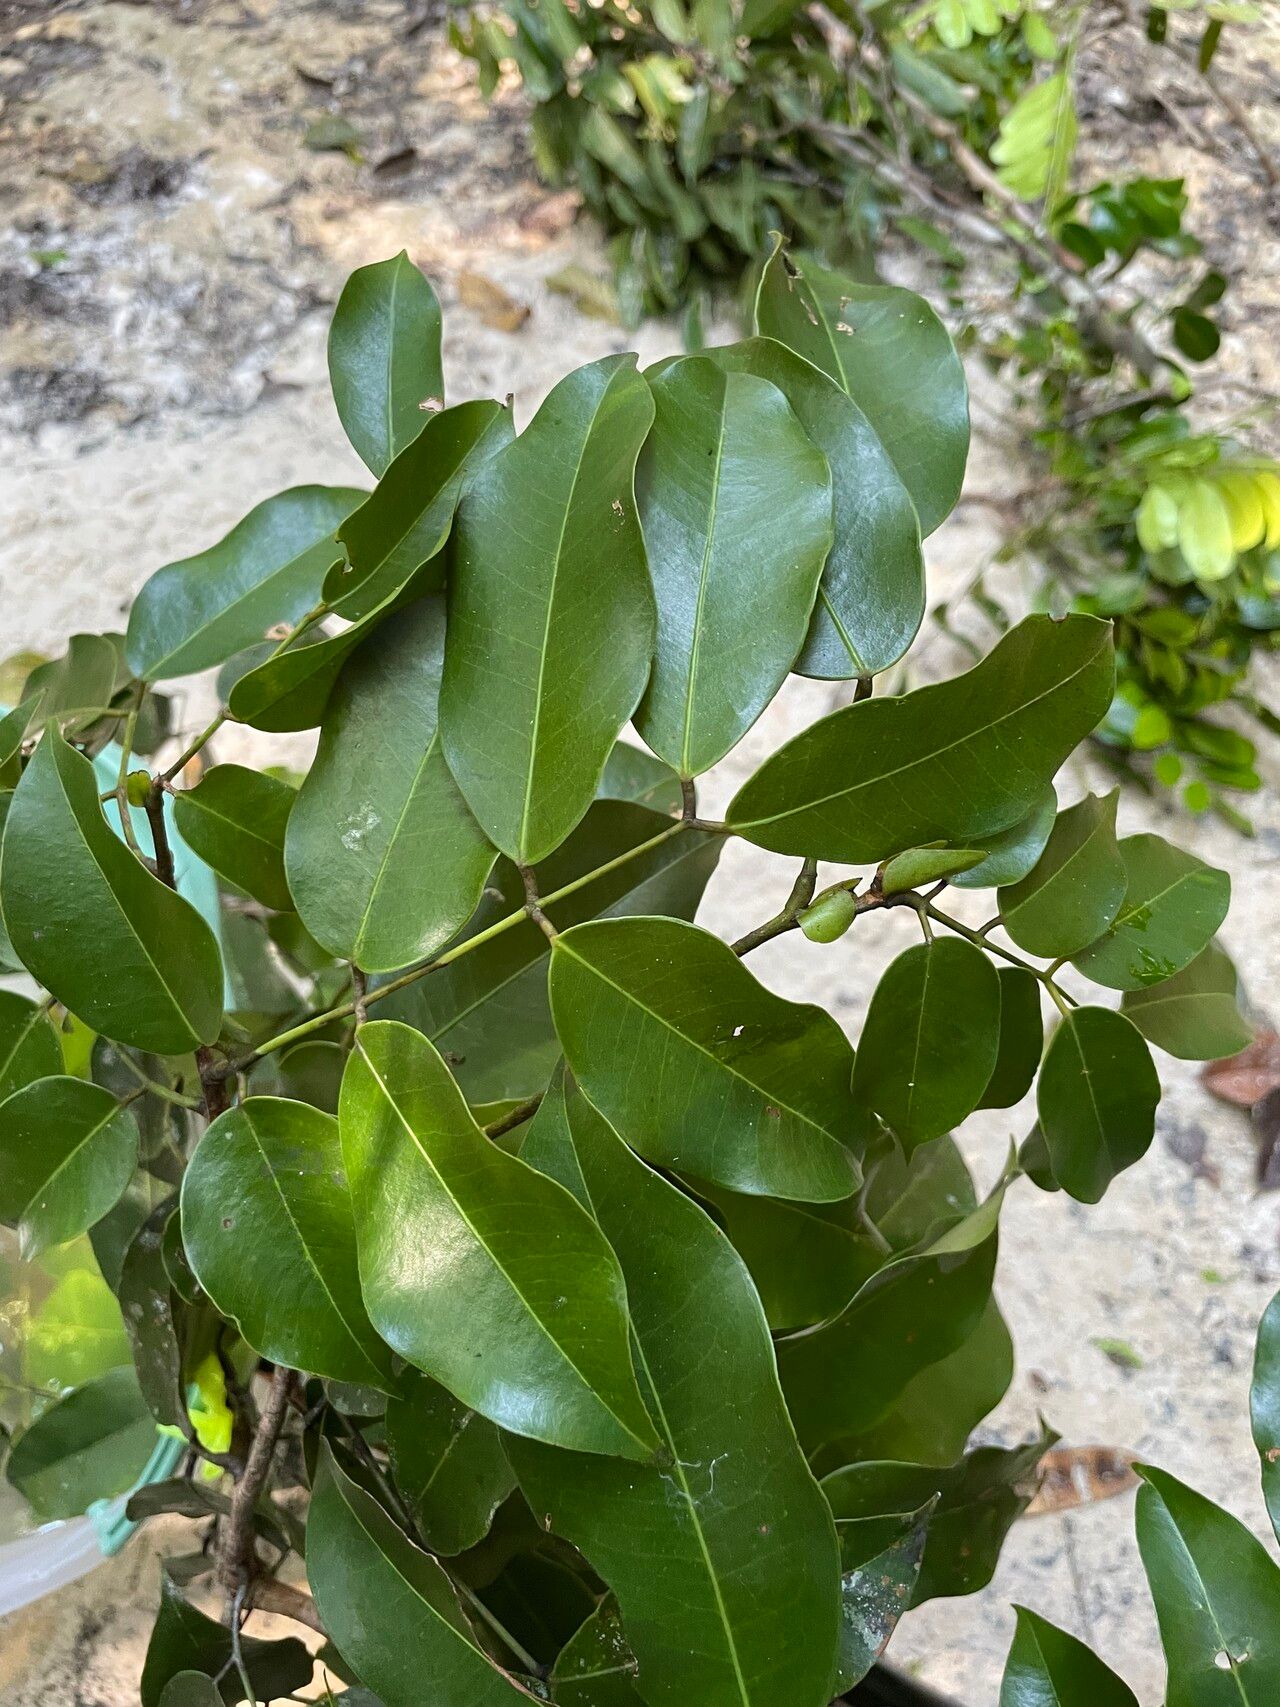
Hello, fellow plant lovers! I’m so excited to dive into a plant that’s truly captured my heart: Eperua duckeana. This beauty, with its lush foliage and, if you’re lucky, stunning flowers, brings a touch of the tropics right into our homes. Propagating it has always felt like a little bit of magic to me, and the reward of seeing a tiny cutting transform into a thriving new plant is just immense. Now, I’ll be honest, for complete beginners, Eperua duckeana might present a bit of a learning curve. It’s not the absolute easiest plant to propagate, but with a little care and these tips, I’m confident you can achieve success!
The Best Time to Start
My favorite time for propagating Eperua duckeana is late spring to early summer. This is when the plant is in its active growing phase. You’ll notice new shoots and vibrant growth, which means the plant has plenty of energy to put into developing roots. Trying to propagate from dormant or stressed plants is just setting yourself up for disappointment. Look for healthy, vigorous stems from your established plant.
Supplies You’ll Need
Here’s what I always have on hand when I’m ready to get propagating:
- Sharp, clean pruning shears or a sharp knife: For making clean cuts.
- Rooting hormone powder or gel: Not strictly essential, but it really boosts your chances.
- A well-draining soil mix: I usually blend equal parts peat moss, perlite, and some coco coir. You can also buy a good quality succulent or propagations mix.
- Small pots or propagation trays: About 3-4 inches in diameter works wonderfully. Make sure they have drainage holes!
- A clear plastic bag or a propagator lid: To create a humid environment.
- Water: For misting and watering.
- Optional: Heat mat: If your home tends to be on the cooler side.
Propagation Methods
For Eperua duckeana, stem cuttings are by far the most reliable and common method. Here’s how I do it:
- Select Your Cuttings: Choose stems that are at least 4-6 inches long and have several sets of leaves. Look for stems that are somewhat firm but not woody. A stem with a new leaf emerging at the tip is often ideal.
- Make the Cut: Using your clean shears or knife, make a clean cut just below a leaf node (where a leaf attaches to the stem). These nodes are where roots are most likely to form.
- Prepare the Cutting: Gently remove the lower leaves from the cutting, leaving just two to four leaves at the top. If the remaining leaves are very large, I sometimes like to cut them in half to reduce water loss through transpiration.
- Apply Rooting Hormone: Dip the cut end of the stem into your rooting hormone powder or gel. Tap off any excess. This step truly makes a difference in encouraging root development.
- Plant the Cutting: Lightly moisten your propagation mix. Then, make a small hole in the soil with your finger or a pencil and gently insert the cutting. Firm the soil gently around the stem to ensure good contact.
- Water and Cover: Water the soil lightly until it’s moist but not soggy. Then, place the pot in a plastic bag, sealing it to create a mini-greenhouse, or cover it with a propagator lid. This high humidity is crucial for cuttings that haven’t developed roots yet.
The “Secret Sauce” (Pro Tips)
Here are a couple of things I’ve learned over the years that really seem to help Eperua duckeana cuttings thrive:
- Don’t let the leaves touch the water (if using water propagation, which I avoid for this plant as soil is better): This is critical in any propagation. If leaves sit in water or overly wet soil, they’ll rot before roots even have a chance to form. Eperua duckeana is particularly susceptible to this.
- Bottom Heat is Your Friend: If you can, place your pots on a gentle heat mat. This warmth encourages root development from below, giving your cuttings a real head start. Just keep the ambient air temperature moderate; you don’t want to cook your little babies!
Aftercare & Troubleshooting
Once your cuttings are planted, place them in a bright spot with indirect light. Avoid direct sun, which can scorch the new, tender growth. Check the moisture of the soil every few days – it should remain consistently moist but never waterlogged. You can lift the plastic bag to feel the soil.
You’ll know your cutting has rooted when you see new leaf growth appearing. This usually takes anywhere from 4 to 8 weeks, sometimes longer. Once roots are established, you can gradually acclimate it to lower humidity by opening the bag or propagator lid a bit more each day, and then removing it entirely.
The most common problem you’ll encounter is rot. If your cutting turns black and mushy at the base or the leaves start looking limp and discolored, it’s likely rot. This is usually a sign of overwatering or poor drainage. Sadly, once rot sets in, it’s very difficult to save a cutting. Prevention is key!
A Encouraging Closing
Propagating plants is a journey of patience and observation. Don’t be discouraged if your first few attempts aren’t perfect. Each cutting you take, each plant you nurture, is a step in your gardening adventure. Enjoy the process, celebrate every tiny success, and before you know it, you’ll have a whole new collection of these beautiful Eperua duckeana plants! Happy growing!
Resource:
https://identify.plantnet.org/k-world-flora/species/Eperua%20duckeana%20R.S.Cowan/data
Late spring to early summer: the Eperua duckeana‘s active growth fuels magic from stem cuttings.