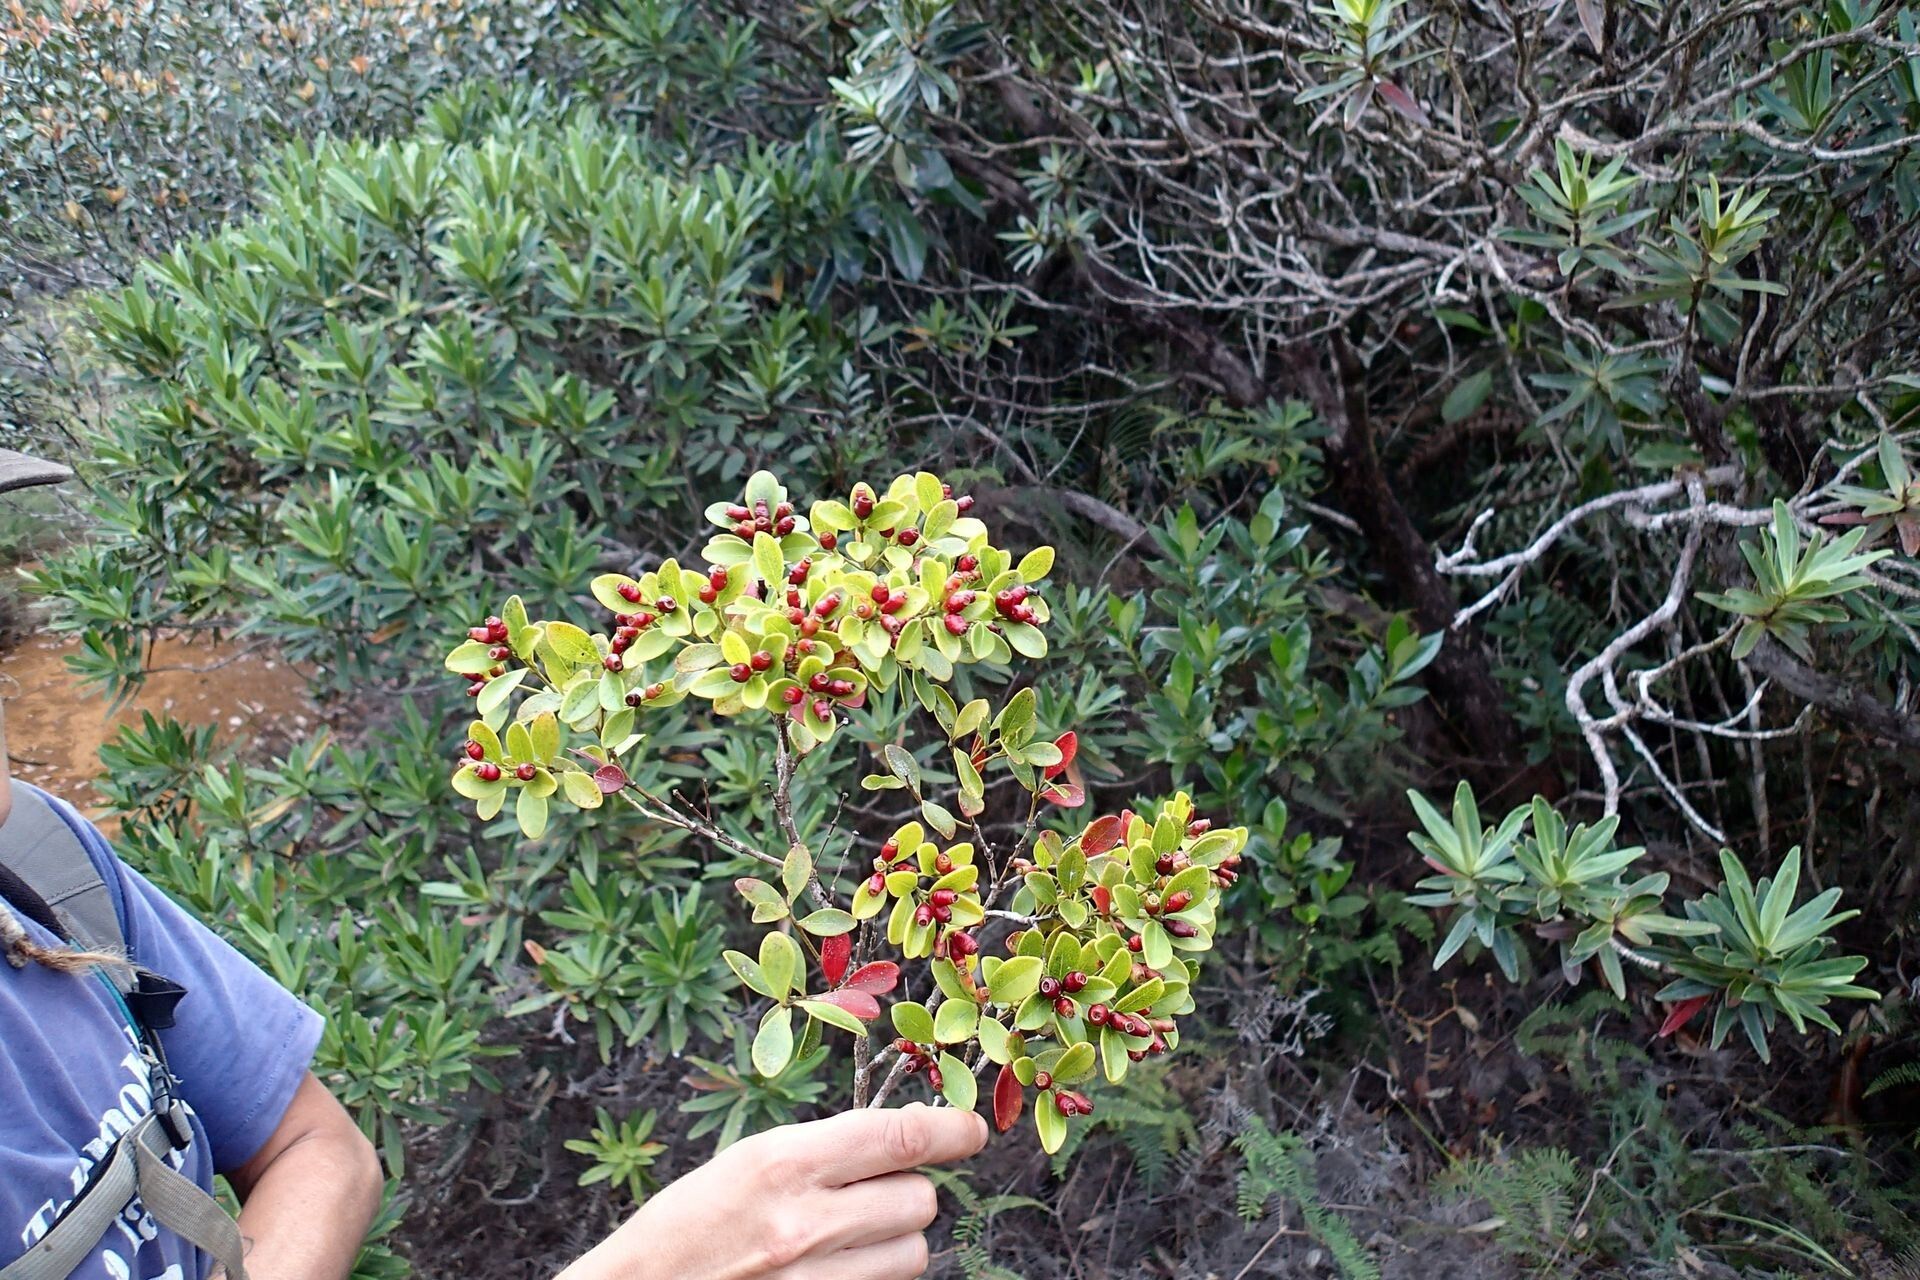
Hello fellow plant lovers! Today, we’re diving into the wonderful world of Syzygium boulindaense, also known as the Mountain Lilly Pilly. If you’ve ever admired its glossy foliage, delicate white flowers, and those absolutely stunning, bright pink to red berries, you’re not alone. It’s a real showstopper in the garden, adding a splash of color and a flutter of bird activity. Propagating it yourself is incredibly rewarding, and while it might seem a bit daunting at first, I promise it’s quite accessible, even for those of you just starting your green-thumb journey.
The Best Time to Start
For the absolute highest success rate with Syzygium boulindaense, I find the late spring to early summer is your golden window. This is when the plant is actively growing and has plenty of energy to put into developing new roots. You’re looking for stems that are firm but not overly woody – often called “semi-hardwood” cuttings. Avoid taking cuttings from branches that have recently flowered or are laden with fruit.
Supplies You’ll Need
Here’s what you’ll want to gather before you get your hands dirty:
- Sharp, clean pruning shears or a sharp knife: Essential for making clean cuts to minimize damage.
- Rooting hormone powder or gel: This is a little helper that really boosts your chances of root formation.
- Well-draining potting mix: A blend of perlite, vermiculite, and a good quality potting soil works wonders. You can also use a specific seed starting mix.
- Small pots or seed trays: Clean, with drainage holes!
- A clear plastic bag or propagation dome: To create a humid microclimate for your cuttings.
- Water: For misting.
- Small labels: To remember what you planted and when.
Propagation Methods
Let’s get down to business! I’ve found stem cuttings to be the most reliable method for Syzygium boulindaense.
Stem Cuttings:
- Select Your Cuttings: Find a healthy, vigorous stem on your Syzygium boulindaense. Look for a section that’s about 4-6 inches long. Using your clean shears, make a clean cut just below a leaf node. A leaf node is where a leaf attaches to the stem – this is where magical root-growing cells live!
- Prepare the Cutting: Gently remove the leaves from the bottom half of the cutting. You want to expose those leaf nodes. Leave about 2-3 sets of leaves at the top. If the remaining leaves are very large, you can even cut them in half to reduce water loss.
- Apply Rooting Hormone: Dip the bottom inch of the cutting into your rooting hormone. Gently tap off any excess.
- Plant Your Cuttings: Fill your pots or trays with your damp potting mix. Make a small hole in the center of the mix with a pencil or your finger. Carefully insert the treated end of your cutting into the hole, ensuring the leaf nodes are buried. Gently firm the soil around the base of the cutting to secure it.
- Water and Cover: Water gently to settle the soil. Then, place the pots into a clear plastic bag or cover them with a propagation dome. This traps humidity, which is crucial for cuttings that can’t yet absorb water through roots.
The “Secret Sauce” (Pro Tips)
Here are a couple of things I’ve learned over the years that make a real difference:
- Think Cleanliness is Next to Godliness: Seriously, sterilize your tools before you start! It drastically reduces the chance of fungal infections, which are the enemy of happy cuttings. A quick wipe with rubbing alcohol does the trick.
- Give Them a Warm Hug: Syzygium boulindaense absolutely adores a bit of bottom heat. Placing your pots on a heated propagator mat or even near a gently warm (not hot!) spot in your home can significantly speed up root development. You’ll typically see roots forming much faster with this little boost.
Aftercare & Troubleshooting
Once your cuttings are planted and cozy in their humid environment, the waiting game begins.
- Ongoing Care: Keep the potting mix consistently moist, but not waterlogged. You can gently mist the leaves every few days if they appear to be drying out. Ventilate the plastic bag or dome for a few minutes each day to prevent mold growth. Watch for new leaf growth – this is a strong indicator that roots are forming!
- Troubleshooting: The most common problem you’ll encounter is rot. If a cutting turns black and mushy, it’s usually a sign of too much moisture and poor air circulation. Sadly, that cutting is likely lost. Remove it immediately to prevent it from affecting others. Wilting can also occur if the cutting is too dry or hasn’t established roots yet. Don’t despair too quickly; check the moisture level and ensure your humidity is adequate.
A Encouraging Closing
Propagating plants is a journey of patience and gentle observation. Don’t get discouraged if not every cutting strikes root. Each attempt teaches you something new. Enjoy the process of nurturing these little plant babies, and soon you’ll have a whole new collection of your own beautiful Syzygium boulindaense to admire! Happy growing!
Resource:
https://identify.plantnet.org/k-world-flora/species/Syzygium%20boulindaense%20J.W.Dawson/data