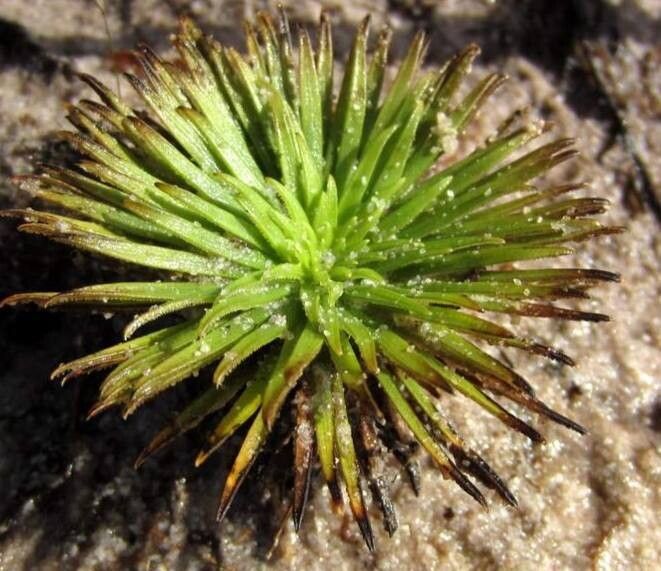
Hello fellow plant enthusiasts! Today, I want to talk about a plant that has truly captured my heart over the years: Syngonanthus umbellatus. If you haven’t encountered this beauty yet, imagine delicate, star-shaped flowers atop slender stems, often with a lovely upright habit that adds such a refined touch to any space. It’s a plant that whispers elegance, and successfully propagating it feels like unlocking a little bit of horticultural magic.
Now, I know some plants can be a bit finicky, but don’t let that deter you. Syngonanthus umbellatus, when you get the hang of it, is quite manageable. It’s not exactly a beginner’s first foray into propagation, but with a little care and attention, you’ll be rewarded with a whole new generation of these charming plants. It’s a deeply satisfying process, seeing those tiny roots form and knowing you’ve brought more life into the world, doesn’t it?
The Best Time to Start
For the absolute highest success rate, late spring through early summer is your golden window. This is when your Syngonanthus is in its prime growth phase, buzzing with energy. New shoots are abundant, and the plant has plenty of vigor to put into developing those precious roots. You want to work with healthy, actively growing material – the plant is already set up for success, and you’re just giving it a little nudge.
Supplies You’ll Need
Gathering your tools beforehand makes the whole process so much smoother. Here’s what I always have on hand:
- Sharp, clean pruning shears or a craft knife: You need a clean cut to prevent disease.
- Rooting hormone powder (optional but helpful): Especially for those cuttings that might take their sweet time.
- Perlite and peat moss or coco coir: A light, airy, and well-draining mix is crucial.
- Small pots or propagation trays: Anything that can hold your medium and cuttings.
- A clear plastic bag or a propagation dome: To create a humid environment.
- Watering can with a fine rose attachment: To water gently without disturbing your cuttings.
- Saucers or trays: To catch excess water.
Propagation Methods
Syngonanthus umbellatus is most successfully propagated by stem cuttings. It’s a straightforward method once you know the steps.
- Take Your Cuttings: Look for healthy, non-flowering shoots that are at least 3-4 inches long. Using your clean shears or knife, make a cut just below a leaf node. A leaf node is where a leaf attaches to the stem – this is where new roots will emerge!
- Prepare the Cuttings: Gently remove the lower leaves from the cutting, leaving just a few at the top. This prevents them from rotting in the soil. If you’re using rooting hormone, dip the cut end into the powder, tapping off any excess.
- Plant Your Cuttings: Fill your small pots or trays with your well-draining rooting medium. Make a small hole with your finger or a pencil and gently insert the cut end of the stem, ensuring the leaf node is buried. Firm the medium gently around the stem.
- Create Humidity: Water the medium lightly until it’s evenly moist. Then, cover the pots with a clear plastic bag or place them inside a propagation dome. This traps moisture and creates that humid environment cuttings love.
- Find the Right Spot: Place the pots in a bright location that receives indirect sunlight. Avoid direct sun, which can scorch the young cuttings.
The “Secret Sauce” (Pro Tips)
After years of nurturing these plants, I’ve picked up a few tricks that I swear by:
- The Airborne Root Promise: When you’re taking cuttings and preparing them, try to work relatively quickly! The longer the cut end is exposed to dry air, the more likely it is to expend energy trying to seal itself rather than forming roots. Get those cuttings into their medium as soon as you can.
- The Bottom Heat Boost: While not strictly essential, placing your propagation trays on a gentle heat mat can make a world of difference. It encourages root development from below by providing consistent, warm temperatures, mimicking the perfect spring soil. It’s like a little spa treatment for your cuttings!
Aftercare & Troubleshooting
Once you see tiny white roots emerging from the drainage holes of your pot, or if you gently tug on a cutting and feel resistance, congratulations! Your cutting has rooted.
- Gradual Acclimation: This is key! Your new plant has been enjoying a steamy wonderland. Begin to gradually acclimate it to normal room humidity by lifting the plastic bag or opening the vents on your dome for increasingly longer periods each day over a week.
- Settle In: Once acclimated, you can remove the cover entirely. Keep the soil consistently moist but not soggy. Water when the top inch of the soil feels dry to the touch. As your plant grows, you can transplant it into a slightly larger pot with its regular potting mix.
Now, what if things go wrong? The most common enemy of cuttings is rot. If you see yellowing leaves that quickly turn mushy and brown, or if the stem at the soil line looks dark and slimy, rot is likely the culprit. This usually happens from too much moisture and poor air circulation. If you catch it early, you might be able to salvage a healthy section of the stem by taking a new cutting, but often, it’s a sign that the conditions weren’t quite right. Overwatering is the usual suspect here.
A Gentle Encouragement
Propagating plants is a journey, and like any good journey, it requires a bit of patience. Don’t be discouraged if your first attempt doesn’t yield a forest of new Syngonanthus. Each cutting, each little success, teaches you something new. Enjoy the process, celebrate the tiny victories, and soon you’ll have a beautiful collection of these elegant plants to share and admire. Happy growing!
Resource: