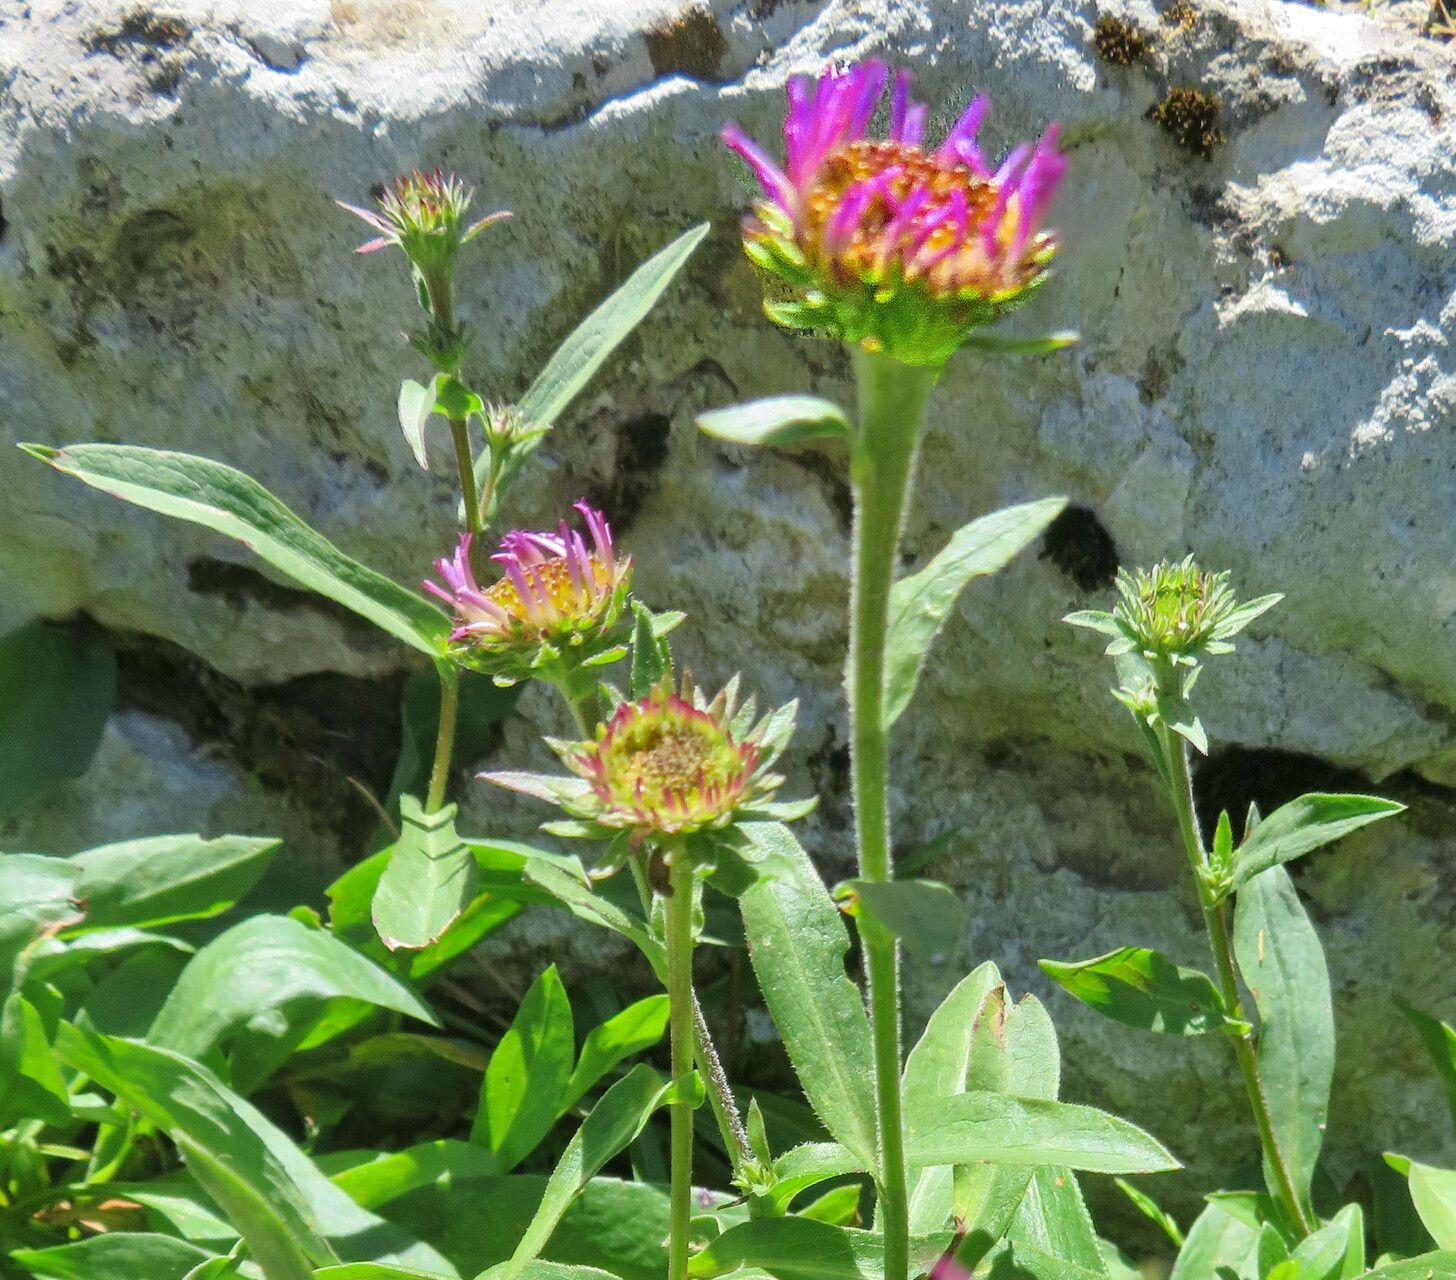
Hey there, fellow plant lover! It’s so good to have you here. Today, we’re diving into the wonderful world of Symphyotrichum spathulatum, also known as the Pacific Aster or Coast Aster. If you’ve ever admired those lovely, star-shaped blooms gracing meadows and coastal bluffs, you’re in for a treat. Propagating these beauties is incredibly rewarding, and I think you’ll find it’s a pretty accessible project, even if you’re just starting your gardening journey. Getting more of these cheerful flowers into your garden from existing plants? That’s a gardener’s kind of magic!
The Best Time to Start
For Symphyotrichum spathulatum, timing is key. The sweet spot for propagating this plant is usually in late spring to early summer. This is when the plant is actively growing and has plenty of energy to put into developing new roots. You’ll be looking for stems that are fresh and green, not woody or already flowering. Taking cuttings when the plant is in its prime growth phase means they have the best chance of success.
Supplies You’ll Need
Before we get our hands dirty, let’s gather our tools. Having everything ready makes the process so much smoother.
- Clean, sharp pruning shears or a sharp knife: You want to make clean cuts to avoid damaging the plant and introducing disease.
- Potting mix: A well-draining mix is crucial. I often use a blend of equal parts peat moss (or coco coir) and perlite. Sometimes, I add a little bit of coarse sand.
- Small pots or nursery trays: Whatever you have that can hold your cuttings and allow for good drainage.
- Rooting hormone (optional but recommended): This isn’t strictly necessary for asters, but it can significantly speed up the rooting process and increase your success rate, especially for beginners.
- Plastic bag or propagation dome: To create a humid environment for your cuttings.
- Water source: For keeping things hydrated.
Propagation Methods
There are a few ways to go about this, but my favorite and usually the most successful for Symphyotrichum spathulatum is through stem cuttings.
Stem Cuttings
- Select Your Cuttings: In late spring or early summer, look for healthy, non-flowering stems on your established plant. You want stems that are about 4-6 inches long.
- Make the Cut: Using your clean shears or knife, make a cut just below a leaf node. A leaf node is where a leaf attaches to the stem – this is where the magic happens for root development.
- Prepare the Cuttings: Gently remove the lower leaves from the cutting, leaving just a few at the top. This helps prevent them from rotting when they are in the soil and also reduces water loss. If you’re using rooting hormone, dip the cut end into the powder or gel following the product’s instructions.
- Plant the Cuttings: Fill your small pots or trays with your prepared potting mix. Make a small hole in the center of the soil with your finger or a pencil. Insert the cut end of the stem into the hole, nestling it in securely.
- Water Gently: Water the soil thoroughly, ensuring it’s moist but not soggy.
- Create Humidity: Cover the pot or tray with a plastic bag or a propagation dome. Make sure the bag isn’t directly touching the leaves of your cuttings. You can use stakes to keep it propped up. Place the pots in a bright location, but out of direct sunlight.
Division (Another Great Option)
If your aster plant is already mature and looking a bit crowded, division is a fantastic and often easier method, especially in the fall or early spring.
- Dig Up the Plant: Gently dig up the entire clump of your aster.
- Separate the Roots: Carefully break the root ball apart into smaller sections. Each section should have at least a few stems and a good portion of roots. You can use your hands or a trowel for this.
- Replant Immediately: Dig new holes in your garden or in pots and replant the divisions. Water them in well.
The “Secret Sauce” (Pro Tips)
Here are a couple of things I’ve learned over the years that really make a difference:
- Bottom Heat is Your Friend: If you have the space, placing your pots on a heating mat designed for seedlings can dramatically speed up root formation. It mimics the warmth of the soil in warmer months and really gives those roots a kickstart.
- Don’t Drown Your Cuttings: While humidity is crucial, soggy soil is the fastest way to invite rot. Allow the top layer of soil to dry out slightly between waterings. It’s a delicate balance, but you’ll get a feel for it.
- The Water Propagation Trick: If you’re feeling brave and want to skip the soil for a bit, you can try rooting cuttings in water. Just be sure to change the water every few days to keep it fresh and clear. And, as a really important point, don’t let the leaves touch the water – they’ll turn mushy and rot very quickly.
Aftercare & Troubleshooting
Once you start seeing tiny white roots peeking out of the drainage holes or new leaf growth on your cuttings, you know they’re taking! At this point, you can gradually remove the plastic bag or dome over a few days to help them acclimatize to drier air. Continue to keep the soil consistently moist but not waterlogged.
The main thing to watch out for is rot. If your cuttings turn black and mushy, or if you see fuzzy white mold on the soil surface, it’s usually a sign of too much moisture and not enough air circulation. Don’t be discouraged if a few don’t make it; it’s all part of the learning process! Just try to identify what went wrong and adjust for your next batch.
A Encouraging Closing
Propagating Symphyotrichum spathulatum is a joyful way to expand your garden and share the beauty of these resilient flowers. Be patient, observe your cuttings, and trust your gardening instincts. Before you know it, you’ll have a whole new collection of these delightful asters to enjoy! Happy gardening!
Resource: