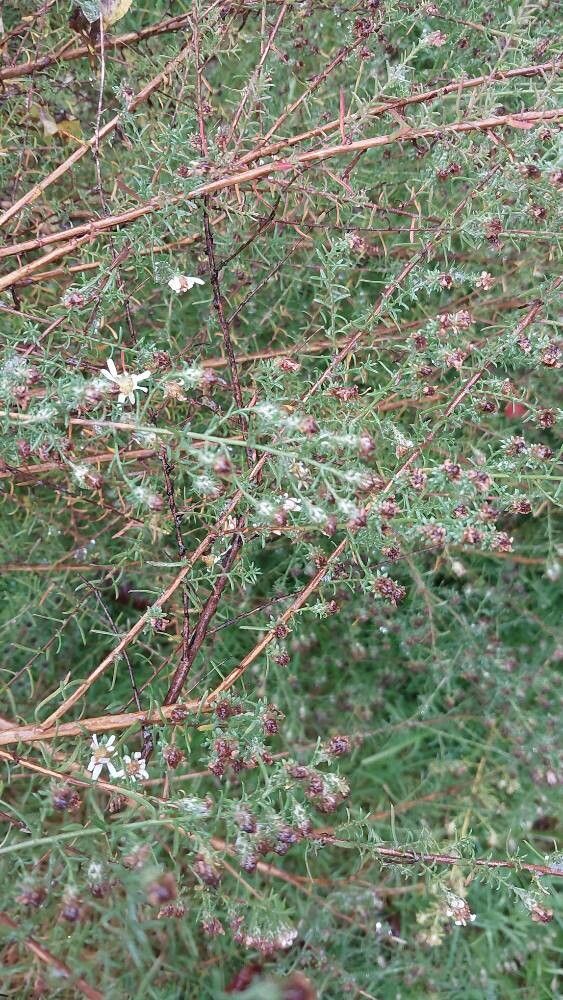
Hello, fellow garden enthusiasts! Today, we’re diving into the wonderful world of propagating Symphyotrichum racemosum, also known as Rack-Racer Aster, or sometimes the small white aster. If you’re looking for a charming native plant that brings delicate white blooms to your late-season garden, this is a great choice. Its airy blossoms are just lovely, and honestly, there’s something so satisfying about creating new life from an existing plant. I’ve found Symphyotrichum racemosum to be quite generous when it comes to propagation, making it a rewarding project even for those just starting out on their green-thumb journey.
The Best Time to Start
For the highest success rates with Symphyotrichum racemosum, I always aim for late spring to early summer. This is when the plant is actively growing and has plenty of healthy energy to spare. You’ll be looking for new, non-flowering shoots that haven’t gotten too woody yet. Starting during this period gives your new cuttings or divisions ample time to establish themselves before the main growing season winds down.
Supplies You’ll Need
Gathering your tools before you begin makes the whole process smoother. Here’s what I usually have on hand:
- A sharp, clean pair of pruning shears or a paring knife. Sterilize them with rubbing alcohol to prevent disease.
- Rooting hormone powder or gel. This isn’t strictly essential for asters, but it can certainly speed things up and improve success.
- A well-draining potting mix. I often use a blend of peat moss, perlite, and a little bit of compost. You can also buy commercial seed-starting or propagation mixes.
- Small pots or seed trays with drainage holes.
- Plastic bags or a clear plastic dome for creating a humid environment.
- Watering can with a fine rose attachment or a spray bottle for gentle watering.
- For division: A garden fork or a trowel.
Propagation Methods
Symphyotrichum racemosum is pretty straightforward to propagate through a couple of common methods.
Stem Cuttings
This is a fantastic way to get quite a few new plants from a single mature one.
- Take your cuttings: In late spring or early summer, select healthy, non-flowering stems. Using your clean shears, cut pieces about 4-6 inches long, making sure each cutting has at least two sets of leaves. Try to cut just below a leaf node (where a leaf attaches to the stem).
- Prepare the cuttings: Gently remove the lower leaves from the bottom inch or so of the cutting. This prevents them from rotting in the soil or water. If you opt to use rooting hormone, dip the cut end into the powder or gel, tapping off any excess.
- Plant the cuttings: Fill your small pots with your prepared potting mix. Make a small hole with your finger or a pencil, and gently insert the prepared cuttings, ensuring the nodes where you removed leaves are buried. Firm the soil gently around the base.
- Water and cover: Water the soil thoroughly but gently. Then, cover the pots with a plastic bag (propped up with stakes so it doesn’t touch the leaves) or place them under a clear plastic dome. This creates the humid environment cuttings need to root.
- Place in a bright spot: Put your pots in a location that receives bright, indirect light. Avoid direct sun, which can scorch the delicate cuttings.
Division
This is my go-to method for asters, especially the more established clumps. It’s also a great way to rejuvenate an older plant that might be getting a bit leggy.
- Dig up the clump: In early spring, before new growth really takes off, carefully dig up the entire aster clump using a garden fork or trowel. Try to get as much of the root ball as possible.
- Separate the divisions: Gently shake off excess soil so you can see the root structure. You can usually pull apart healthy clumps with your hands. If they are stubborn, use a clean, sharp knife or spade to cut them into smaller sections, ensuring each division has a good portion of roots and at least one or two healthy shoots.
- Replant immediately: Plant the divisions directly into their new garden spots or into pots filled with good soil. Make sure the crown (where the shoots emerge from the roots) is at soil level. Water them in well.
The “Secret Sauce” (Pro Tips)
Here are a couple of little tricks that have never failed me for getting those aster cuttings to thrive:
- Air circulation is key with cuttings: Even though you’re creating humidity, it’s also important to allow for some air exchange. I often lift the plastic bags for a few minutes each day to let them breathe a bit, which helps prevent fungal issues. You can also use pots with good drainage and a lighter soil mix, which helps with this.
- Bottom heat can be a game-changer: While not strictly necessary for asters, if you have a heating mat used for seed starting, placing your cutting pots on it can significantly speed up root development. It mimics the warmth of spring soil and gives those roots a real boost.
Aftercare & Troubleshooting
Once you see signs of new growth or feel resistance when gently tugging on a cutting (meaning roots have formed!), it’s time to adjust their environment.
- Acclimating cuttings: Gradually remove the plastic cover over a week or so. Start by removing it for a few hours each day, then longer, until they’re used to the ambient humidity. Continue to water them regularly, keeping the soil consistently moist but not waterlogged.
- Transplanting: Once the new plants have developed a good root system and are showing robust top growth, you can transplant them into their permanent garden locations or larger pots.
- Common issues: The most common problem you’ll encounter is rot. This usually happens if the soil is too wet, there’s not enough airflow, or the cuttings are sitting in water. If you see yellowing leaves or mushy stems, it’s a sign of trouble. Remove any affected parts immediately and ensure better drainage and airflow. For divisions, wilting can happen initially as they adjust, but consistent watering should help them perk up.
A Little Encouragement
Propagating plants is a journey, and with Symphyotrichum racemosum, you’re in for a relatively smooth ride. Be patient. Sometimes, roots take longer than you expect to form. Enjoy the process of nurturing these tiny beginnings. Soon enough, you’ll have a garden full of these graceful white beauties, all thanks to your own two hands! Happy gardening!
Resource: