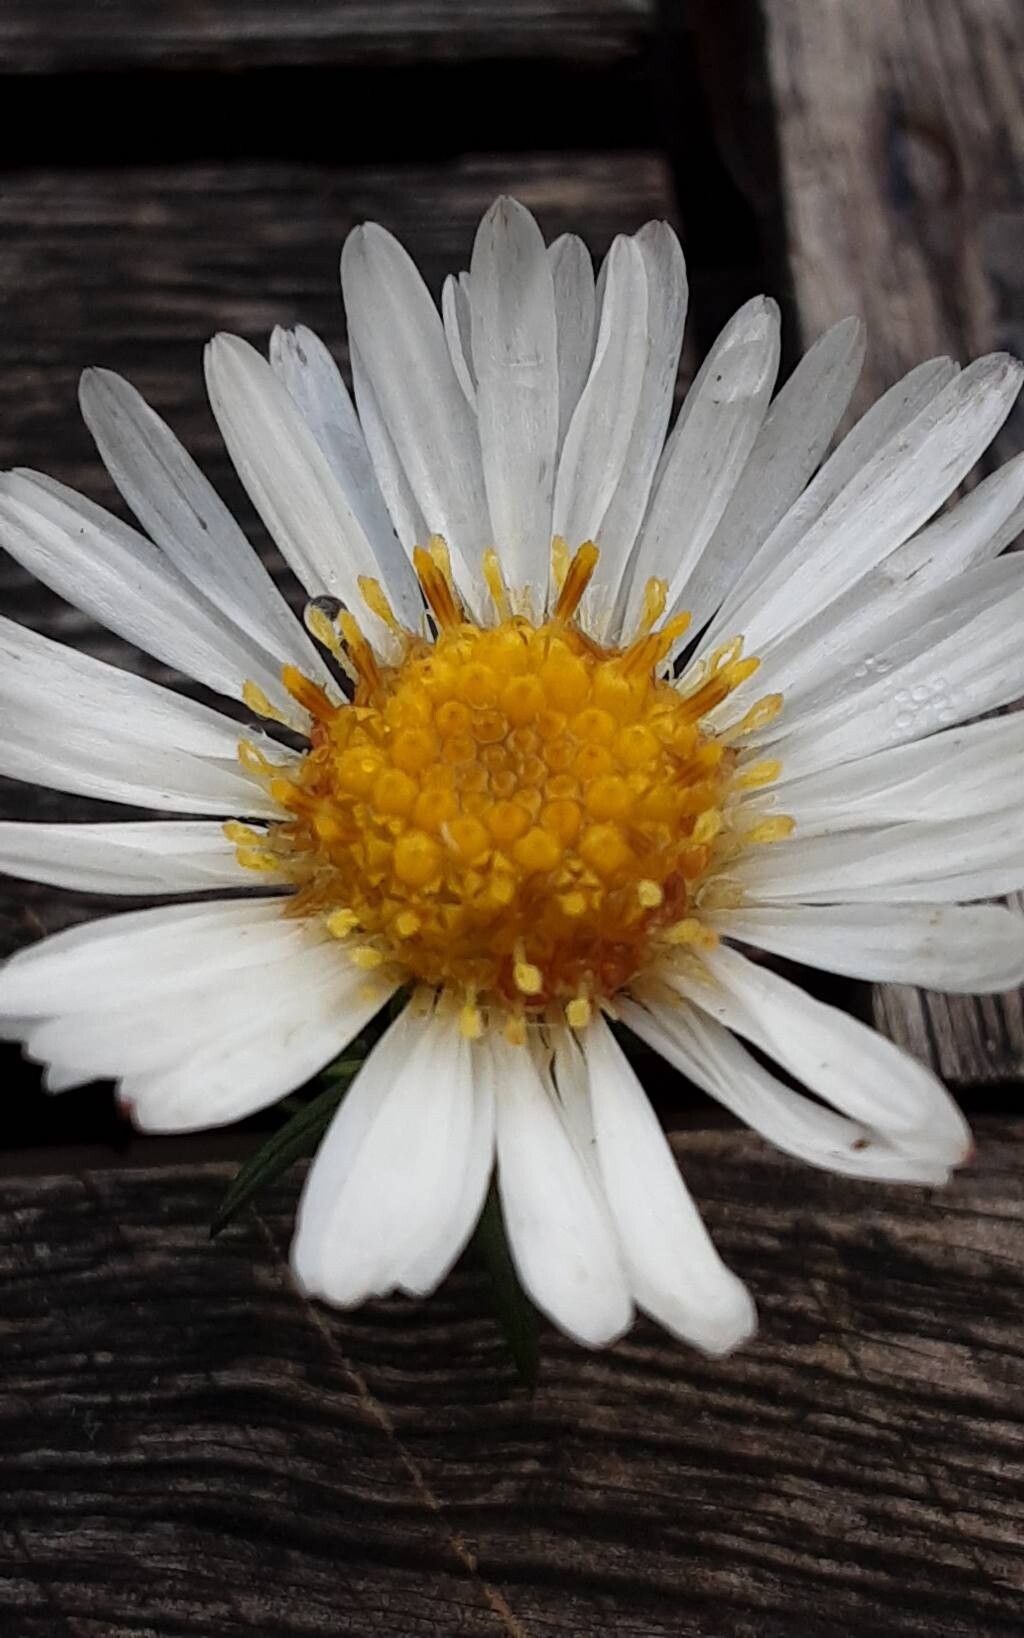
Welcome, fellow garden enthusiasts! Today, we’re diving into the wonderful world of Symphyotrichum pilosum, also known as hairy aster. If you’ve ever admired those charming, airy clusters of white to pale pink daisy-like flowers that seem to dance in the late summer and fall breeze, you’re in for a treat. Propagating these beauties is a truly rewarding experience, and I’m delighted to share how I do it.
Why Propagate Hairy Aster?
Honestly, the appeal is simple. Hairy asters bring a touch of wild elegance to any garden. They’re fantastic for attracting pollinators when many other flowers are winding down. And the best part? They’re surprisingly easy to propagate, making them a fantastic choice for beginners looking to expand their plant collection without breaking the bank.
The Best Time to Start
For Symphyotrichum pilosum, I find the late spring to early summer, after the initial flush of growth has occurred but before it gets too hot, to be the sweet spot. This allows the new cuttings ample time to establish roots before the onset of cooler weather. Alternatively, dividing established clumps in early spring, as soon as the ground can be worked, is also incredibly successful.
Supplies You’ll Need
- Sharp pruning shears or a clean knife: For making precise cuts.
- Small pots or seed trays: Clean ones are a must!
- Well-draining potting mix: A blend of peat moss, perlite, and a bit of compost works wonders. You can also use a good quality seed-starting mix.
- Rooting hormone (optional but recommended): A powdered or liquid formula helps speed things up.
- Watering can or spray bottle: For gentle watering.
- Labels: To keep track of what you’ve propagated!
- Plastic bags or a humidity dome: To maintain moisture levels.
Propagation Methods
Let’s get our hands dirty with two of my favorite ways to get more hairy asters.
1. Stem Cuttings: This is my go-to for a quick expansion.
- Select your parent plant: Choose a healthy, actively growing hairy aster.
- Take cuttings: Using your sharp shears, cut a section of stem about 4-6 inches long from a non-flowering shoot. Make the cut just below a leaf node (where a leaf attaches to the stem).
- Prepare the cuttings: Gently remove the lower leaves, leaving just a few at the top. If the leaves are large, you can even cut them in half to reduce water loss.
- Apply rooting hormone (if using): Dip the cut end of each stem into the rooting hormone, tapping off any excess.
- Plant the cuttings: Fill your small pots with the moistened potting mix. Make a small hole with your finger or a pencil and insert the cut end of the stem. Gently firm the soil around it.
- Provide humidity: Water the soil lightly. Then, cover the pot with a plastic bag or place it under a humidity dome. This is crucial to keep the cuttings from drying out. Place the pots in a bright spot, but out of direct sunlight.
2. Division: This is perfect for rejuvenating an overgrown clump and getting multiple plants at once.
- Dig up the clump: In early spring, carefully dig up the entire hairy aster clump.
- Clean the roots: Gently shake off excess soil or rinse the roots with water.
- Divide the plant: You’ll see where the plant naturally wants to split. Use your hands or a clean spade to gently break the clump into smaller sections. Each section should have a good amount of roots and at least a couple of healthy shoots.
- Replant immediately: Trim any broken roots. Then, replant the divisions in their new homes, whether back in the garden or in pots. Water them in well.
The “Secret Sauce” (Pro Tips)
Here are a couple of things I’ve learned that make a big difference.
- Bottom Heat is Your Friend: For stem cuttings, especially if your home is on the cooler side, placing your pots on a seedling heat mat can dramatically speed up root development. It provides that gentle warmth from below that encourages roots to form.
- Don’t Let Them Drown: When watering your cuttings, aim for consistently moist, not soggy, soil. If you see water pooling, that’s a sure sign you’re overdoing it, and rot can set in quickly. Let the top inch of soil dry out slightly between waterings.
- Patience with Airflow: While you want humidity for cuttings, occasional ventilation is key to prevent fungal diseases. Once a day, lift the plastic bag for a few minutes to let fresh air circulate.
Aftercare & Troubleshooting
Once you see new leaves or shoots emerging from your cuttings, that’s a great sign roots are developing!
- Gradual Acclimation: As the new growth becomes more robust, gradually introduce your potted cuttings to more natural conditions. This means slowly opening the plastic bag over a few days or lifting the humidity dome for longer periods.
- Transplanting: Once the roots have filled the pot (you can often see them at the drainage holes), or when the plants are strong enough, you can transplant them to their permanent garden spots or larger pots.
- Watch for Rot: The most common issue is root rot, which appears as browning, mushy stems or leaf bases, and a general wilting that doesn’t respond to watering. This is usually due to overwatering or poor drainage. If you spot it, try to remove the affected parts immediately and provide better airflow. Sometimes, it’s a plant lost, but learn from it for next time!
And Finally…
Propagating Symphyotrichum pilosum is a journey, and like any good gardening adventure, it requires a bit of patience. Don’t get discouraged if not every single cutting takes root. Each attempt is a learning experience. Enjoy the process, celebrate your successes, and soon you’ll have a garden full of these delightful dancing asters! Happy gardening!
Resource: