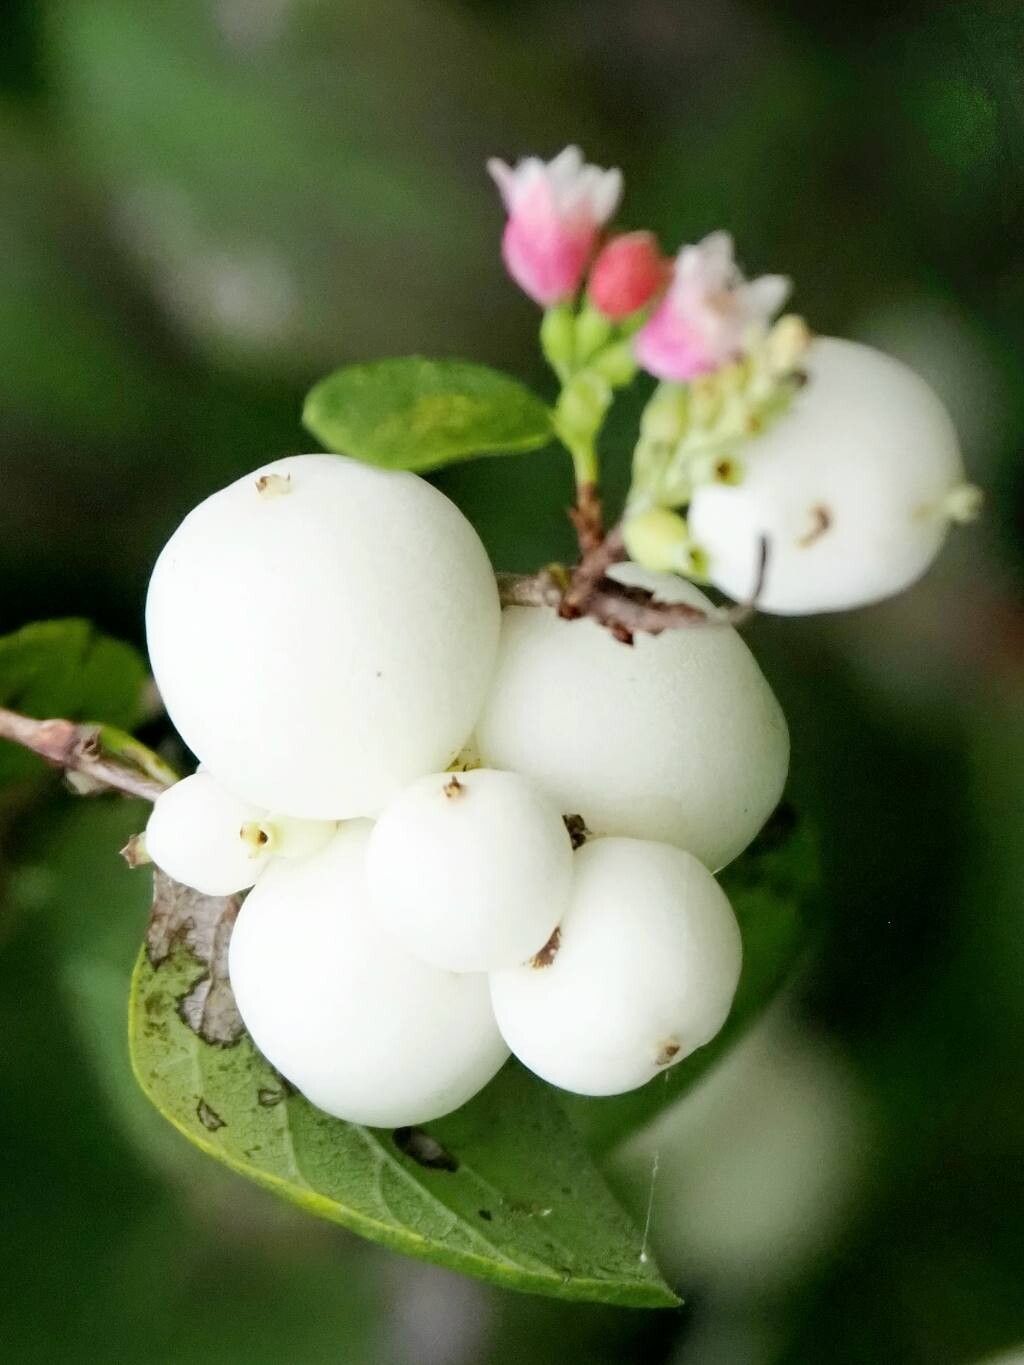
Let’s talk about Coral Bells! Well, not the Coral Bells (Heuchera), but their delightful, often overlooked cousins, Symphoricarpos albus, commonly known as Snowberry. These native beauties are wonderfully tough and offer such charming white berries that hang like tiny pearls all winter long. They’re fantastic for attracting birds and pollinators, and honestly, they just bring a smile to your face. Propagating them is a joy, and I’ve found they’re quite giving, making them a really rewarding choice, even for those new to the gardening game. You’ll be sharing little Snowberry babies with friends before you know it!
When to Get Your Hands Dirty
For the best chance of success with stem cuttings, I find mid-spring to early summer is your golden window. This is when the plant is actively growing, and the new shoots are nice and pliable. If you’re thinking about division, fall is your best friend. It gives the plant time to settle into its new spot before winter really sets in.
What You’ll Need for Your Propagation Station
Gathering your supplies upfront makes the whole process so much smoother. Here’s what I always have on hand:
- Sharp Pruning Shears or a Knife: Cleanliness is key here to prevent disease.
- Rooting Hormone (Optional but Recommended): A little dip can really give your cuttings a boost.
- Potting Mix: I love a well-draining mix – a blend of peat moss, perlite, and a touch of compost works wonders. You can also buy specific propagation mixes.
- Small Pots or Trays: Seedling pots or even recycled yogurt cups with drainage holes will do the trick.
- Plastic Bags or a Humidity Dome: To create that cozy, humid environment your cuttings crave.
- Water: For watering and, if you’re feeling adventurous, water propagation.
- Labels: Don’t forget to label your pots! Trust me on this.
Methods to Bring Forth New Snowberries
Let’s dive into the fun part. Here are the methods I rely on for Symphoricarpos albus:
1. Stem Cuttings (My Go-To Method!)
This is the most straightforward and, in my experience, the most successful for Snowberry.
- Take Your Cuttings: When the new growth is still a bit soft – you can snap a young stem with your fingers rather than cutting it sharply – snip off pieces about 4-6 inches long. The best ones have a few sets of leaves.
- Prepare the Cuttings: Gently remove the lower leaves, leaving 2-3 sets of leaves at the top. If any leaves are very large, I’ll trim them in half to reduce water loss.
- Apply Rooting Hormone (Optional): Dip the cut end of each stem cutting into rooting hormone, tapping off any excess.
- Plant Them Up: Make a small hole in your prepared potting mix with a pencil or dowel. Insert the cut end of the cutting into the hole, firming the soil gently around it.
- Water Gently: Water thoroughly to settle the soil.
- Create a Humid Environment: Place the pots inside a clear plastic bag, sealing it loosely, or cover them with a humidity dome. You want them to feel like a mini-greenhouse! Place them in bright, indirect light.
2. Division (For Established Plants)
If you’ve got a mature Snowberry bush that’s looking a little crowded, division is a fantastic way to give it a refresh and multiply your plants.
- Dig Up the Plant: In the fall, carefully dig around the root ball of your established Symphoricarpos albus, aiming to lift the entire plant.
- Separate the Roots: Gently shake off excess soil. You should be able to see natural divisions in the root system. Use a sharp spade or knife to cut through the root ball, separating it into smaller sections. Each section should have plenty of roots and a few healthy shoots.
- Replant: Dig new holes for your divided sections in their new permanent spot or in pots filled with good soil. Plant them at the same depth they were previously growing.
- Water Well: Water everything thoroughly after replanting.
The “Secret Sauce”: My Insider Tips
Over the years, I’ve picked up a few tricks that seem to make all the difference.
- Bottom Heat is Your Friend: For stem cuttings, placing your pots on a heat mat can really accelerate root development. It mimics the warmth of spring soil and convinces those cuttings to get growing.
- Don’t Overwater Early On: While cuttings need moisture, soggy soil is their enemy. It encourages rot before roots can form. Let the top inch of soil dry out slightly between waterings. You’ll feel it when you gently poke your finger in.
- Watch for the “Green Flush”: After a few weeks, you’ll see new leaf growth emerge. This is often a strong indicator that roots have formed and your cutting is on its way! It’s like the plant’s little triumphant cheer.
Aftercare and What to Look For
Once you see that magical new growth, it’s time to start acclimatizing your little Snowberries.
- Gradually Introduce More Light: Start by opening the plastic bag a little more each day, or lifting the humidity dome for a few hours. Gradually increase their exposure to brighter light, but still avoid direct, hot sun for the first week or two.
- Water Consistently: Keep the soil moist but not waterlogged. As they grow stronger, they’ll be able to handle a bit more light and water.
- Signs of Trouble: The most common issue is rot. If your cuttings turn mushy, black, or slimy, rot has probably set in. This is usually due to too much moisture and not enough air circulation. If you see wilting that isn’t related to dryness, it could also be a sign of distress. Don’t be disheartened if some don’t make it – it’s part of the learning process!
Keep Growing!
Propagating Symphoricarpos albus is a wonderful way to connect with nature and expand your garden. Be patient, have fun with the process, and celebrate every new little Snowberry that unfurls its leaves. Happy gardening!
Resource:
https://identify.plantnet.org/k-world-flora/species/Symphoricarpos%20albus%20(L.)%20S.F.Blake/data