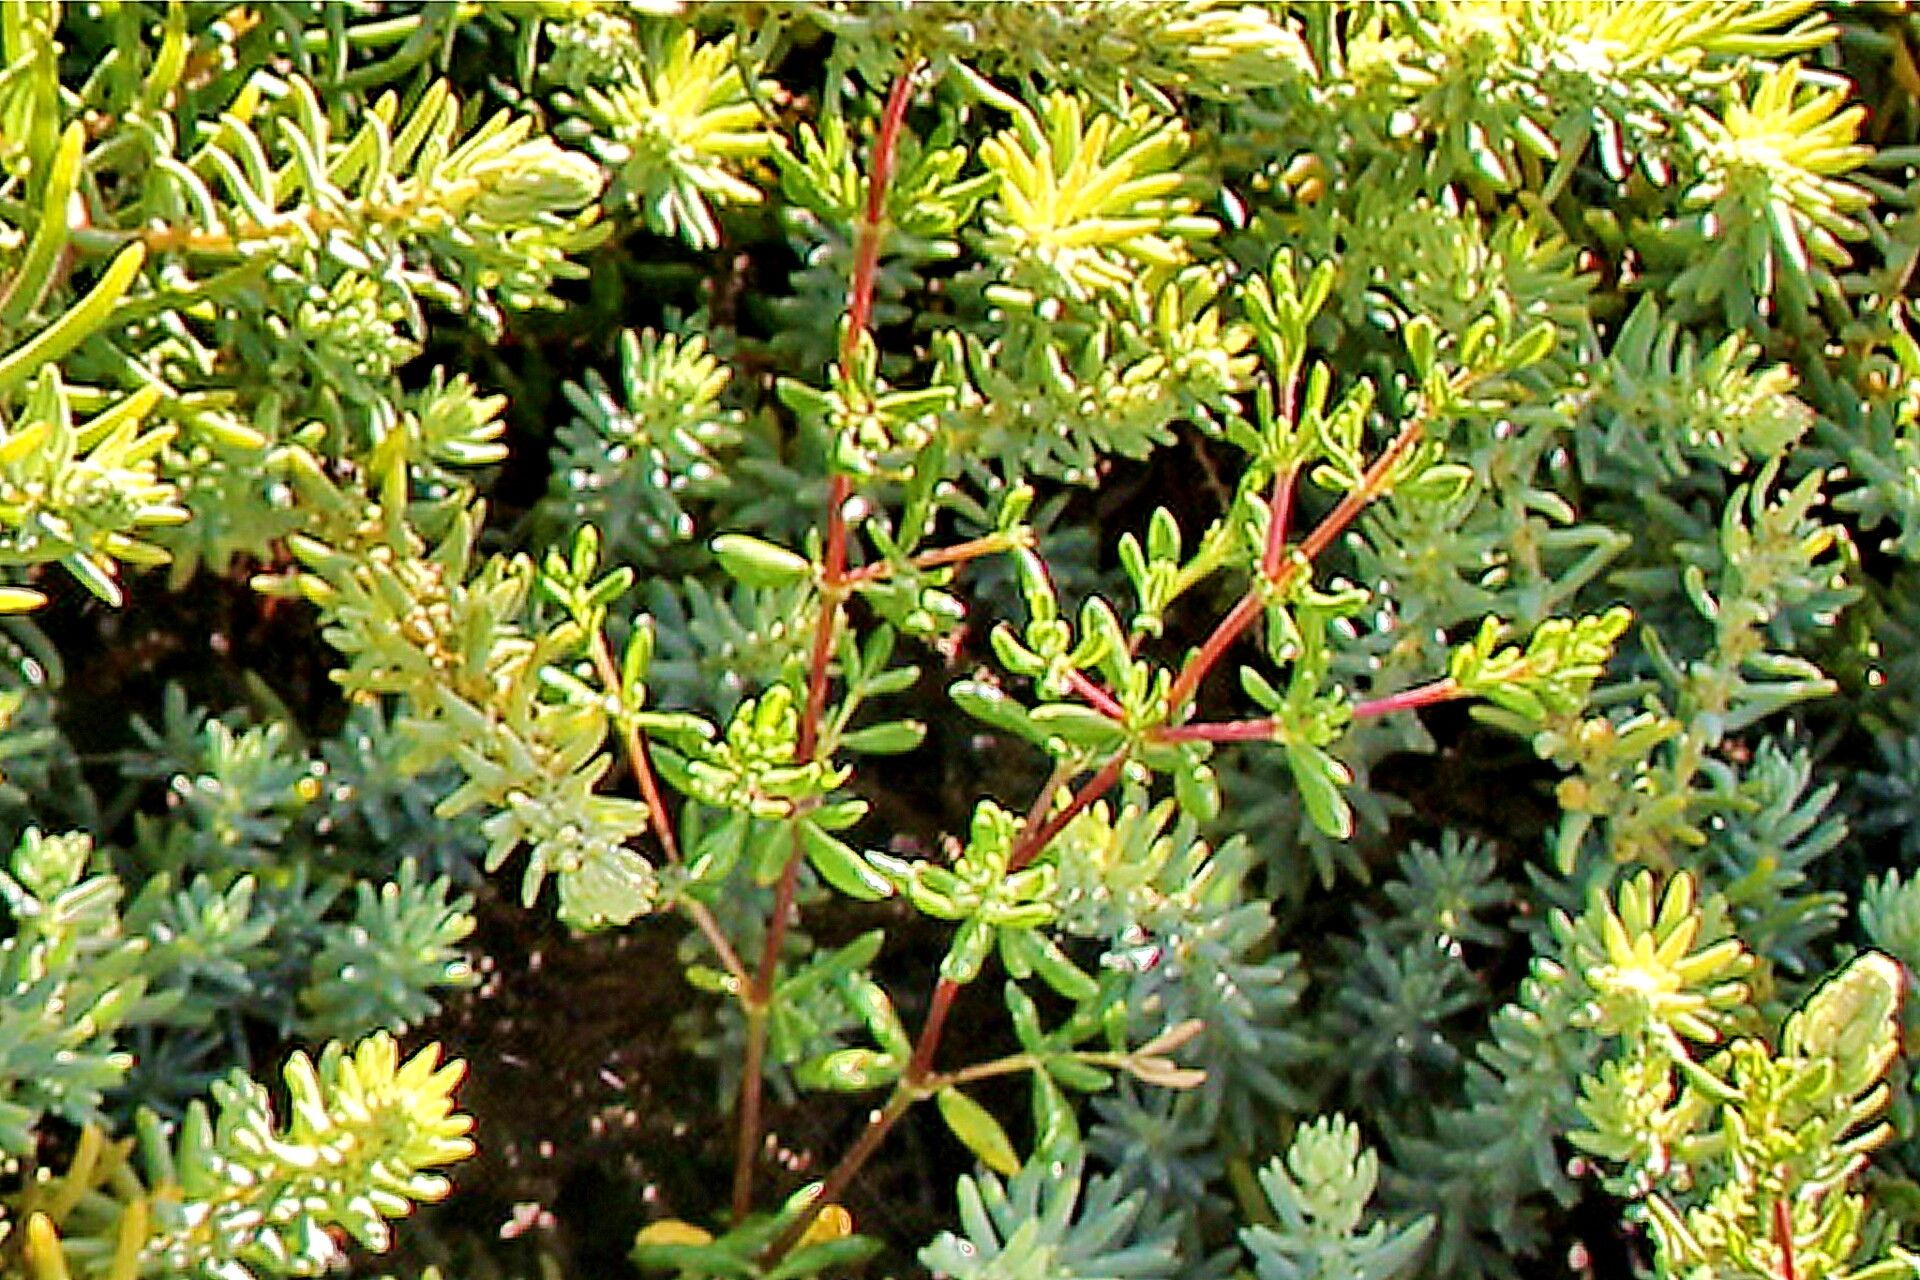
Hey there, fellow plant lovers! I’m so thrilled you’re thinking about getting your hands dirty with Suaeda taxifolia. This coastal native, also known as perennial sea-blite, is a real gem for anyone drawn to its silvery-green, succulent foliage and its remarkable resilience. It’s a plant that whispers tales of salty air and sun-drenched dunes, and honestly, cultivating your own from cuttings is incredibly satisfying. If you’re new to propagation, I’d say Suaeda taxifolia is a wonderfully rewarding plant to start with, offering a good chance of success even for beginners. Let’s dive in!
The Best Time to Start
For Suaeda taxifolia, the sweet spot for taking cuttings is definitely in late spring or early summer. This is when the plant is actively growing and has plenty of energy to put into developing new roots. You want to look for stems that are mature enough to hold their shape but not woody. Think firm, but still pliable.
Supplies You’ll Need
Here’s what I recommend having on hand:
- Sharp Pruning Shears or a Clean Knife: Make sure they’re sterilized to prevent disease. A quick wipe with rubbing alcohol does the trick.
- Rooting Hormone (Optional but Recommended): This can give your cuttings a real boost, especially if you’re aiming for a higher success rate. Look for a powder or gel.
- Pots or Trays: Small pots, about 4-6 inches in diameter, are perfect. Make sure they have drainage holes.
- Well-Draining Potting Mix: This is crucial for succulents. A good blend is 50% perlite and 50% coarse sand or succulent/cactus mix. You can also add a bit of coco coir for aeration.
- Plastic Bags or Clear Domes: To create a mini-greenhouse effect.
- Watering Can with a Fine Rose or Mister: To gently water the cuttings.
- Labels: To keep track of what you’ve planted, especially if you’re trying multiple varieties.
Propagation Methods: Stem Cuttings
This is my go-to method for Suaeda taxifolia, and it’s quite straightforward.
- Take Your Cuttings: Using your sterilized shears or knife, carefully snip off healthy stems that are about 4-6 inches long. Try to make your cuts just below a leaf node (where the leaves attach to the stem).
- Prepare the Cuttings: Gently remove the lower leaves. You want to expose a few inches of the stem so it can form roots. Any leaves left submerged in water or soil can lead to rot, so be thorough!
- Apply Rooting Hormone (Optional): If you’re using rooting hormone, dip the cut end of each stem into the powder or gel. Tap off any excess.
- Plant Your Cuttings: Fill your pots with your well-draining mix. Make a small hole with your finger or a pencil. Insert the prepared cutting into the hole, ensuring the exposed stem is well-covered by soil. Gently firm the soil around the base of the cutting.
- Initial Watering: Water them gently but thoroughly. You want the soil to be moist but not waterlogged.
- Create a Humid Environment: Place the pots into clear plastic bags or cover them with clear plastic domes. This will trap humidity, which is vital for cuttings to root. Make sure the plastic doesn’t touch the leaves directly. You can use stakes to prop it up.
- Provide Bright, Indirect Light: Place your newly planted cuttings in a spot that receives bright, indirect sunlight. Avoid direct sun, which can scorch those delicate cuttings under plastic.
The “Secret Sauce” (Pro Tips)
Here are a couple of tricks I’ve learned over the years that really make a difference with Suaeda taxifolia:
- Let Them Callous: After taking your cuttings and before dipping in rooting hormone, let the cut ends air dry for a day or two. This allows the cut surface to form a protective layer, reducing the risk of rot when you plant them. It’s a small step, but it can significantly improve your success rate.
- Bottom Heat is Your Friend: If you have the option, placing your pots on a seedling heat mat can work wonders. This gentle warmth encourages root development from below without overheating the plant material. It’s like a cozy spa day for your cuttings!
Aftercare & Troubleshooting
Keep an eye on your cuttings. You’ll want to mist them lightly every few days or when the soil starts to feel dry. Resist the urge to overwater!
You’ll know your cuttings have rooted when you see new growth emerging from the tips or notice them resisting gently when you tug on them. This usually takes anywhere from 4 to 8 weeks, sometimes longer. Once they’re showing good signs of life, you can gradually remove the plastic bag or dome to acclimate them to normal humidity. Continue to water when the top inch of soil is dry.
The most common issue you might encounter is rot. If you notice your cutting turning mushy or black at the base, it’s usually a sign of too much moisture and poor drainage. Unfortunately, a rotten cutting can’t be saved. The best approach is to discard it to prevent the rot from spreading and try again with drier conditions.
A Encouraging Closing
Growing plants from cuttings is a journey, and Suaeda taxifolia is a fantastic companion for that journey. Be patient, enjoy watching those tiny roots form, and don’t be discouraged if a few cuttings don’t make it. Every gardener has their share of experiments! You’re creating new life, a little piece of this beautiful coastal plant, and that’s truly something to celebrate. Happy propagating!
Resource:
https://identify.plantnet.org/k-world-flora/species/Suaeda%20taxifolia%20(Standl.)%20Standl./data