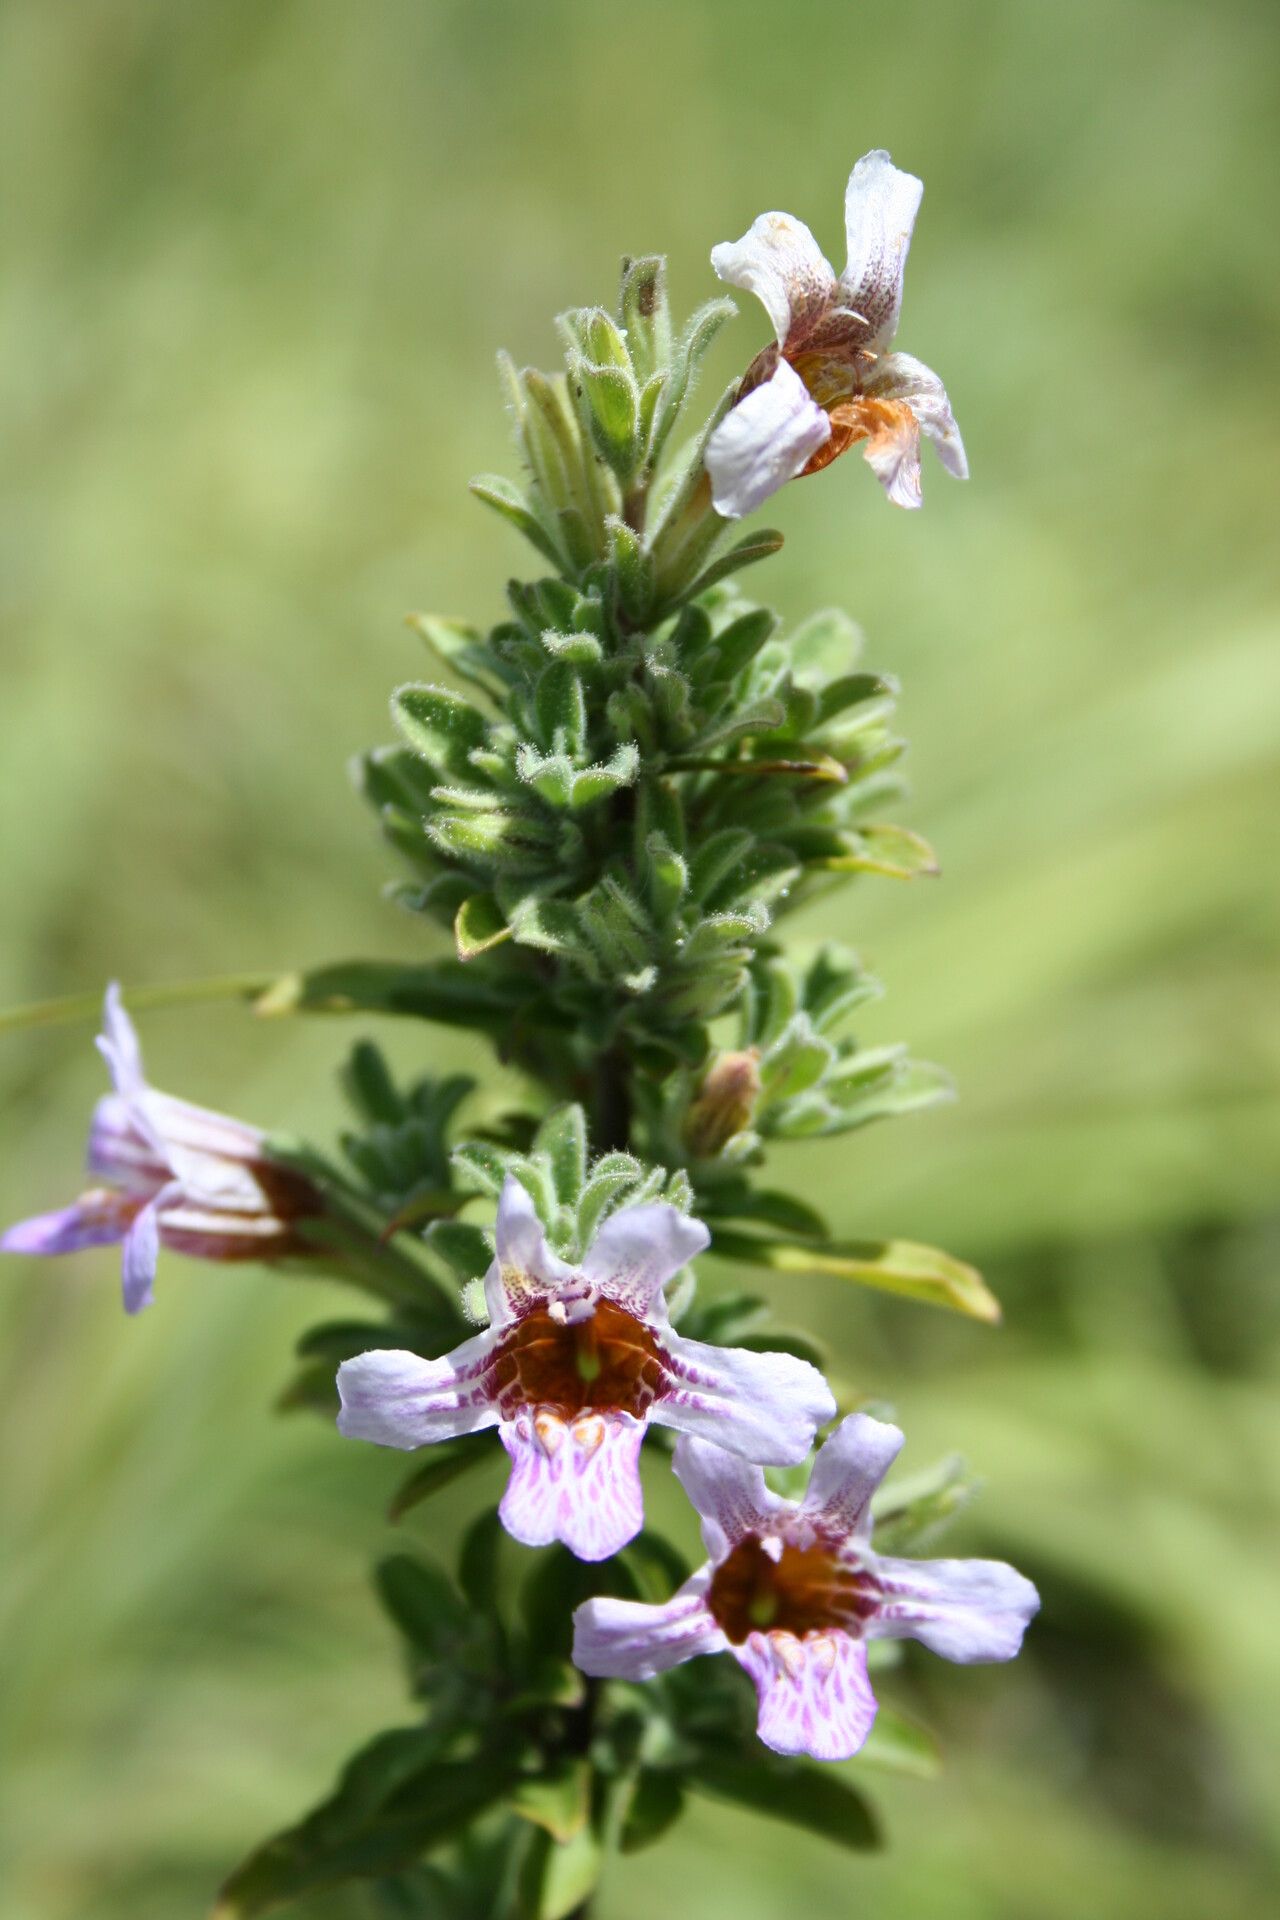
Hello there, fellow plant lovers! It’s so good to be chatting with you today. If you’re anything like me, you’ve probably fallen head over heels for the Strobilanthopsis linifolia. Its delicate, often strikingly patterned leaves are just mesmerizing, aren’t they? And the way it fills out a space, adding a touch of lushness and intrigue? It’s truly special.
The best part? You can easily bring a piece of that magic into your own home – or share it with friends! Propagating plants like this is one of the most rewarding parts of gardening for me. It’s like coaxing a tiny miracle into existence. Now, I’ll be honest, Strobilanthopsis linifolia isn’t necessarily a super beginner-friendly plant right out of the gate, but with a little guidance and patience, you absolutely can succeed. Don’t let that deter you one bit!
The Best Time to Start
For Strobilanthopsis linifolia, the sweet spot for propagation is definitely during its active growing season, which typically runs from late spring through summer. This is when the plant has plenty of energy to put into developing new roots. Trying to propagate in the cooler, darker months can be a real uphill battle, as the plant is naturally slowing down. You’ll get the best results when the days are long and warm.
Supplies You’ll Need
Before we dive in, let’s gather our tools. Think of this as getting your little seedling surgery kit ready!
- Sharp pruning shears or a clean knife: We want to make clean cuts to encourage healing.
- Rooting hormone (optional but recommended): This can give your cuttings a good boost.
- Well-draining potting mix: A good blend for houseplants or a mix of peat moss and perlite works wonderfully. You want something that won’t hold too much moisture.
- Small pots or starter trays: Clean pots are crucial to prevent disease.
- A clear plastic bag or a propagation dome: This helps maintain humidity, which is a lifesaver for cuttings.
- Watering can or spray bottle: For gentle watering.
- Dibber or pencil: To make pilot holes for your cuttings.
Propagation Methods
There are a couple of reliable ways to get your Strobilanthopsis linifolia multiplying. I find stem cuttings to be the most straightforward and successful.
Stem Cuttings
- Take Your Cuttings: In your chosen warm, active growing period, find a healthy stem on your parent plant. Using your clean shears, cut a piece that’s about 4-6 inches long. Look for stems that have at least two to three leaf nodes (the little bumps where leaves emerge).
- Prepare the Cuttings: Gently remove the lower leaves from the cutting, leaving just two or three at the top. This prevents them from rotting once they’re in soil or water. If your cutting is particularly long, you can even cut it in half to create more pieces, as long as each has a node.
- Apply Rooting Hormone (Optional): Dip the cut end of the stem into your rooting hormone powder or gel. Tap off any excess.
- Planting: Use your dibber or a pencil to make a hole in your potting mix. Gently insert the cut end of the stem into the hole, ensuring the nodes are covered by the soil. Firm the soil gently around the cutting.
- Water In: Water the soil thoroughly but gently. You want it moist, not soggy.
- Create a Humid Environment: Place the potted cutting into a clear plastic bag, sealing it loosely, or cover it with a propagation dome. This will trap moisture and create the humid microclimate cuttings crave.
Water Propagation (Alternative)
While I prefer soil for Strobilanthopsis linifolia, some folks have success with water.
- Prepare Cuttings: Follow steps 1 and 2 above for preparing your stem cuttings.
- Place in Water: Put the cuttings in a clean jar or glass of water. Make sure the leaf nodes are submerged, but crucially, don’t let the leaves themselves touch the water.
- Refresh Water: Change the water every few days to keep it fresh and prevent bacterial growth.
- Wait for Roots: Roots should start to appear in a few weeks. Once they’re an inch or two long, you can carefully transplant them into well-draining potting mix, treating them like regular cuttings.
The “Secret Sauce” (Pro Tips)
After years of tinkering, I’ve learned a few tricks that can really make a difference.
- The Power of the Node: Always make sure at least one leaf node is below the soil line, or submerged in water if you’re going that route. This is where the magic happens – it’s from these nodes that roots will emerge.
- Bottom Heat is Your Friend: If you’re serious about getting things going quickly, a heated propagation mat placed under your pots can be a game-changer. It provides consistent warmth to the soil, encouraging root development far more effectively than just room temperature alone. Just make sure the heat isn’t too intense; you want warmth, not a roast!
- Don’t Rush the Transplant: Resist the urge to dig up your cuttings too soon! Give them at least 3-4 weeks to develop a decent root system. You’ll know they’re ready when you gently tug on them and feel resistance.
Aftercare & Troubleshooting
Once you see those little roots peeking out, congratulations! Now comes the nurturing phase.
- Gradual Acclimation: If you used a plastic bag or dome, gradually introduce your new plants to drier air. Start by opening the bag a little for a few hours each day, then remove it entirely after a week or so.
- Watering: Continue to water gently. Let the top inch of soil dry out between waterings. Overwatering is the enemy here!
- Light: Place your new plants in bright, indirect light. They’re still delicate and can get scorched by direct sun.
Now, what if things don’t go as planned? The most common culprit is rot. If your cutting turns mushy and black, it’s likely a sign of too much moisture and not enough air circulation. Discard it and try again, ensuring your soil is well-draining and you’re not overwatering. Another sign of trouble is if the leaves start to yellow and drop off rapidly; this can indicate shock or insufficient humidity, so ensure that plastic bag is doing its job!
A Little Patience Goes a Long Way
Propagating plants is a beautiful exercise in patience. Not every cutting will make it, and that’s perfectly okay! Every attempt is a learning experience. So, get your hands dirty, enjoy the process of nurturing these tiny new lives, and celebrate each success. Happy propagating!
Resource: