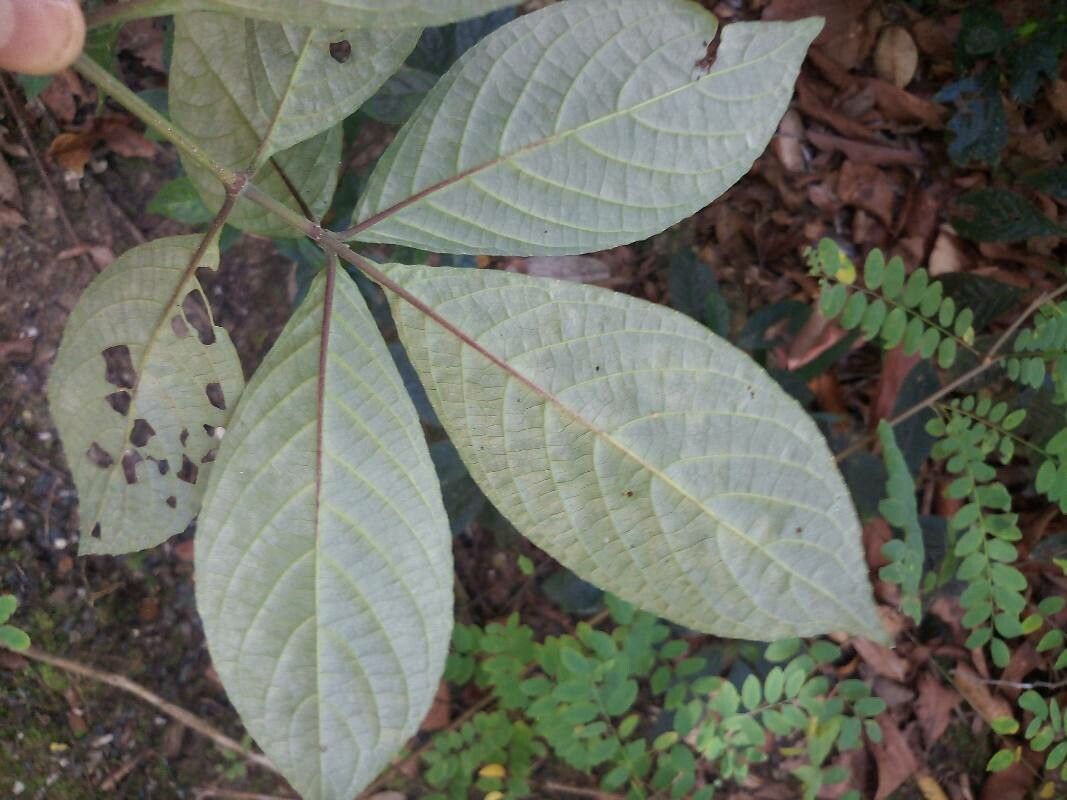
Oh, hello there! Grab a cuppa. Today, we’re diving into the wonderful world of Strobilanthes crispa, also known as Daun Insulin. If you haven’t encountered this beauty yet, let me tell you, its striking foliage and the promise of good health make it a truly special plant to have in your garden or home. And the best part? It’s surprisingly easy to multiply! You’ll soon have little ones popping up all over.
There’s a special kind of joy you get from nurturing a new plant from a tiny cutting or division, isn’t there? It feels like you’re unlocking a little bit of nature’s magic. For those of you just starting out on your green journey, don’t you worry one bit. Strobilanthes crispa is a fantastic plant to learn propagation with. It’s quite forgiving, which is always a welcome trait!
The Best Time to Start
When it comes to getting the best results, I find that the late spring through early summer is absolutely prime time to get your Strobilanthes crispa cuttings going. That’s when the plant is in its most vigorous growth phase, powered by longer days and warmer temperatures. This energy translates beautifully into happy, rooting cuttings. You can also have some success later in the summer, but I tend to find that early season is just a bit more reliable.
Supplies You’ll Need
Honestly, you don’t need a whole lot of fancy gear. Here’s what I usually gather:
- Sharp Pruning Shears or a Clean Knife: For making clean cuts.
- Rooting Hormone (Optional but Recommended): A little sprinkle can really speed things up. I prefer the powdered kind.
- A Well-Draining Potting Mix: I like to use a 50/50 blend of peat moss or coco coir and perlite or coarse sand. This ensures good aeration and prevents soggy feet.
- Small Pots or Seedling Trays: Clean ones are key!
- Plastic Bags or a Clear Dome: To create a humid environment for your cuttings.
- Watering Can with a Fine Rose or a Spray Bottle: For gentle hydration.
Propagation Methods
Let’s get our hands dirty! Strobilanthes crispa is a champion at stem cuttings, and it’s my go-to method.
1. Stem Cuttings: Your Best Bet
This is straightforward and incredibly effective.
- Select Healthy Stems: Look for vibrant, non-woody stems on your mature Strobilanthes crispa plant. You want stems that are actively growing but not too soft.
- Make the Cut: Using your sharp shears, cut a section of stem that’s about 4-6 inches long. Make your cut just below a leaf node (the point where a leaf attaches to the stem). This is where the magic happens, where roots are most likely to form.
- Prepare the Cutting: Gently remove the lower leaves from the cutting, leaving only the top few leaves. If the leaves are very large, you can even cut their surface area in half to reduce water loss. This is important because the cutting doesn’t have roots yet to supply enough water.
- Dip in Rooting Hormone (Optional): If you’re using rooting hormone, lightly dip the cut end into the powder, tapping off any excess.
- Plant Your Cuttings: Fill your clean pots or trays with your prepared potting mix. Make a small hole in the center of each pot with your finger or a pencil. Gently insert the cut end of your Strobilanthes crispa cutting into the hole, ensuring the nodes where you removed the leaves are below the soil line. Firm the soil gently around the base of the cutting.
- Water Gently: Water the soil thoroughly but gently. You don’t want to dislodge your cuttings.
2. Water Propagation: A Visible Success Story
This method is fantastic because you can literally watch the roots develop!
- Follow Steps 1 & 2 Above: Prepare your healthy stem cuttings just as you would for soil propagation.
- Place in Water: Find a clean jar or glass and fill it with fresh water. Place your cuttings in the water, making sure no leaves are submerged. Submerged leaves will quickly rot, which is the opposite of what we want!
- Change Water Regularly: Change the water every few days to keep it fresh and prevent bacterial growth.
- Watch for Roots: You should start to see little white roots emerging from the nodes within a week or two. Once the roots are about an inch or two long, they are ready to be carefully transplanted into your potting mix.
The “Secret Sauce” (Pro Tips)
Here are a few little tricks I’ve picked up over the years that can make a big difference:
- Don’t Let the Leaves Touch the Water: I know I mentioned it for water propagation, but it’s crucial here too for cuttings in soil. If leaves are in constant contact with damp soil, they’ll get mushy and invite rot. Make sure there’s good airflow around your emerging plantlets.
- Bottom Heat is Your Friend: If you have a heating mat (like those used for seed starting), placing your pots on it can significantly speed up root development. It mimics the warmth of spring soil and gives those root cells a real boost. Just make sure the mat isn’t too hot – lukewarm is perfect.
- Mist, Don’t Drench (Initially): While you want to keep the soil moist, you don’t want to saturate it. For the first week or two after planting cuttings, I like to lightly mist the leaves and the surface of the soil with my spray bottle once or twice a day, especially if your environment is dry. This keeps humidity up without waterlogging the roots.
Aftercare & Troubleshooting
Once you start seeing those tiny roots making their way into the soil (a gentle tug on the cutting will feel resistant if roots have formed), it’s time to treat them like the precious little things they are.
- Gradual Acclimation: If you’ve used a plastic bag or dome, slowly start to acclimate your new plants to open air over a few days. Lift the cover for a few hours at first, then longer periods.
- Consistent Moisture: Keep the soil consistently moist but not soggy. Water when the top inch of soil feels dry to the touch.
- Bright, Indirect Light: Place your new plants in a location with bright, indirect sunlight. Avoid harsh, direct sun, which can scorch delicate new growth.
- Signs of Trouble: The most common issue you’ll encounter is rot. This usually looks like a blackened, mushy stem at the soil line, or entirely wilted and dying leaves. This is a clear sign of too much moisture and not enough airflow. If you spot this, unfortunately, that cutting is likely lost. Don’t be discouraged; just try again with new cuttings and adjust your watering. Yellowing leaves on an otherwise healthy-looking cutting might mean it needs a little more light, or sometimes it’s just the plant shedding older leaves.
A Little Patience Goes a Long Way
Growing new plants from cuttings is one of the most rewarding gardening experiences. Be patient with your Strobilanthes crispa babies. Some will root faster than others, and that’s perfectly okay. Enjoy the process, celebrate the tiny victories, and soon you’ll have a lovely collection of your own. Happy propagating!
Resource:
https://identify.plantnet.org/k-world-flora/species/Strobilanthes%20crispa%20(L.)%20Blume/data