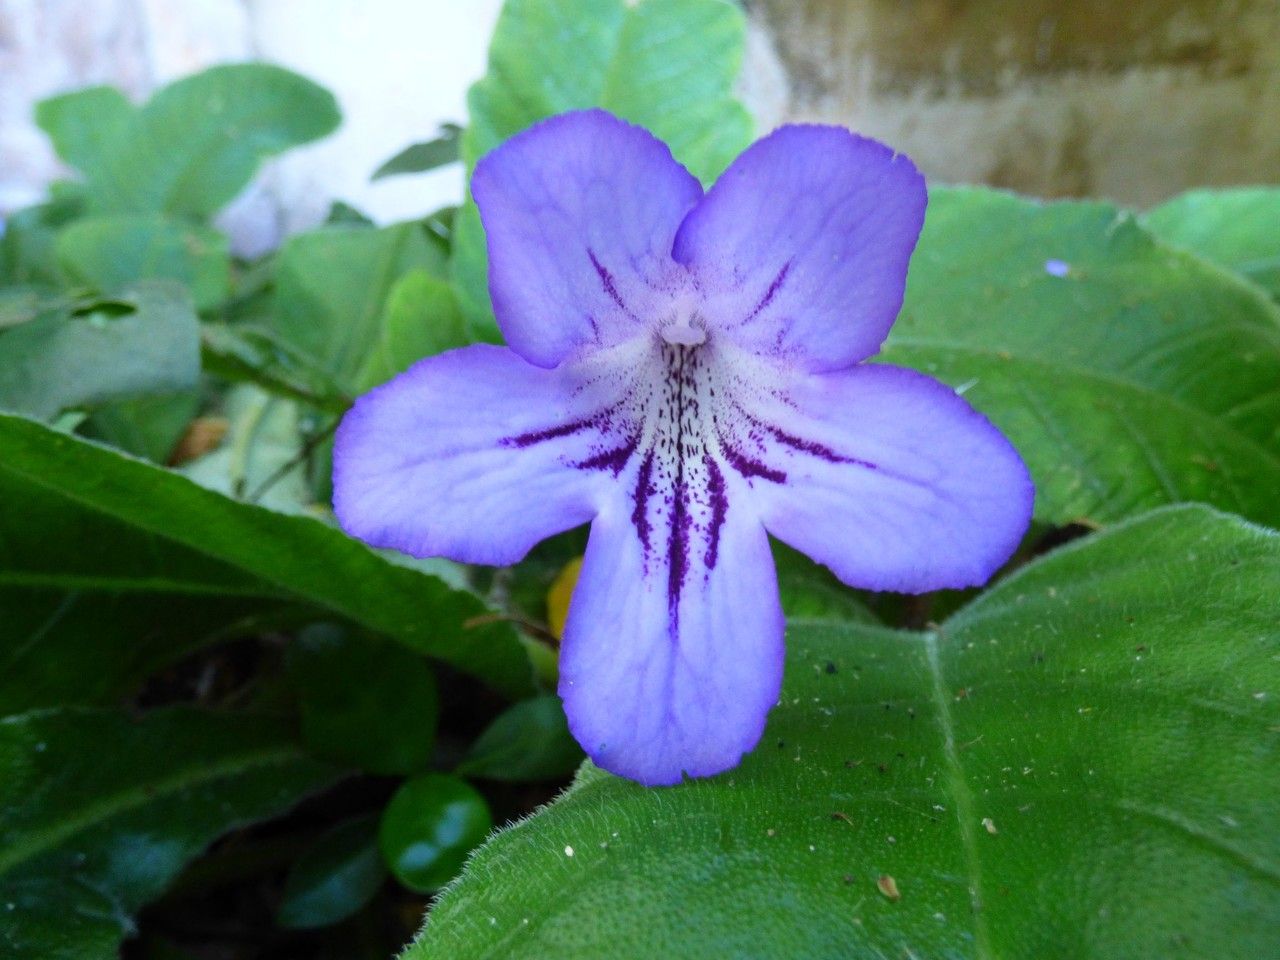
Hey my fellow plant lovers! If you’ve ever been captivated by the elegant, velvety leaves and vibrant blooms of Streptocarpus formosus, you’re in for a treat. This lovely plant, often called the Cape Primrose, brings such a graceful splash of color to any windowsill. And guess what? Propagating it is not only a fantastic way to get more of these beauties, but it’s also incredibly rewarding. For me, it’s moderately easy, meaning a little patience goes a long way, but even beginners can have great success.
The Best Time to Start
While you can technically propagate Streptocarpus formosus year-round, my absolute favorite time is spring or early summer. This is when the plants are actively growing and have plenty of energy. You’ll find that cuttings taken during this period root faster and with more vigor. Look for healthy, mature leaves that aren’t too old or too young.
Supplies You’ll Need
Here’s what you’ll want to have on hand before you start:
- Sharp pruning shears or a clean, sharp knife: To make clean cuts.
- Sterile potting mix: A good blend for African violets or a general houseplant mix with perlite added for drainage works wonders. I like to use a mix that’s about 50% potting soil and 50% perlite.
- Small pots or trays: Clean containers for your new cuttings. Small cell trays are perfect for leaf cuttings.
- Rooting hormone (optional but recommended): A dab of this magic powder can really speed things up.
- Plastic bags or a propagator lid: To create a humid environment.
- Watering can or spray bottle: For gentle watering.
Propagation Methods
There are a couple of tried-and-true ways to get new Streptocarpus formosus plants, and both are quite straightforward.
Leaf Cuttings: My Go-To Method
This is the most common and probably the easiest way to propagate these beauties.
- Select a healthy leaf: Choose a mature, healthy leaf from your parent plant.
- Make clean cuts: Using your sharp shears or knife, cut the leaf off, leaving about 2 inches of stem attached. If the leaf is naturally attached directly to the crown without a distinct stem, no worries, just trim the very end of the leaf itself to create a fresh surface.
- Prepare the leaf (if no stem): If you don’t have a stem, you’ll trim off the bottom 1/2 inch of the leaf blade at a slight angle. You’re essentially creating a clean cut surface that will be inserted into the soil.
- Dip in rooting hormone (optional): If you’re using rooting hormone, dip the cut end of the stem or leaf into it. Tap off any excess.
- Plant the cutting: Fill your small pot or tray with your sterile potting mix. Make a small hole in the soil with your finger or a pencil. Insert the stem or the cut end of the leaf into the hole, ensuring the cut surface is in contact with the soil. If you’re using a whole leaf with a short stem, you’ll want to plant it so the stem is covered and the base of the leaf is just above the soil. If you’re slicing the leaf (which is another variation), you’ll gently press the cut edges of the leaf onto the surface of the moist soil.
- Water gently: Water the soil thoroughly but gently, ensuring it’s moist but not waterlogged.
- Create humidity: Cover the pot or tray with a plastic bag or propagator lid. Make sure the plastic isn’t touching the leaf too much. You’re aiming for a mini greenhouse effect.
- Bright, indirect light: Place the pot in a spot with bright, indirect light. Avoid direct sun, which can scorch the delicate cuttings.
Division: For Established Plants
If you have a mature Streptocarpus formosus that’s starting to get crowded or producing pups at its base, division is a great option.
- Gently unpot the plant: Carefully remove the entire plant from its pot.
- Inspect the root ball: Gently shake away some of the excess soil to expose the roots and any offsets (baby plants that have formed at the base).
- Separate the divisions: Using your hands or a clean knife, carefully tease apart the offsets from the main plant. Try to ensure each division has some roots attached.
- Pot up the divisions: Pot each division into its own small pot filled with sterile potting mix.
- Water and place: Water them in gently and place them in bright, indirect light.
The “Secret Sauce” (Pro Tips)
Now, for a couple of little tricks that have made a world of difference for me:
- Watch the water level! If you’re doing water propagation (which is less common for Streptocarpus but possible), never let the leaf or stem touch the water if possible. Use a container where the stem is submerged but the leaf itself remains dry. Better yet, try the soil method first, it’s much more forgiving for these plants.
- Bottom heat is your friend: If you have a heat mat designed for propagation, placing your pots on it can significantly speed up root development. It mimics the warmth of spring soil and really encourages those roots to get going. Just make sure the heat isn’t so intense that it dries out the soil too quickly.
Aftercare & Troubleshooting
Once you start seeing tiny roots forming (you might be able to see them peeking out of the drainage holes or gently tugging a cutting and feeling resistance), your new Streptocarpus is on its way!
- Gradually acclimate: Once roots are well-established, start to remove the plastic cover gradually over a week or so to let the new plant get used to normal humidity.
- Watering: Water as you would an adult plant – when the top inch of soil feels dry.
- Fertilizing: Wait until you see new leaf growth before offering a very diluted, balanced liquid fertilizer.
- Troubleshooting: The most common issue you’ll encounter is rot. This usually happens if the soil stays too wet or the humidity is too high for too long without good air circulation. If a leaf cutting turns mushy or black, it’s best to discard it and start again. Yellowing leaves can sometimes mean too much direct sun, or that the cutting has used up its stored energy and is just not going to make it. Don’t get discouraged – every failed cutting is a learning experience!
A Little Patience Goes a Long Way
Propagating Streptocarpus formosus is a journey, not a race. Take your time, observe your cuttings closely, and celebrate those little victories. Seeing those first new leaves emerge from a humble leaf cutting is incredibly satisfying. So grab your tools, get your hands dirty, and enjoy the magic of creating new life for your plant collection! Happy gardening!
Resource: