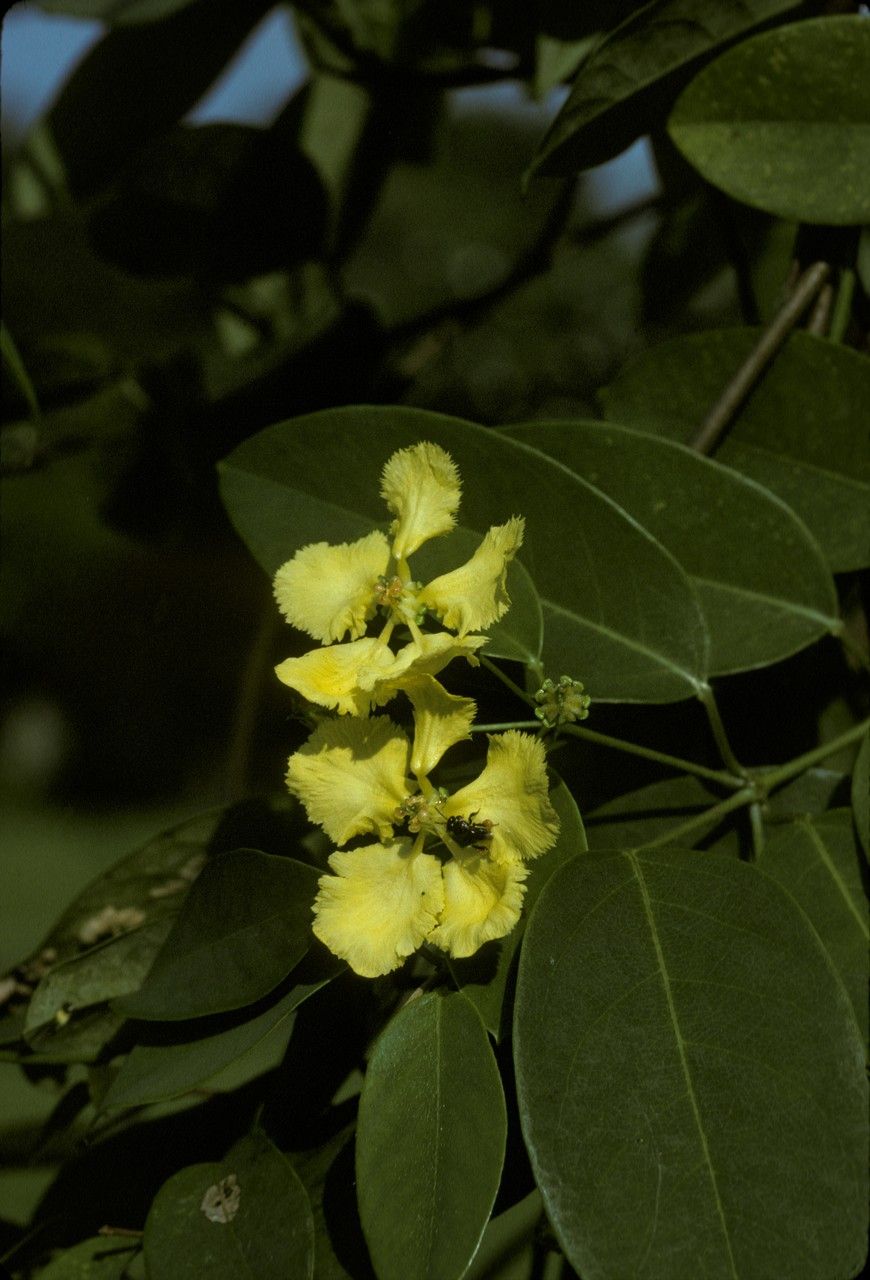
Oh, hello there! It’s so lovely to have you join me today. Grab your favorite mug, and let’s talk about something truly special: Stigmaphyllon ellipticum, or as many of us affectionately call it, the “Brazilian Butterfly Vine.” Honestly, the way those golden, fringed flowers unfurl, it’s like a little burst of sunshine in the garden. And the best part? You can recreate that magic yourself by propagating it! It’s a wonderfully rewarding process, and I promise, it’s not as daunting as it might sound. Don’t be shy; this is a great plant to start with if you’re new to propagation.
The Best Time to Start
When it comes to getting the best results with your Stigmaphyllon ellipticum, timing is everything. I find the absolute sweet spot is in late spring to early summer, just as the plant is hitting its stride and actively growing. This is when the stems are nice and vigorous, full of stored energy, which makes them eager to root. Avoid trying this during periods of extreme heat or when the plant is stressed. You want a happy, healthy parent plant to give you the best chance of success.
Supplies You’ll Need
Before we dive in, let’s gather our tools. It’s always good to be prepared!
- Sharp Pruning Shears or a Knife: Cleanliness is key to preventing disease.
- A Well-Draining Potting Mix: I like a blend of good quality potting soil mixed with perlite and orchid bark. This provides aeration and prevents sogginess.
- Small Pots or Seedling Trays: About 4-6 inches deep is usually plenty.
- Rooting Hormone (Optional but Recommended): Especially helpful for encouraging faster root development. Look for one with indole-3-butyric acid (IBA).
- Clear Plastic Bags or a Propagator: To create a humid environment.
- Watering Can with a Fine Rose: For gentle watering.
- Labels and a Pen: So you don’t forget what you’ve planted!
- A Sunny, Warm Spot: Away from direct, scorching sun.
Propagation Methods
Stem cuttings are by far my favorite and most successful method for Stigmaphyllon ellipticum. It’s straightforward and yields great results!
Stem Cuttings:
- Select Your Cuttings: Look for healthy, semi-hardwood stems on your established plant. These are stems that are no longer floppy and green, but not yet woody and hard. They should be about 4-6 inches long.
- Make the Cut: Using your clean pruners, make a clean cut just below a leaf node. A leaf node is where a leaf attaches to the stem – this is where roots are most likely to form.
- Prepare the Cuttings: Remove the lower leaves from the cutting, leaving just the top two or three leaves. If the remaining leaves are very large, you can cut them in half horizontally to reduce water loss through transpiration.
- Apply Rooting Hormone (If Using): Dip the cut end of the stem into your rooting hormone. Tap off any excess.
- Plant Your Cuttings: Fill your pots with your prepared potting mix. Make a small hole in the center with your finger or a pencil. Gently insert the cut end of the stem into the hole, ensuring the bottom leaf nodes are covered by the soil. Gently firm the soil around the stem.
- Water Gently: Water the soil thoroughly until it starts to drain from the bottom.
- Create Humidity: Lightly mist the leaves and soil. Then, cover the pot or tray with a clear plastic bag or place it in a propagator. Make sure the plastic doesn’t touch the leaves too much. If it does, prop it up with a skewer.
- Provide Warmth and Light: Place the cuttings in a bright spot with indirect sunlight. Bottom heat, like from a seedling heat mat, can significantly speed up the rooting process, though it’s not strictly essential.
The “Secret Sauce”
Over the years, I’ve picked up a trick or two. Here are a couple of things that have made a real difference for me:
- Don’t Drown Your Leaves: When you mist the cuttings, or if you’re trying water propagation (which I find less reliable for this plant), never let the leaves sit directly in water or constantly wet soil. The soft tissue will rot quickly. Roots need air!
- The Gentle Tug Test: One of the most satisfying parts is when you feel that little bit of resistance when you gently tug on a cutting. That subtle tug tells you roots have formed. If it slips out easily, no roots yet. Be patient!
- Patience and Good Airflow: Even with ideal conditions, it can take several weeks, sometimes a couple of months, for Stigmaphyllon ellipticum to root. Ensure there’s some gentle air circulation around your cuttings (open the plastic bag for an hour or so each day) to prevent fungal issues.
Aftercare & Troubleshooting
Once you see new leafy growth on your cuttings, or if you carefully inspect and see signs of roots (a gentle tug will reveal resistance), it’s time for their next stage.
Gradually acclimate your new plants to normal conditions by opening the plastic bag or propagator a little more each day over the course of a week. Once they seem happy and growing, you can transplant them into individual, slightly larger pots. Continue to water them regularly, allowing the top inch of soil to dry out between waterings.
The most common issue you might encounter is rot. If your cuttings turn black and mushy, it’s usually a sign of too much moisture and not enough air. Unfortunately, once rot sets in, it’s very difficult to save the cutting. This is why our careful soil mix and humidity management are so important. If you see a cutting failing, remove it promptly to prevent it from affecting others.
A Encouraging Closing
Propagating your Stigmaphyllon ellipticum is a journey, and like any good garden adventure, it requires a bit of patience and observation. Don’t get discouraged if your first attempt isn’t perfect. Each time you try, you learn something new. Enjoy the process, celebrate the little victories, and soon you’ll have a whole garden full of these cheerful butterfly vines to share! Happy propagating!
Resource: